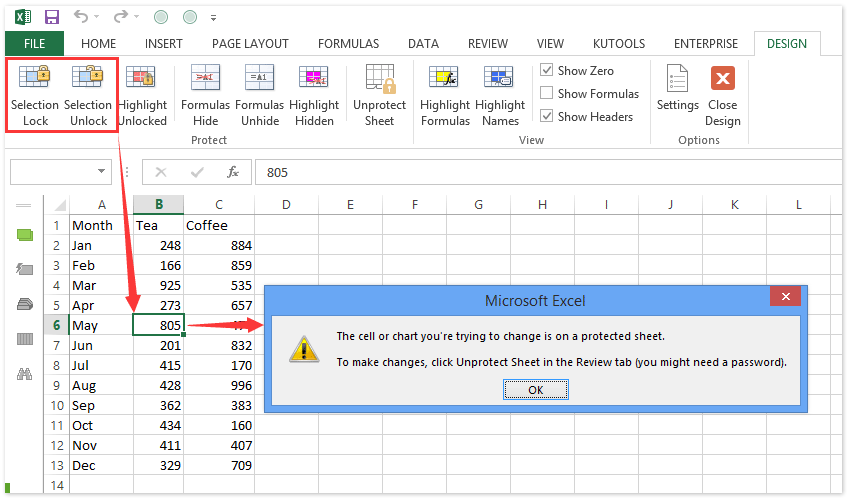
How to Lock Specific Excel Cells Instantly

Excel is not only a powerful tool for data analysis and organization, but also for controlling and safeguarding information. Sometimes, you might want to ensure certain data isn't accidentally altered by others or even by yourself while you work. By understanding how to lock specific cells in Excel, you can protect sensitive or critical information, maintain data integrity, and ensure that only intended cells are editable. Here's a step-by-step guide on how to lock cells in Microsoft Excel.
Understanding Cell Protection

Before diving into the locking process, it's crucial to grasp how Excel's protection features work:
- By default, all cells in a new Excel sheet are locked, but this doesn't affect anything until the sheet is protected.
- Protection is a worksheet level feature that locks the cells from being modified when enabled.
- You can selectively unlock cells before protecting the sheet to allow editing only in specific areas.
Steps to Lock Specific Cells

Unlock All Cells by Default

Here’s how you can unlock all cells in an Excel worksheet:
- Open your Excel worksheet.
- Select the entire worksheet by pressing Ctrl + A.
- Go to the Home tab, then click on Format in the Cells group, and choose Unprotect Sheet.
⚠️ Note: This step might not be necessary if you’re working on a new, unmodified worksheet where all cells are already locked but unprotected.
Lock Cells You Want to Protect

Select the cells you want to lock:
- Highlight the cells or range that should be protected. You can hold Ctrl to select multiple non-adjoined cells.
- With the cells selected, right-click and choose Format Cells.
- Navigate to the Protection tab.
- Ensure the Locked checkbox is ticked. By default, it should be, but check just in case.
- Click OK to apply.
Protect the Worksheet

Now, protect the worksheet:
- Go back to the Home tab, click on Format, and then choose Protect Sheet.
- In the Protect Sheet dialog, you can:
- Set a password (optional)
- Decide what changes users can make to the protected sheet
- Click OK to apply protection.
💡 Note: Protecting a worksheet prevents others from adding, moving, deleting, hiding or unhiding rows or columns, among other things. However, the protection can be easily removed if someone knows the password or uses the ‘Unprotect Sheet’ option.
Additional Protection Measures

Hiding Formulas

If you’re protecting cells with formulas, you can hide the formulas to prevent viewing or tampering:
- Select the cells with formulas.
- Go to Format Cells > Protection tab.
- Check Hidden in addition to Locked.
- After protecting the sheet, the formulas in these cells will no longer be visible in the formula bar.
Read-Only Documents

Another way to protect your document, although not cell-specific, is to save it as Read-Only:
- Save your workbook.
- Go to File > Save As.
- Choose a location, then click on Tools beside the save button.
- Select General Options, and set the workbook to Read-only recommended.
Wrapping Up

By following these steps, you’ve learned how to lock specific cells in Excel, ensuring that only the data you want to keep editable remains accessible. Remember, this process is not just about security but also about maintaining data integrity and accuracy in collaborative environments. Excel’s cell protection features are quite flexible, allowing you to fine-tune what users can do within a protected worksheet, from allowing or disallowing the addition of new comments, to enabling or disabling filtering and sorting.
Can I protect an Excel sheet without a password?

+
Yes, you can protect an Excel sheet without setting a password. This means others can still use the ‘Unprotect Sheet’ option if they know about it, but it’s still a layer of protection.
What happens if I forget the password for a protected sheet?

+
Unfortunately, Microsoft does not provide a method to recover a forgotten password for a protected sheet. You would need to seek external software or services to unlock the sheet, which isn’t always recommended due to security concerns.
Can I still sort or filter data in a protected sheet?

+
When protecting a worksheet, you can allow users to sort or filter data by checking the appropriate options in the Protect Sheet dialog box. This gives you the flexibility to make the sheet user-friendly while still protected.
How can I lock specific cells using VBA?

+
You can use VBA to lock specific cells with code like this:
vba
        Sub LockSpecificCells()
            With Worksheets("Sheet1")
                .Range("A1:D10").Locked = True
                .Protect Password:="yourpassword", DrawingObjects:=True, Contents:=True, Scenarios:=True
            End With
        End Sub
What are some other ways to protect Excel data?

+
Apart from cell protection, you can:
- Save your workbook as read-only.
- Use workbook protection to prevent adding, moving, or deleting sheets.
- Encrypt your entire file with a password to protect it from unauthorized opening.