Link Two Excel Sheets in Minutes: Easy Guide

When working with extensive datasets or collaborative projects, it's often necessary to pull data from multiple sources. Excel offers a straightforward method to link two sheets or workbooks, allowing for seamless data management and updates. Here’s how you can effectively merge information without the hassle of manually updating cells.
Understanding Excel Links

Before diving into the how-to, understanding what Excel links are can be beneficial:
- External Links: References to cells in different Excel files.
- Internal Links: References to cells within the same workbook.
To make this process more effective, here are key points:
- Links automatically update when source data changes.
- They help in maintaining data integrity across multiple datasets.
- You can create formulas or named ranges that dynamically pull data from other workbooks.
Step-by-Step Guide to Linking Excel Sheets

1. Open Both Workbooks

Ensure both Excel workbooks are open:
- Source workbook: The workbook from where you want to link data.
- Destination workbook: The workbook where the data will be pulled into.
2. Select the Cell

In your destination workbook, select the cell where you want the linked data to appear. This could be a single cell or a range of cells, depending on your requirement.
3. Write the Formula

Write the formula linking to the source workbook. Here are the steps:
- Start with an equal sign ('=') in the formula bar.
- Switch to the source workbook.
- Select the cell or range you want to link.
- Return to the destination workbook. The cell reference will automatically populate in the formula.
Here is how a typical formula looks:
=[SourceWorkbook.xlsx]Sheet1!A1
This formula links cell A1 from Sheet1 of SourceWorkbook.xlsx to the current cell in your destination workbook.
4. Adjust References (If Necessary)

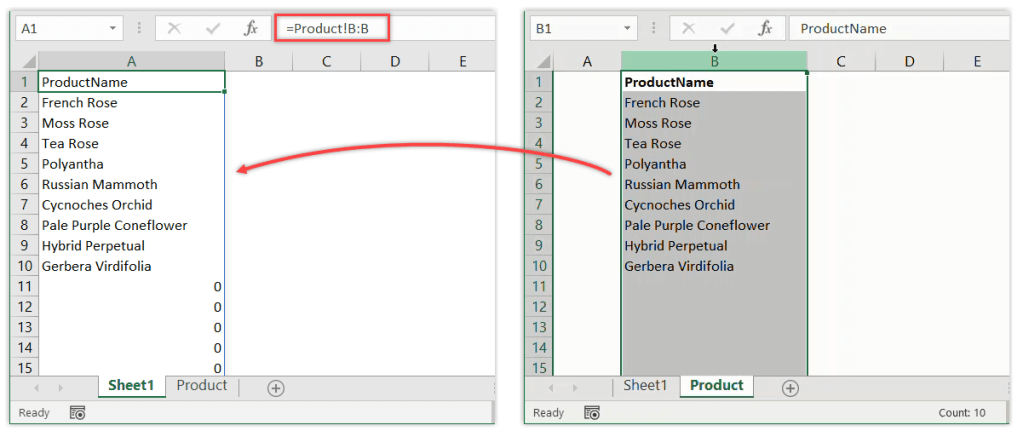
If your source data resides in a different sheet, replace 'Sheet1' with the appropriate sheet name. For multiple cells or ranges, use relative or absolute references as needed.
5. Save Both Workbooks

Remember to save both workbooks after linking. This ensures that all links are updated correctly:
- Save the source workbook first, as changes in this workbook will update the destination workbook.
- Save the destination workbook with linked data to preserve the links.
⚠️ Note: Closing the source workbook without saving can lead to #REF errors in the destination workbook.
Handling Common Issues

Sometimes, linking workbooks can lead to complications:
- Broken Links: If the source workbook is moved or renamed, links can break. Use the 'Edit Links' feature to reestablish connections.
- Data Security: Linking to external workbooks might expose data if not handled properly. Be cautious about where you store these files.
- Performance: Large datasets or many linked cells can slow down performance. Consider using named ranges or optimizing formulas for better results.
💡 Note: Always backup your Excel files before making extensive changes or linking to external data sources.
Advanced Linking Techniques

For those looking to go beyond basic linking:
Named Ranges

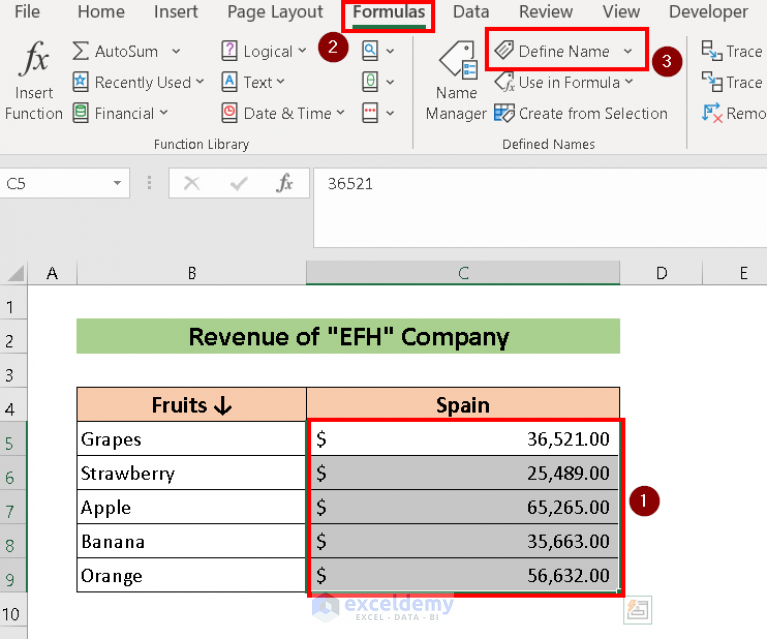
Create named ranges in the source workbook to reference them in formulas. This approach:
- Enhances readability
- Reduces errors in formula creation
- Provides dynamic references that adjust when adding or removing data
Dynamic Formulas

Use functions like INDEX, MATCH, or VLOOKUP with named ranges for more flexible data retrieval:
=INDEX(SourceNamedRange, MATCH(A1, SourceNamedRange[ColumnToMatch], 0), 2)
✅ Note: Dynamic formulas allow for real-time data updates without manual intervention.
Collaborative Data Management

Linking Excel sheets isn’t just for convenience; it’s an essential tool for collaborative projects:
- Multiple users can work on different datasets, ensuring data consistency across the team.
- Changes in one workbook reflect instantly in linked workbooks, fostering real-time updates.
- Eases review and feedback cycles as data is pulled directly from original sources.
To illustrate, here's a simple table summarizing the benefits of linking:
| Benefit | Explanation |
|---|---|
| Time-saving | No need to manually copy or update data. |
| Consistency | Source changes automatically update links. |
| Real-time Updates | Collaborators see changes as they happen. |

By mastering Excel links, you unlock the power of seamless data integration, promoting efficiency and reducing the risk of data errors. Whether you're working on financial models, project planning, or just consolidating data from various departments, Excel's linking capabilities are a game-changer.
Remember to backup your Excel files regularly, use named ranges for clarity, and be aware of potential issues like broken links or performance impacts. Following these steps, you'll be well on your way to linking Excel sheets like a pro, enhancing your productivity and data management skills significantly.
How do I link cells in different Excel workbooks?

+
To link cells between different Excel workbooks, open both workbooks, select the cell where you want the link in your destination workbook, and then write the formula starting with an equal sign (‘=’). Switch to the source workbook, select the cell or range to link, and return to the destination workbook to complete the link.
What happens if I rename or move the source workbook?

+
If you rename or move the source workbook, the links will break, resulting in #REF errors. You’ll need to use the ‘Edit Links’ feature to reestablish the connections.
Can I use named ranges for linking?

+
Absolutely. Using named ranges can enhance readability and formula creation, and they provide dynamic references that adjust automatically when data changes.
Are there performance implications with linking?
+Yes, linking large datasets or numerous cells can slow down Excel’s performance. Optimize by using named ranges, formulas that return less data, or ensure your workbooks are on the same network for quicker updates.