Link Excel Sheets from Another Workbook: Simple Steps

Ever found yourself needing to compile data from multiple Excel workbooks into one master file? Linking data across separate Excel sheets not only streamlines your workflow but can significantly boost productivity. Here's a step-by-step guide to effortlessly link data from one Excel workbook to another.
Step 1: Understand the Concept

Before diving into the specifics, it’s crucial to grasp what linking entails. Essentially, you’re creating a reference in one workbook that points to a specific cell or range in another workbook. This can be done either with formulas or through external data connections.
Step 2: Setting Up Your Workbooks

Ensure that the workbooks you plan to link are in a secure location where they will not be moved or renamed. This helps avoid broken links:
- Open the source workbook and save it, noting down its file path.
- Open or create the destination workbook where the linked data will be displayed.
Step 3: Linking with External References

To link data:
- Select the cell in your destination workbook where you want the linked data to appear.
- Type the equals sign (
=) to start a formula. - Switch to the source workbook, click the cell or range you want to link, then hit Enter in the destination workbook.
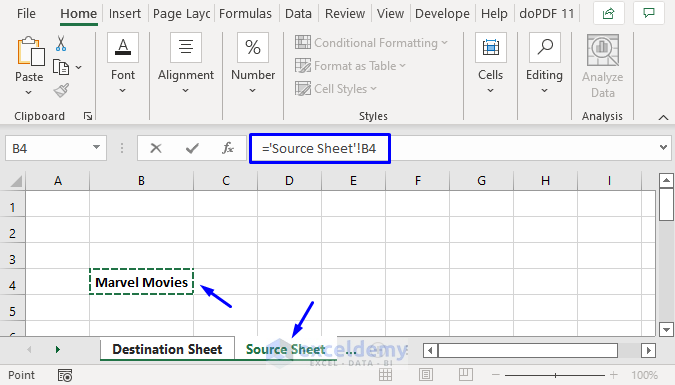
- The formula will now appear, e.g.,
=[SourceBook.xlsx]Sheet1!A1.
Step 4: Using External Data Connections

Alternatively, you can link data by creating an external data connection:
- Go to the Data tab, click on Get External Data, then choose From Workbook.
- Select the source workbook and specify the range you want to import. This creates a connection, not a live link, so updates in the source workbook won’t automatically reflect in your destination workbook.
- Excel will prompt for updates to linked workbooks when they are opened. You can choose to update now or later.
- If the source file is moved or renamed, you’ll need to update the links. Use the Data > Edit Links option for this purpose.
- Keep file paths and names unchanged.
- Close both workbooks after linking to ensure changes are saved.
- Consider using a centralized location for all related files, making file access easier.
- Be aware of file size growth due to external links, and periodically review these links for relevance and efficiency.
Step 5: Managing Linked Data

It’s important to manage these links:
🔧 Note: When working with linked workbooks, ensure both files are accessible to avoid errors or broken links.
Step 6: Best Practices

Here are some tips to keep your linked data robust:
🚫 Note: Be cautious about over-linking, as it can lead to file bloat and performance issues.
By following these steps, you can easily link Excel sheets from another workbook, ensuring your data stays current and your workflow remains seamless. This guide provides a foundation for linking data, enabling you to harness the full power of Excel for data management and analysis.
What is the difference between linking data and importing data?

+
Linking data creates a live connection where changes in the source workbook reflect in the destination workbook. Importing data brings a static copy of the data into your workbook, without any automatic updates when the source changes.
Can linked data be edited?

+
No, linked data can’t be edited directly in the destination workbook. To modify the data, you must edit the source workbook, and those changes will then update in the destination if the links are set to refresh automatically.
How can I update links if my source file has moved?

+
Go to Data > Edit Links. Select the link to the moved file and update the link to the new location by choosing the appropriate file in the dialog box that opens.
Is there a limit to how many workbooks I can link?

+
Technically, there’s no limit to the number of workbooks you can link, but practicality, file size, and performance might limit how many you should link. Over-linking can lead to file instability and slow down your Excel operations.