5 Easy Steps to Insert Power Query Results in Excel

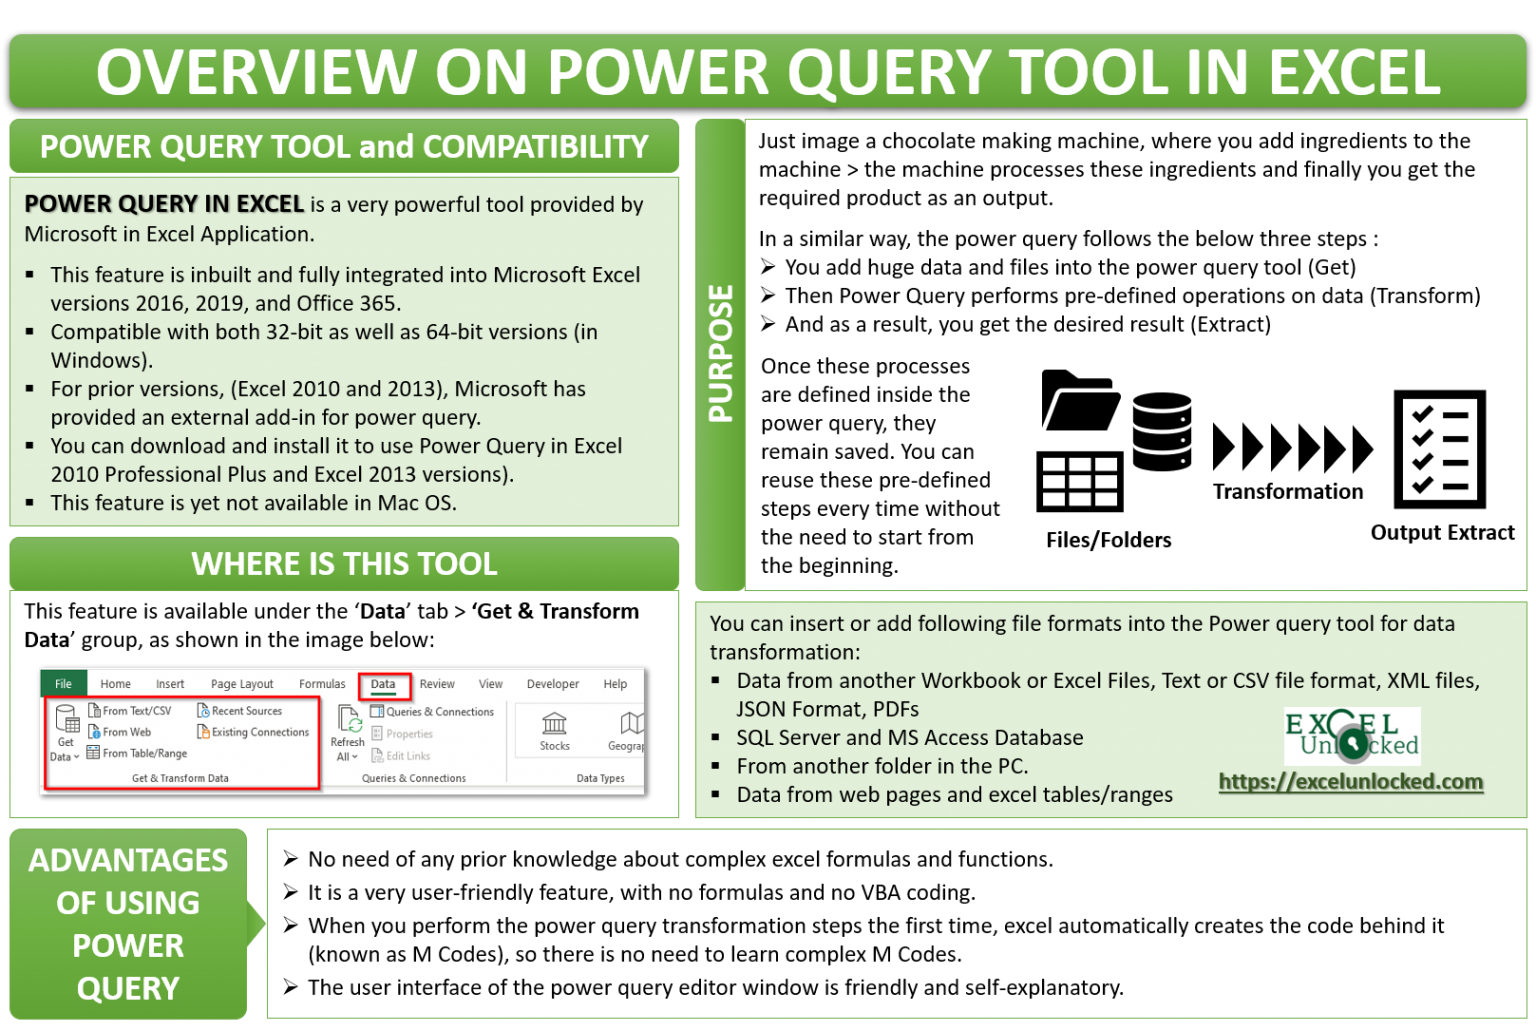
Harnessing the capabilities of Excel's Power Query can significantly enhance your data manipulation skills, allowing you to connect, combine, and refine data from various sources before importing it into Excel. This guide will walk you through the 5 Easy Steps to Insert Power Query Results in Excel. Whether you're dealing with financial data, customer information, or any other dataset, integrating Power Query results into your Excel workbook will streamline your workflow, boost productivity, and ensure data accuracy.
Step 1: Open the Power Query Editor

To begin, you need to:
- Open Microsoft Excel on your PC or Mac.
- Create a new blank workbook or open an existing file where you want to load data.
- Go to the ‘Data’ tab, click ‘From Table/Range’ if your data is already in the worksheet, or ‘Get Data’ to fetch data from external sources.
- Once selected, this will launch the Power Query Editor.

Step 2: Load Data into Power Query

Depending on your data source:
- If you’re importing from a file (like CSV, Excel, etc.), navigate to ‘Get Data’, select your file type, and follow the prompts.
- For database connections or web data, click ‘Get Data’, choose the relevant source, and follow the connection steps provided by Excel.
Step 3: Transform and Refine Your Data

In the Power Query Editor:
- Use the columns to filter, sort, or remove data.
- Employ functions like Split, Merge, Extract, or Group By to transform your data as needed.
- Apply conditional formatting, replace values, or add calculated columns to enrich your dataset.
Here’s a quick tip: Always preview your changes to ensure they meet your requirements before loading into Excel.
Step 4: Load Data into Excel

After refining your data:
- Click ‘Close & Load’ or ‘Close & Load To’.
- If selecting ‘Close & Load To’, you can choose how to insert the data:
- As a table to the current worksheet.
- Into a new worksheet.
- As a connection only, keeping the data query in Power Query for later use.
- Decide if you want to include all rows or only a sample, and whether you want your data to be refreshed automatically or manually.
Step 5: Refresh Data and Manage Queries

After inserting your data:
- Your data will appear as a linked table or in a new worksheet.
- To refresh the data:
- Right-click on the query in the Queries & Connections pane and select ‘Refresh’.
- Or, use the ‘Refresh All’ option from the ‘Data’ tab.
- You can also manage your queries from the ‘Queries & Connections’ panel, editing them or updating connections when necessary.
🔍 Note: Keep in mind that data transformations made in Power Query are non-destructive, allowing you to revert or modify changes at any time.
By following these steps, you can effortlessly integrate Power Query results into your Excel workflows. This process not only automates data handling but also ensures you're working with the most current data, enhancing your ability to analyze and report. The integration of Power Query with Excel empowers you to spend less time on data preparation and more time on insights and decision-making.
Can I modify queries after loading them into Excel?

+
Yes, you can modify queries even after they’ve been loaded into Excel. Right-click on the query in the Queries & Connections pane and select ‘Edit’ to reopen the Power Query Editor where you can make further adjustments.
How often should I refresh my Power Query data?

+
The frequency of data refresh depends on your workflow. You might set it to refresh automatically when the workbook opens, at specific intervals, or choose to refresh manually when you need the most current data.
What sources can I connect to with Power Query?

+
Power Query supports a variety of data sources, including but not limited to, files (Excel, CSV), databases (SQL Server, Access), online services (SharePoint, Salesforce), and even web data (via URL or HTML).