Import Excel Data into SQL Server Database Easily

Managing data efficiently is crucial for businesses and developers working with large datasets. Importing Excel data into an SQL Server database not only streamlines this process but also ensures data integrity and easy accessibility for reporting or analytics purposes. In this comprehensive guide, we'll walk you through the steps to perform this task, providing practical solutions that cater to both beginners and seasoned professionals.
Why Import Excel Data into SQL Server?

Before diving into the steps, it’s essential to understand the advantages:
- Data Integrity: SQL Server offers robust data management features, ensuring data consistency.
- Scalability: It’s scalable, making it ideal for growing datasets.
- Accessibility: SQL Server allows for easier data querying and manipulation.
Preparing Your Excel Data

Before importing, ensure your Excel data is clean and structured:
- Remove any blank rows or columns.
- Ensure the first row contains column headers for proper mapping.
- Check for and correct any data formatting issues like date, time, or number formats.
Tools for Importing Data

Several tools can facilitate this process:
- SQL Server Integration Services (SSIS): For complex data integration tasks.
- SQL Server Management Studio (SSMS): Basic import functionality.
- Third-Party Tools: Applications like Apex Data Loader or Talend.
Step-by-Step Guide to Import Using SSMS

Setting Up SQL Server

- Ensure you have the necessary permissions to create/import data into the database.
- Verify that your SQL Server is installed and running.
Importing the Data

- Open SSMS: Connect to your SQL Server instance.
- Select the Database: Expand your server, then Databases, and right-click on the target database. Choose ‘Tasks’ > ‘Import Data’.
- Data Source Configuration:
- Choose ‘Microsoft Excel’ as the data source.
- Browse to select your Excel file.
- Set the ‘Excel version’ to match your file’s version.
- Destination Configuration:
- Select ‘SQL Server Native Client’ for the destination.
- Enter your SQL Server instance name.
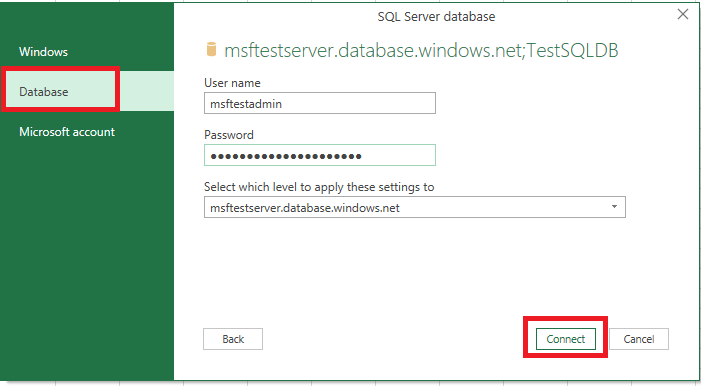
- Choose ‘Use Windows Authentication’ or enter SQL Server Authentication details.
- Select Source Tables and Views: Here, you can:
- Select the sheet or named range in your Excel file to import.
- Map Excel columns to SQL Server columns.
- Modify data types if necessary.
- Specify Table Copy or Query:
- Choose ‘Copy data from one or more tables or views’ for straightforward imports.
- Select ‘Write a query to specify the data to transfer’ for customized data import.
- Execute the Package: Review your settings, click ‘Next’, then ‘Finish’ to begin the import.
💡 Note: For large datasets, consider using SQL Server Integration Services for better performance and automation.
Troubleshooting Common Issues

- Data Type Mismatch: Excel might interpret text as numbers or dates incorrectly. Always ensure data types are set correctly in SQL Server.
- Excel Limitations: Excel has limitations on rows (currently around 1,048,576 rows per sheet), which might necessitate splitting larger datasets.
- Connection Problems: Ensure you have sufficient network bandwidth and that your SQL Server is configured to accept remote connections.
Importing Excel data into an SQL Server database can significantly streamline data management processes. By following the steps outlined above, you can ensure your data transitions smoothly from Excel to SQL Server, enabling better data organization, querying, and analysis. Remember, while SSMS offers a straightforward import method, leveraging SSIS or third-party tools can provide more advanced functionalities, especially for ongoing data synchronization or complex transformations. Regular maintenance of both your Excel sheets and SQL Server database will keep your data clean, accurate, and ready for any business need.
Can I automate this import process?

+
Yes, with tools like SSIS or third-party applications, you can automate regular imports, although it requires initial setup for scheduling and error handling.
What if my Excel data exceeds the size limitations?

+
For large datasets, consider splitting your Excel files or use a database-friendly file format like CSV or directly extracting data from the source system to SQL Server.
How do I handle data type conversion issues during import?

+
Review your data in Excel, ensure consistent formats, and in SSMS, manually adjust data types during the mapping step of the import process.