Mastering Excel: How to Go to Next Line

In the world of data analysis and office work, Microsoft Excel stands out as one of the most versatile and widely used tools. From financial analysts to marketing professionals, Excel's capabilities make it a staple in various industries. However, for newcomers and even seasoned users, there are always new tricks to learn that can streamline workflow and enhance productivity. One such trick is learning how to go to the next line within an Excel cell, which can be essential when entering detailed information or lists that are too long for a single line of text.
Why Is It Important to Go to the Next Line in Excel?

Mastering the next line functionality in Excel can improve:
- Readability: Long strings of text become more manageable.
- Organization: Lists, comments, and explanations can be broken down for clarity.
- Presentation: Visual appeal and structure within cells can convey professionalism.
How to Go to the Next Line in Excel

Let's explore the various methods you can use to move to the next line in an Excel cell:
1. Manual Method

The simplest way to go to the next line in an Excel cell is:
- Double-click on the cell where you want to add text.
- Place the cursor where you want to break the line.
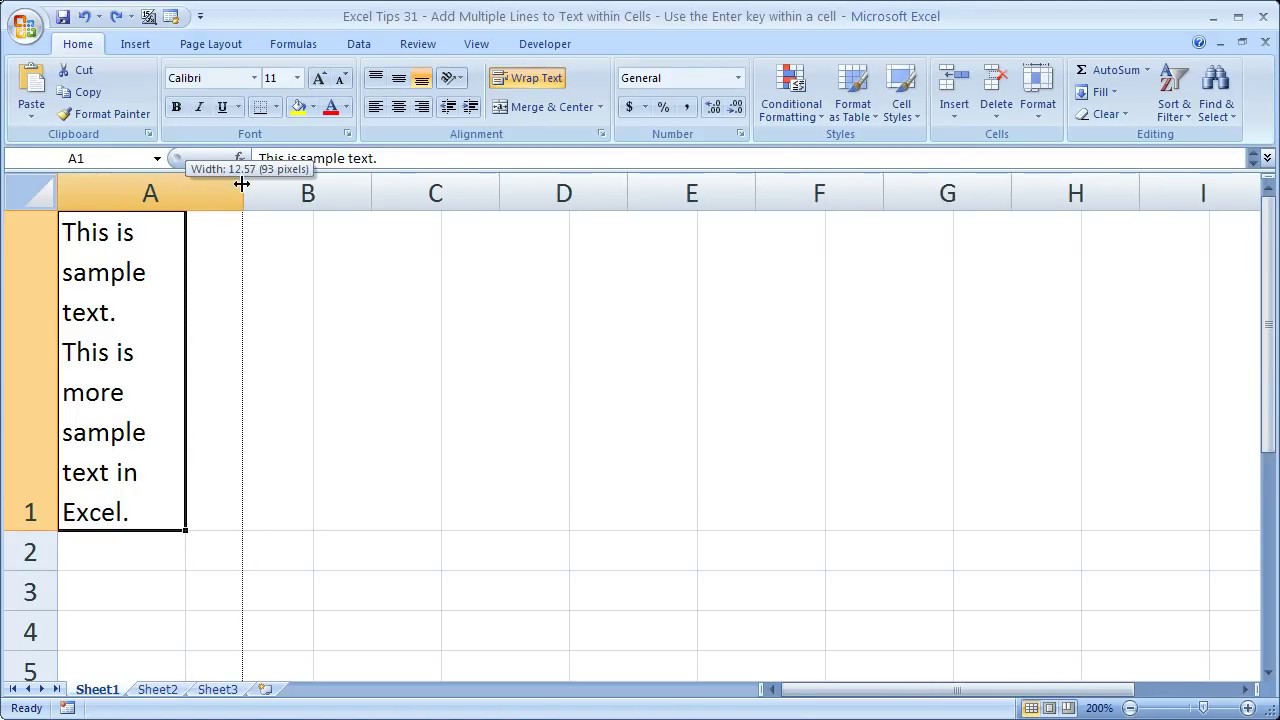
- Press Alt + Enter on your keyboard.
Remember:
⚠️ Note: This method only works when you're actively editing a cell. Attempting Alt + Enter outside of edit mode will yield no result.
2. Using Excel Formulas

Excel’s CHAR function can also help you achieve line breaks:
=A1 & CHAR(10) & B1Where:
- A1: The cell containing the first line of text.
- CHAR(10): Represents the line break (Alt + Enter in a formula).
- B1: The cell with text for the next line.
📝 Note: For the line break to be visible, make sure to enable "Wrap Text" in Excel's Home tab.
3. Bulk Update with VBA

If you need to insert line breaks across multiple cells or as part of a repetitive task, consider using Visual Basic for Applications (VBA):
Sub InsertLineBreaks()
    Dim rng As Range, cell As Range
    Set rng = Selection ‘or any defined range
    For Each cell In rng
        If InStr(cell.Value, “, “) Then
            cell.Value = Replace(cell.Value, “, “, vbLf)
        End If
    Next cell
End Sub
Here’s what the code does:
- Selection: The active range in the worksheet.
- If InStr… Checks for a comma followed by a space in the cell value.
- Replace: Swaps the comma space with a line break (vbLf).
⚙️ Note: Mac users should use CHAR(10) instead of vbLf in the VBA code.
Best Practices for Using Next Lines in Excel

To make the most of next line functionality:
- Keep Content Organized: Use line breaks to separate logical blocks of information.
- Wrap Text: Always enable text wrapping for cells where you insert line breaks.
- Consistent Formatting: Ensure cells with line breaks have uniform row heights to avoid visual inconsistencies.
- Readability: Be mindful of your audience; too many line breaks can be as confusing as too few.
By applying these methods, you enhance your Excel skills, making your work more efficient and visually appealing. Excel's ability to manage data in multiple lines within cells can help you present complex information in a more digestible format, leading to better communication and understanding within your team or organization.
Can I use the next line feature on Excel for the Web?

+
Yes, you can go to the next line in Excel for the Web by using the same Alt + Enter method while in edit mode, although not all features like wrapping text are immediately supported.
Is there a way to insert line breaks without using keyboard shortcuts?

+
You can manually insert a line break by clicking on the formula bar and then clicking the small arrow next to the Enter key to get the same effect as Alt + Enter.
What if the line breaks don’t appear in my printed document?

+
Make sure “Wrap Text” is enabled for the cells with line breaks, and check that the row height is sufficient to display all the lines. Adjust page setup options like “Fit to Page” if necessary.