Excel Sheet Names: Quick List Guide

Excel spreadsheets, known for their robust functionality and user-friendly interface, have become an indispensable tool for professionals across various industries. One of the most basic yet essential features within Excel is the ability to manage and navigate through multiple sheets within a single workbook. This guide will walk you through the nuances of Excel sheet names and provide practical tips on how to optimize their use for better organization and workflow efficiency.
Understanding Excel Sheets

Excel operates on a workbook model where each file you open is a workbook containing one or more sheets. These sheets, also referred to as worksheets or tabs, serve as separate pages within the workbook, each capable of holding different sets of data.
Default Sheet Naming

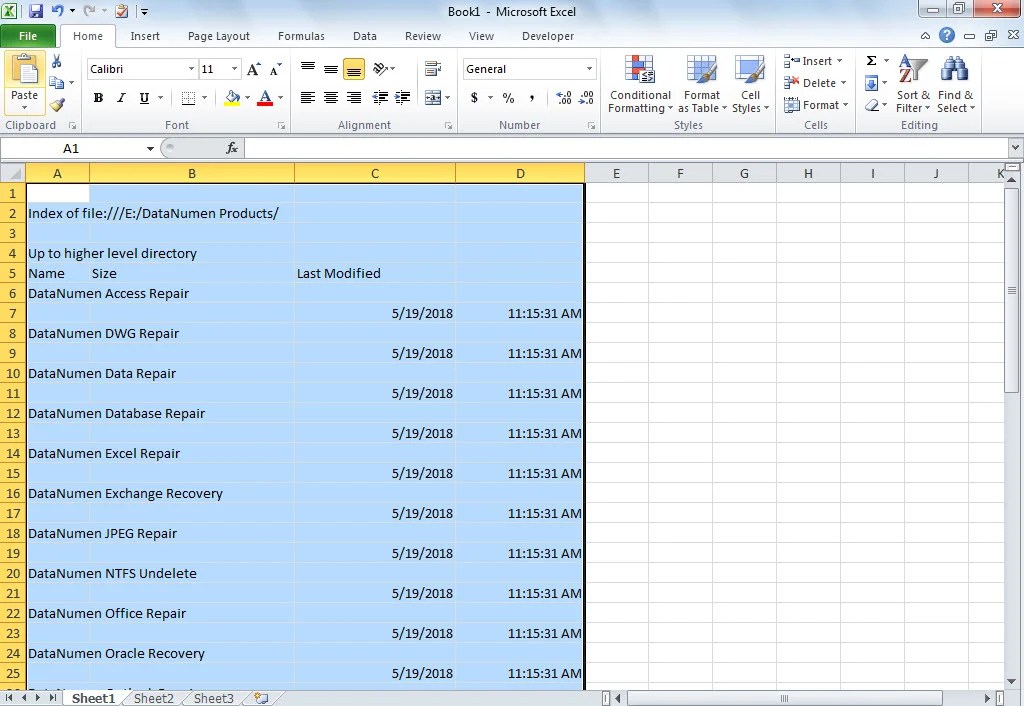
When you create a new workbook in Excel, it typically comes with three default sheets named Sheet1, Sheet2, and Sheet3. This default setup allows for immediate data organization or analysis without the need to rename sheets, although renaming is often beneficial for clarity and organization.
Renaming Excel Sheets

- Click on the Sheet Tab: Double-click the tab of the sheet you want to rename. A textbox appears where you can type the new name.
- Right-click Context Menu: Right-click the sheet tab to access the context menu. Select "Rename" and type the new name.
- Keyboard Shortcut: Use Alt+O+H+R to quickly rename the sheet you are currently viewing.
📋 Note: Sheet names cannot exceed 31 characters in length and should avoid using characters such as \ / ? * [ ] : , or any special character that might conflict with Excel functions or formulas.
Organizing Sheets for Efficiency

Organizing your Excel workbook efficiently involves more than just naming sheets. Here's how you can structure your data for optimal use:
Sheet Name Strategy

- Chronological Order: Name sheets by date or time period, e.g., 2023_Sales_April.
- Content-Based Naming: Use descriptive names like Inventory_Stock, Employee_Details, or Budget_2023.
- Project-Based Naming: Organize sheets by projects, e.g., Project_X, Project_Y.
Color Coding Sheets

Besides naming, you can color-code sheets for visual distinction:
- Right-click the Sheet Tab and choose "Tab Color" to assign a color. Use colors to categorize related sheets or to highlight important ones.
| Category | Suggested Color | Reason |
|---|---|---|
| Financials | Green | To symbolize money or positive financial growth |
| Inventory | Blue | To represent stability and order in stock levels |
| HR | Red | To signify human resources and employee-related data |

🖍 Note: Be cautious not to use too many similar colors, which might make distinguishing between sheets difficult, especially for colorblind individuals.
Navigating and Managing Multiple Sheets

Dealing with numerous sheets can be overwhelming. Here are some techniques to make this task more manageable:
Hyperlinks for Navigation

- Create hyperlinks within cells to jump to specific sheets. Right-click the cell, choose "Hyperlink," then select the sheet you want to link to.
Sheet View Options

- New Window: Use the "New Window" feature to open a duplicate workbook to view multiple sheets at once. Go to View > New Window.
- Arrange All: After opening multiple windows, use View > Arrange All to display sheets side by side or stacked.
Advanced Techniques for Sheet Management

Creating Sheet Templates

Creating a template sheet can streamline repetitive tasks. Here’s how you can do this:
- Set up a sheet with headers, formulas, or formats that are commonly used.
- Save this sheet as a template by copying it, renaming it as Template, and using it as a base for new sheets. You can then right-click the sheet tab to duplicate the template for new data.
Sheet Group Editing

To apply changes to multiple sheets simultaneously:
- Group Sheets: Click the first sheet tab, hold Shift or Ctrl (Windows) or Command (Mac) and click additional tabs to group them.
- Edit All at Once: Any changes made to one sheet will reflect in all grouped sheets until they are ungrouped.
Conclusion

Navigating and organizing Excel sheets efficiently is not just about managing data but also about streamlining your workflow to save time and reduce errors. From renaming sheets to employing color-coding and utilizing advanced features like grouping sheets, Excel provides numerous tools to enhance productivity. By implementing these strategies, you can transform a cluttered workbook into an organized powerhouse of information, ensuring that every time you open your workbook, you are greeted with an intuitive, easy-to-navigate structure that supports your analysis and decision-making processes.
What is the maximum number of sheets I can have in an Excel workbook?

+
Excel has a limit of 255 sheets per workbook. However, for performance reasons, it’s advisable to keep the number of sheets within a more manageable range.
Can I use special characters in sheet names?

+
Yes, but with caution. Avoid using characters like \ / ? * [ ] : , as they can interfere with Excel formulas and functions. Stick to basic alphanumeric characters for clarity.
How can I quickly navigate to a specific sheet?
+Using the Ctrl+Page Up or Ctrl+Page Down shortcuts will help you cycle through sheets. Alternatively, create hyperlinks in cells to directly jump to specific sheets.
Can I save multiple sheets with different formats?
+Yes, you can save sheets with different formats by using the “Save As” feature and selecting different formats for each sheet. However, this isn’t a simultaneous process; you would need to save each sheet individually.
What happens if I rename a sheet that is referenced in formulas?
+If you rename a sheet that is referenced in formulas, Excel will not automatically update those formulas. You will need to manually update the references to reflect the new sheet name.