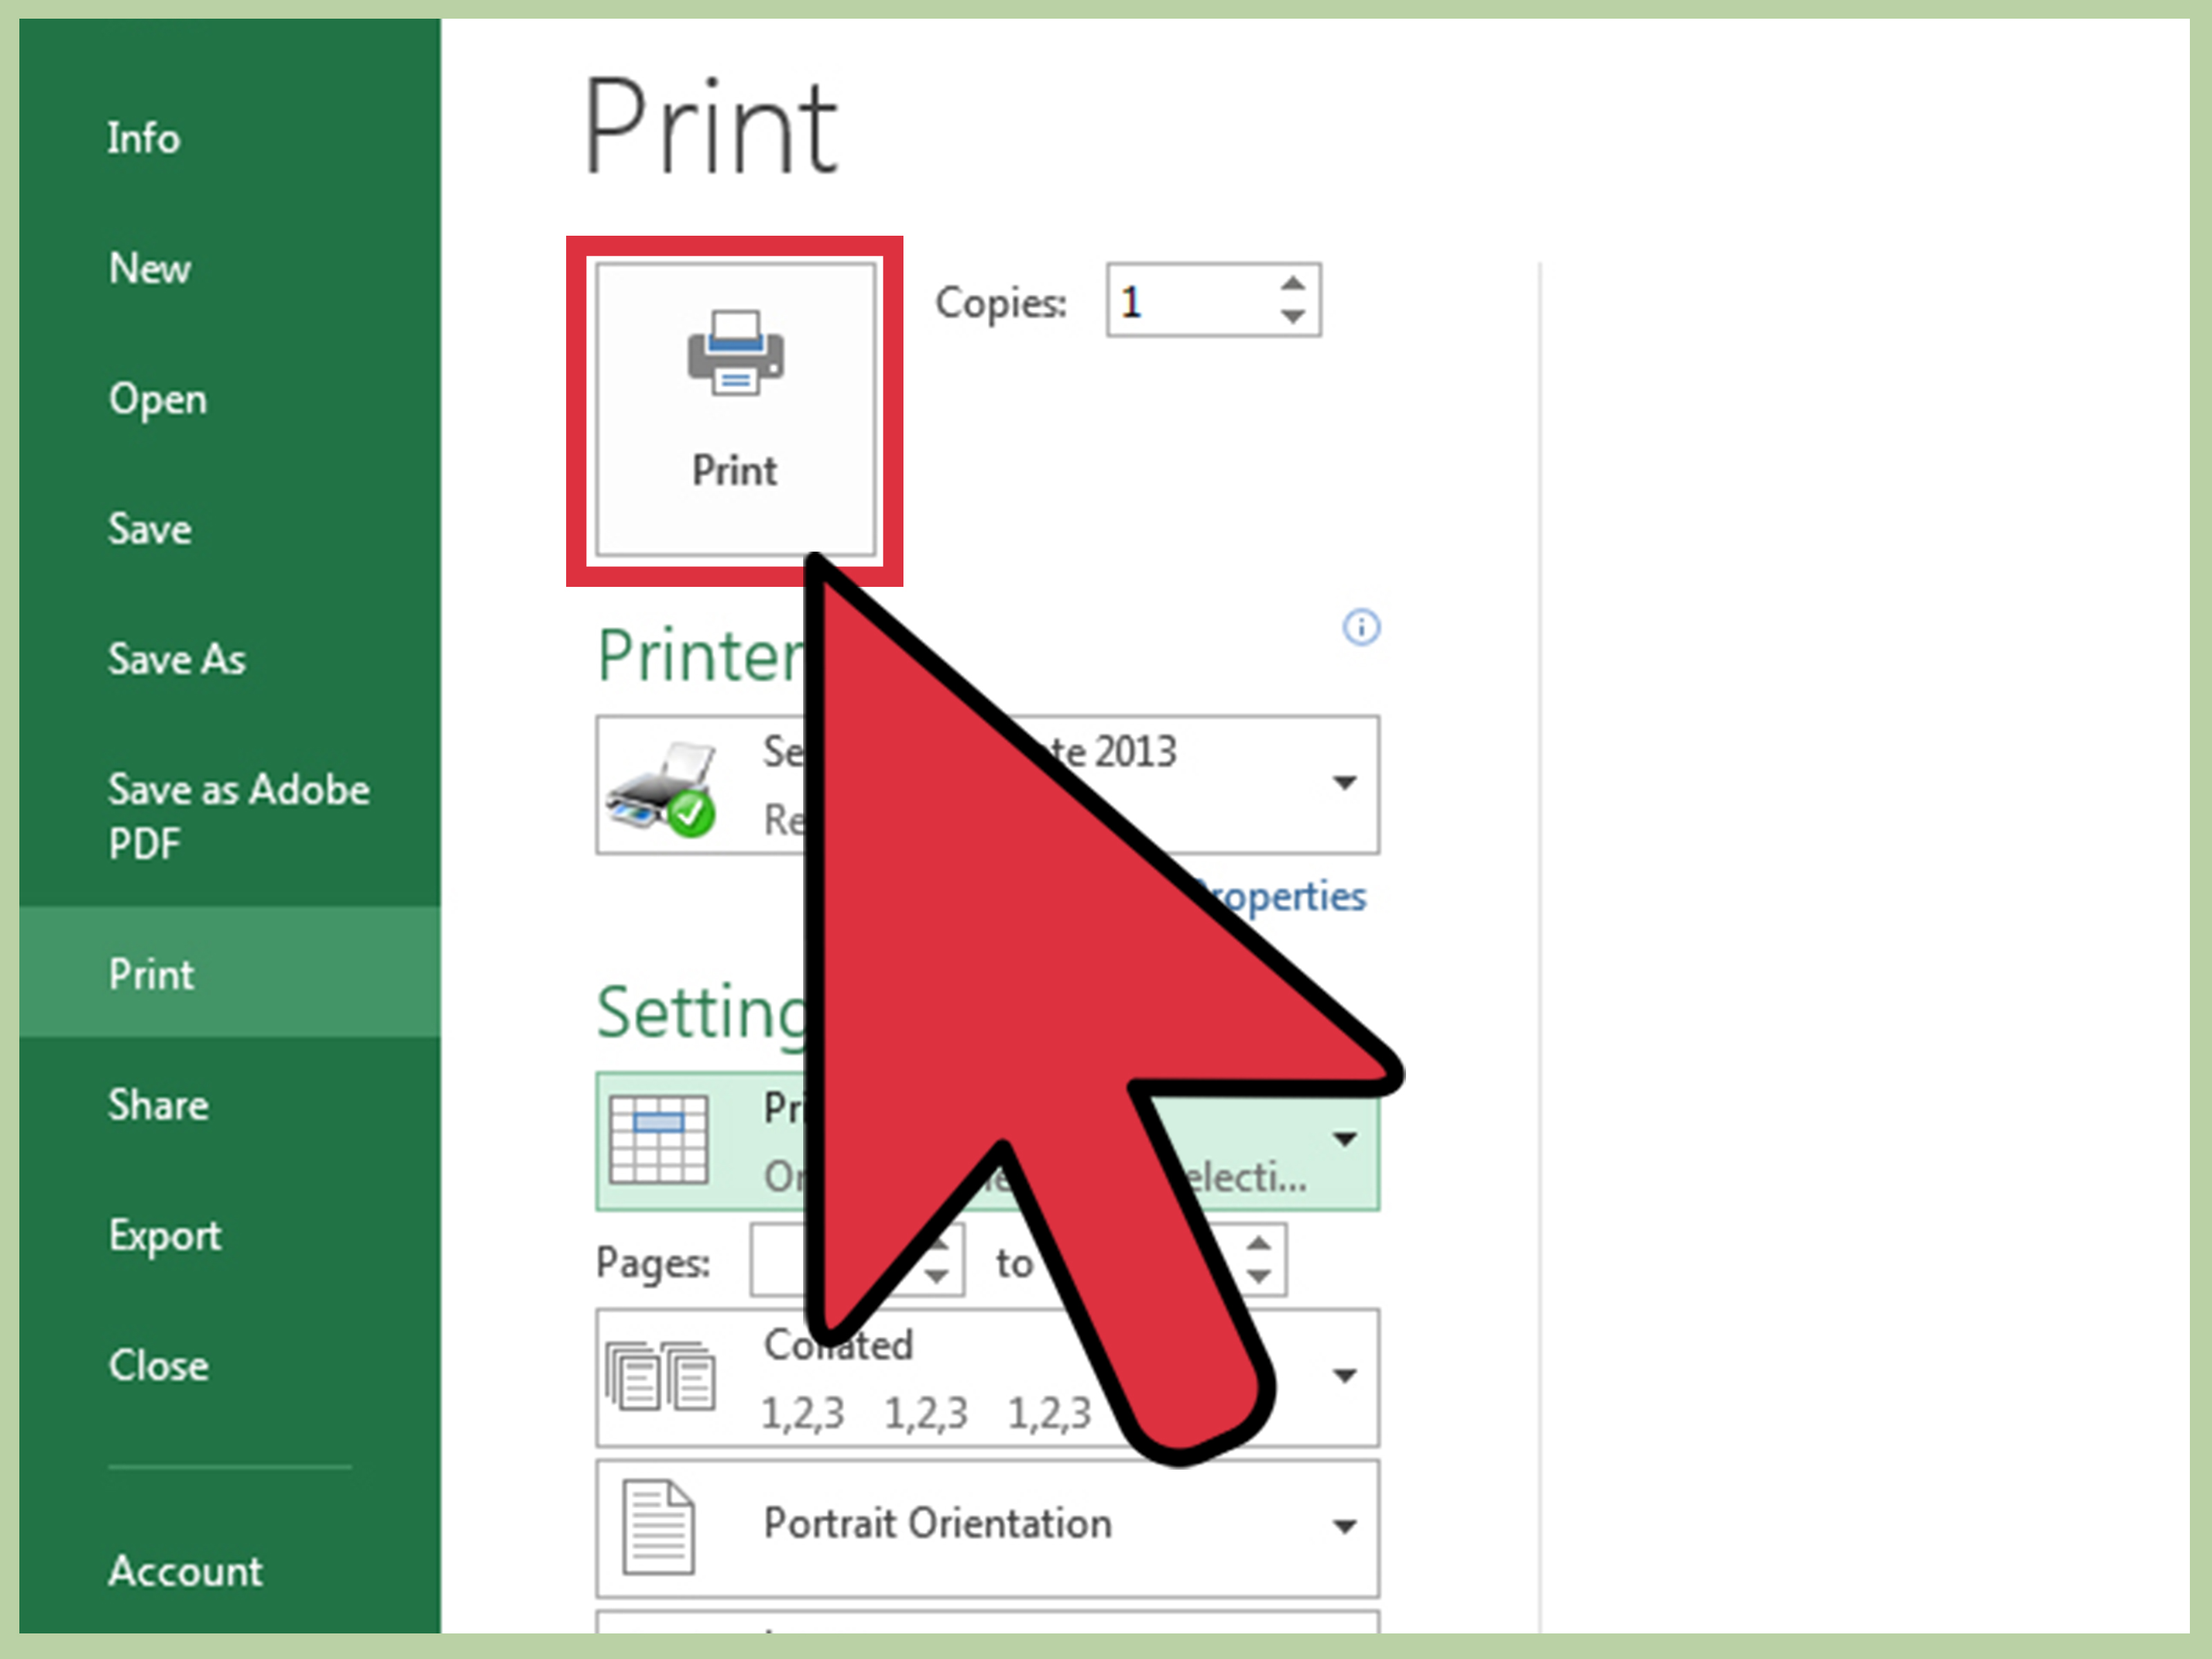
3 Simple Steps to Print Your Excel Sheet Perfectly

Imagine you've just spent hours crafting the perfect Excel spreadsheet, full of charts, graphs, and data analyses. Now, you need to print this masterpiece to share with your team or present at a meeting. But printing Excel sheets can sometimes lead to unexpected outcomes, with pages missing crucial information or formatting getting all jumbled up. This frustration can be avoided with the right steps. In this guide, we'll explore three simple, yet powerful steps to ensure you print your Excel sheet perfectly every time.
Step 1: Optimize Your Page Layout

Before you even think about hitting the print button, consider the layout of your Excel sheet. Here’s how to prepare:
- Page Orientation: Decide between portrait or landscape based on your sheet’s content. Landscape is often better for wide sheets with many columns.
- Margins: Go to Page Layout > Margins and set appropriate margins. Consider normal, wide, or custom settings according to your requirements.
- Print Area: If you don’t need everything on the sheet to print, define a Print Area. Select the cells or area, then go to Page Layout > Print Area > Set Print Area.
- Headers and Footers: Utilize headers and footers for adding page numbers, document titles, or company logos which are useful for reference.
- Scale to Fit: Use the Page Layout > Scale to Fit option if your data exceeds one page. You can shrink the printout to fit on fewer pages without distorting the view.
💡 Note: Scaling might reduce readability. Ensure the final printout remains clear and legible.
Step 2: Fine-Tune Print Settings

After setting your layout, proceed with the print setup:
- Print Quality: Choose the right print quality. Higher quality might be slower but ensures better detail.
- Paper Size: Confirm the paper size in Page Setup > Paper Size to match your printer’s capabilities.
- Print Selection, Active Sheet, or Workbook: Depending on your needs, choose whether to print the entire workbook or just selected parts.
- Print Preview: Always review the print preview. This allows you to see how the document will look before printing.
- Fit to Page: If your document has multiple pages, consider fitting everything into a single page for presentation purposes.
✅ Note: Always check the printer's capabilities regarding print quality and paper size to avoid any last-minute issues.
Step 3: Use Excel’s Advanced Printing Features

Excel has advanced features that can take your printing to the next level:
- Repeating Rows/Columns: If your document spans multiple pages, you can repeat certain rows or columns on each page. Go to Page Layout > Print Titles to set this.
- Page Breaks: Control where pages should break to prevent data splitting awkwardly. Use Page Layout > Breaks for manual breaks.
- Print Titles: Add titles or labels on each page for better document navigation.
- Print Formatting: Ensure your formatting like cell color, borders, and fonts are printed accurately.
| Feature | How to Use |
|---|---|
| Repeating Rows/Columns | Page Layout > Print Titles > Rows to Repeat at Top |
| Page Breaks | Page Layout > Breaks > Insert Page Break |

By following these steps, you're well on your way to mastering the art of printing Excel sheets. Each step ensures your document not only looks professional but also effectively communicates the data as intended. Whether it's for a formal presentation or internal reporting, your documents will be clear, concise, and visually appealing.
What should I do if my printer doesn’t support the paper size I need?

+
If your printer doesn’t support the paper size you’ve chosen, you can either scale your document to fit on a smaller size or look for a different printer that supports the desired paper size.
Can I print my Excel sheet directly to PDF?

+
Yes, you can print to PDF in Excel. Choose the Save As option, select PDF as the file type, and set your print settings accordingly before saving.
How do I ensure my gridlines and borders print?

+
Go to Page Layout and check the boxes for Print under Gridlines and Borders.