How to Easily Freeze Titles in Excel Sheets
Mastering Excel's various functions is a valuable skill that can significantly boost productivity, especially when managing extensive datasets. One particularly useful feature is the ability to freeze titles, or 'freeze panes', in Excel spreadsheets. Freezing titles ensures that specific row or column headers remain visible as you scroll through large amounts of data. This guide will walk you through the step-by-step process of how to freeze titles in Excel, and discuss various scenarios where this feature can enhance your data handling efficiency.
Understanding the Freeze Panes Feature

Before diving into how to use it, let's clarify what freezing panes means in Excel:
- Freezing panes locks specific rows or columns in place, making them always visible while you scroll through your data.
- This feature is particularly useful for datasets where headers or essential information need to be kept in view for context.
📝 Note: Freezing titles does not affect the actual data in your spreadsheet; it only changes how the spreadsheet is displayed on your screen.
How to Freeze Rows
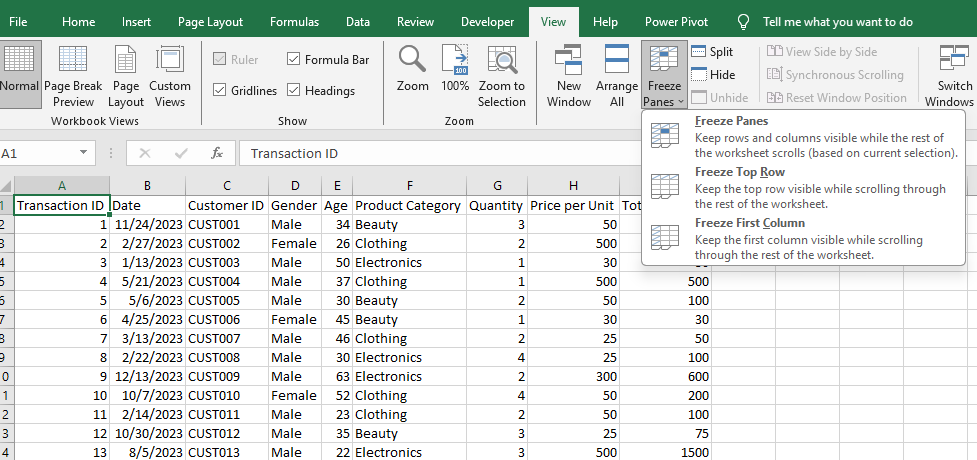
Freezing the top row is one of the most common uses for this feature:
- Open your Excel worksheet.
- Select the row below where you want the freeze to start. For example, if you want to freeze the first row, click on row 2.
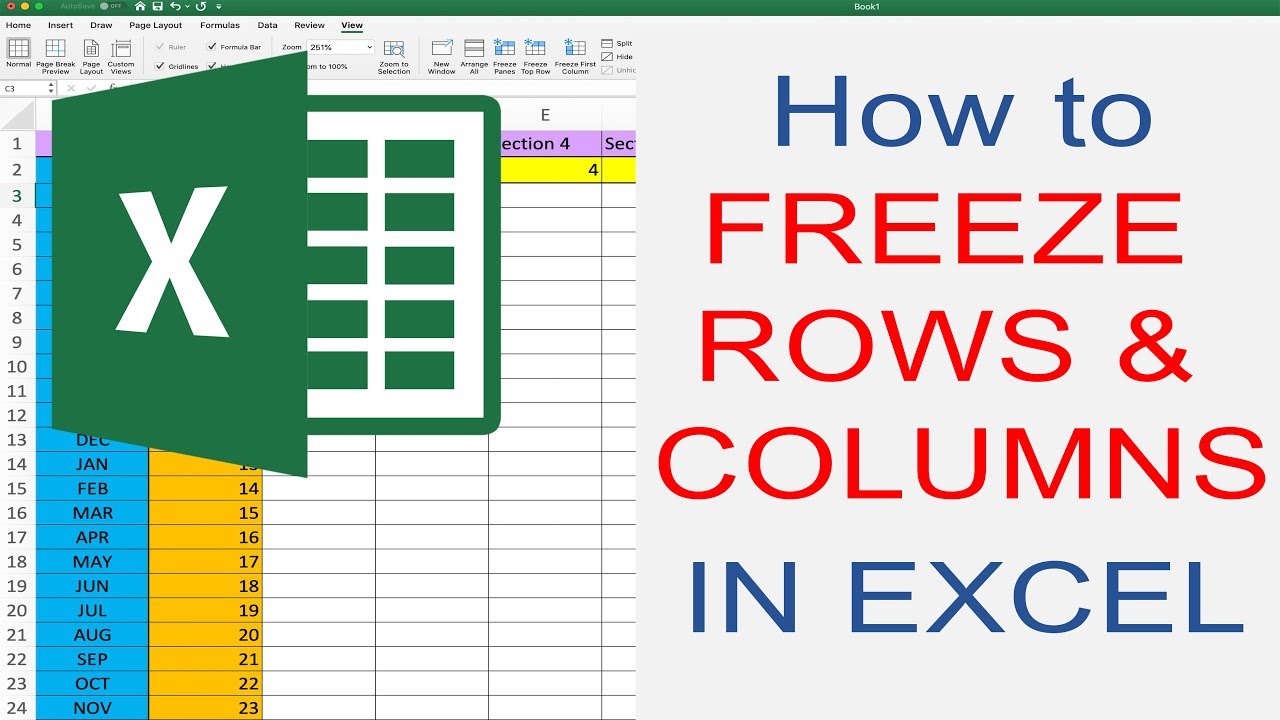
- Go to the View tab.
- From the Window group, click on Freeze Panes.
- Choose Freeze Top Row from the dropdown menu.

How to Freeze Columns
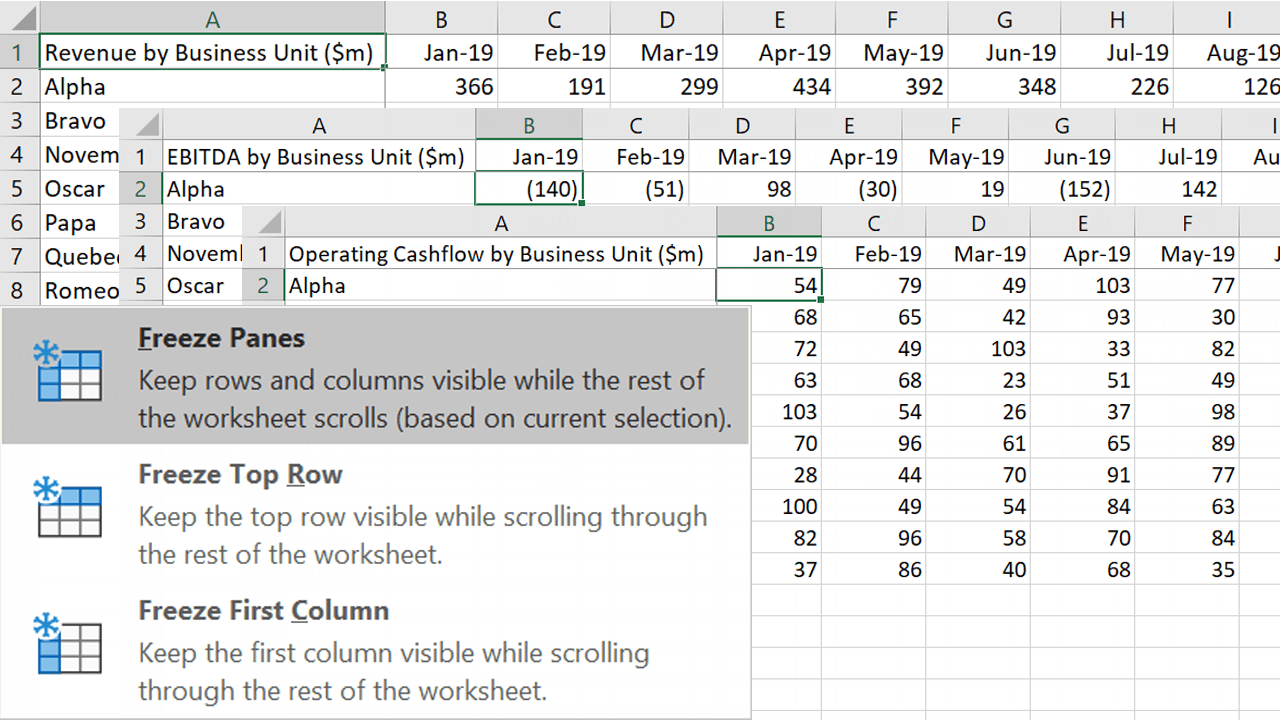
Similarly, you can freeze the leftmost columns:
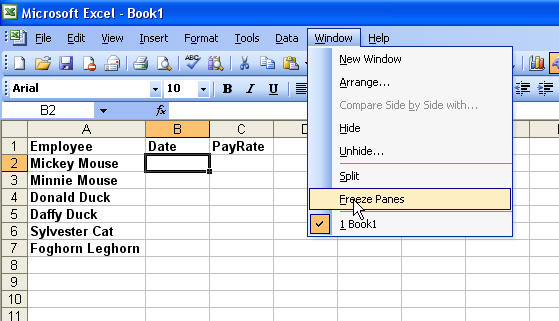
- Select the column to the right of where you want the freeze to begin. If freezing column A, click on column B.
- Go to the View tab.
- From the Window group, select Freeze Panes.
- Choose Freeze First Column from the options.

Freezing Multiple Rows and Columns
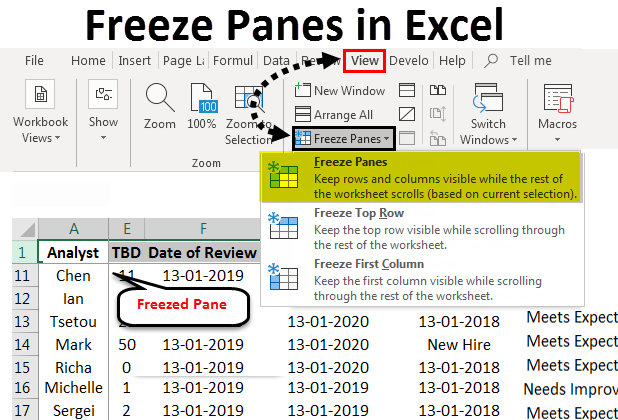
Here's how you can freeze both rows and columns simultaneously:
- Select the cell below and to the right of the rows and columns you wish to freeze.
- Navigate to the View tab.
- Click Freeze Panes from the Window group.
- Select Freeze Panes (the first option).
| Action | Result |
|---|---|
| Click cell C3 | Freezes A1 to B2 |
| Click cell E5 | Freezes A1 to D4 |
Unfreezing Titles in Excel

To revert the freeze pane effect:
- Go to the View tab.
- Under the Window group, click Freeze Panes.
- Select Unfreeze Panes.
This action will immediately disable any freezing in the current worksheet.
🔍 Note: Remember to adjust the freeze if you change your data structure to keep relevant headers or rows always visible.
Advanced Tips for Freezing Panes

- Shortcuts: Use keyboard shortcuts to speed up the process. For example, Alt+W,F,F for freezing panes, Alt+W,F,R for unfreezing.
- Freeze Panes in Multiple Worksheets: You can apply freezing to multiple worksheets by selecting them while holding Ctrl before applying the freeze.
Real-World Applications

Freezing titles can benefit:
- Data Analysts who need to constantly refer to headers while reviewing data.
- Teachers for grading sheets where student names need to be visible at all times.
- Business managers for financial reports where column headers (like months, years) remain visible.
By mastering the technique of freezing panes, you ensure that your workflow in Excel remains efficient and your data analysis or management is more streamlined. This simple yet powerful tool can make navigating through vast datasets much more manageable.
Frequently Asked Questions

Can I freeze panes in Excel Online?

+
Yes, Excel Online supports freezing panes. The steps are quite similar; you can find the option under the View tab as in the desktop version.
What if I only want to freeze the first column?
+
Click on the top of column B, go to the View tab, select Freeze Panes, and choose “Freeze First Column”.
How do I know if panes are frozen in my Excel sheet?

+
When panes are frozen, a thin black line appears where the split occurs. You’ll also notice that while scrolling, some rows or columns remain in place.
Is there a limitation to how many rows or columns I can freeze?
+
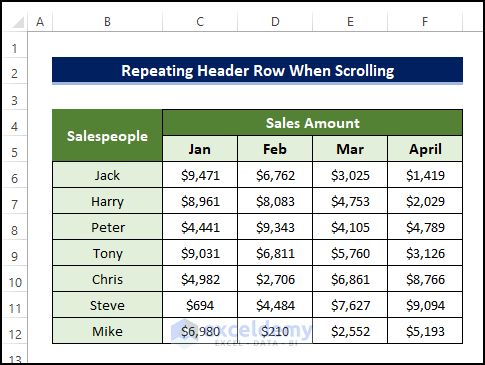
While there are no specific limitations, freezing too many rows or columns can reduce the visible working area of your spreadsheet. Practically, you’d want to limit it to what you need for your task at hand.