How To Format Excel Sheets For Text

Formatting an Excel sheet effectively involves more than just inputting data; it's about making that data accessible, understandable, and visually appealing. This comprehensive guide will walk you through the process of formatting Excel sheets for text, ensuring your spreadsheets are both functional and aesthetically pleasing.
Basic Text Formatting in Excel

Before diving into advanced techniques, understanding the basics of text formatting in Excel is crucial:
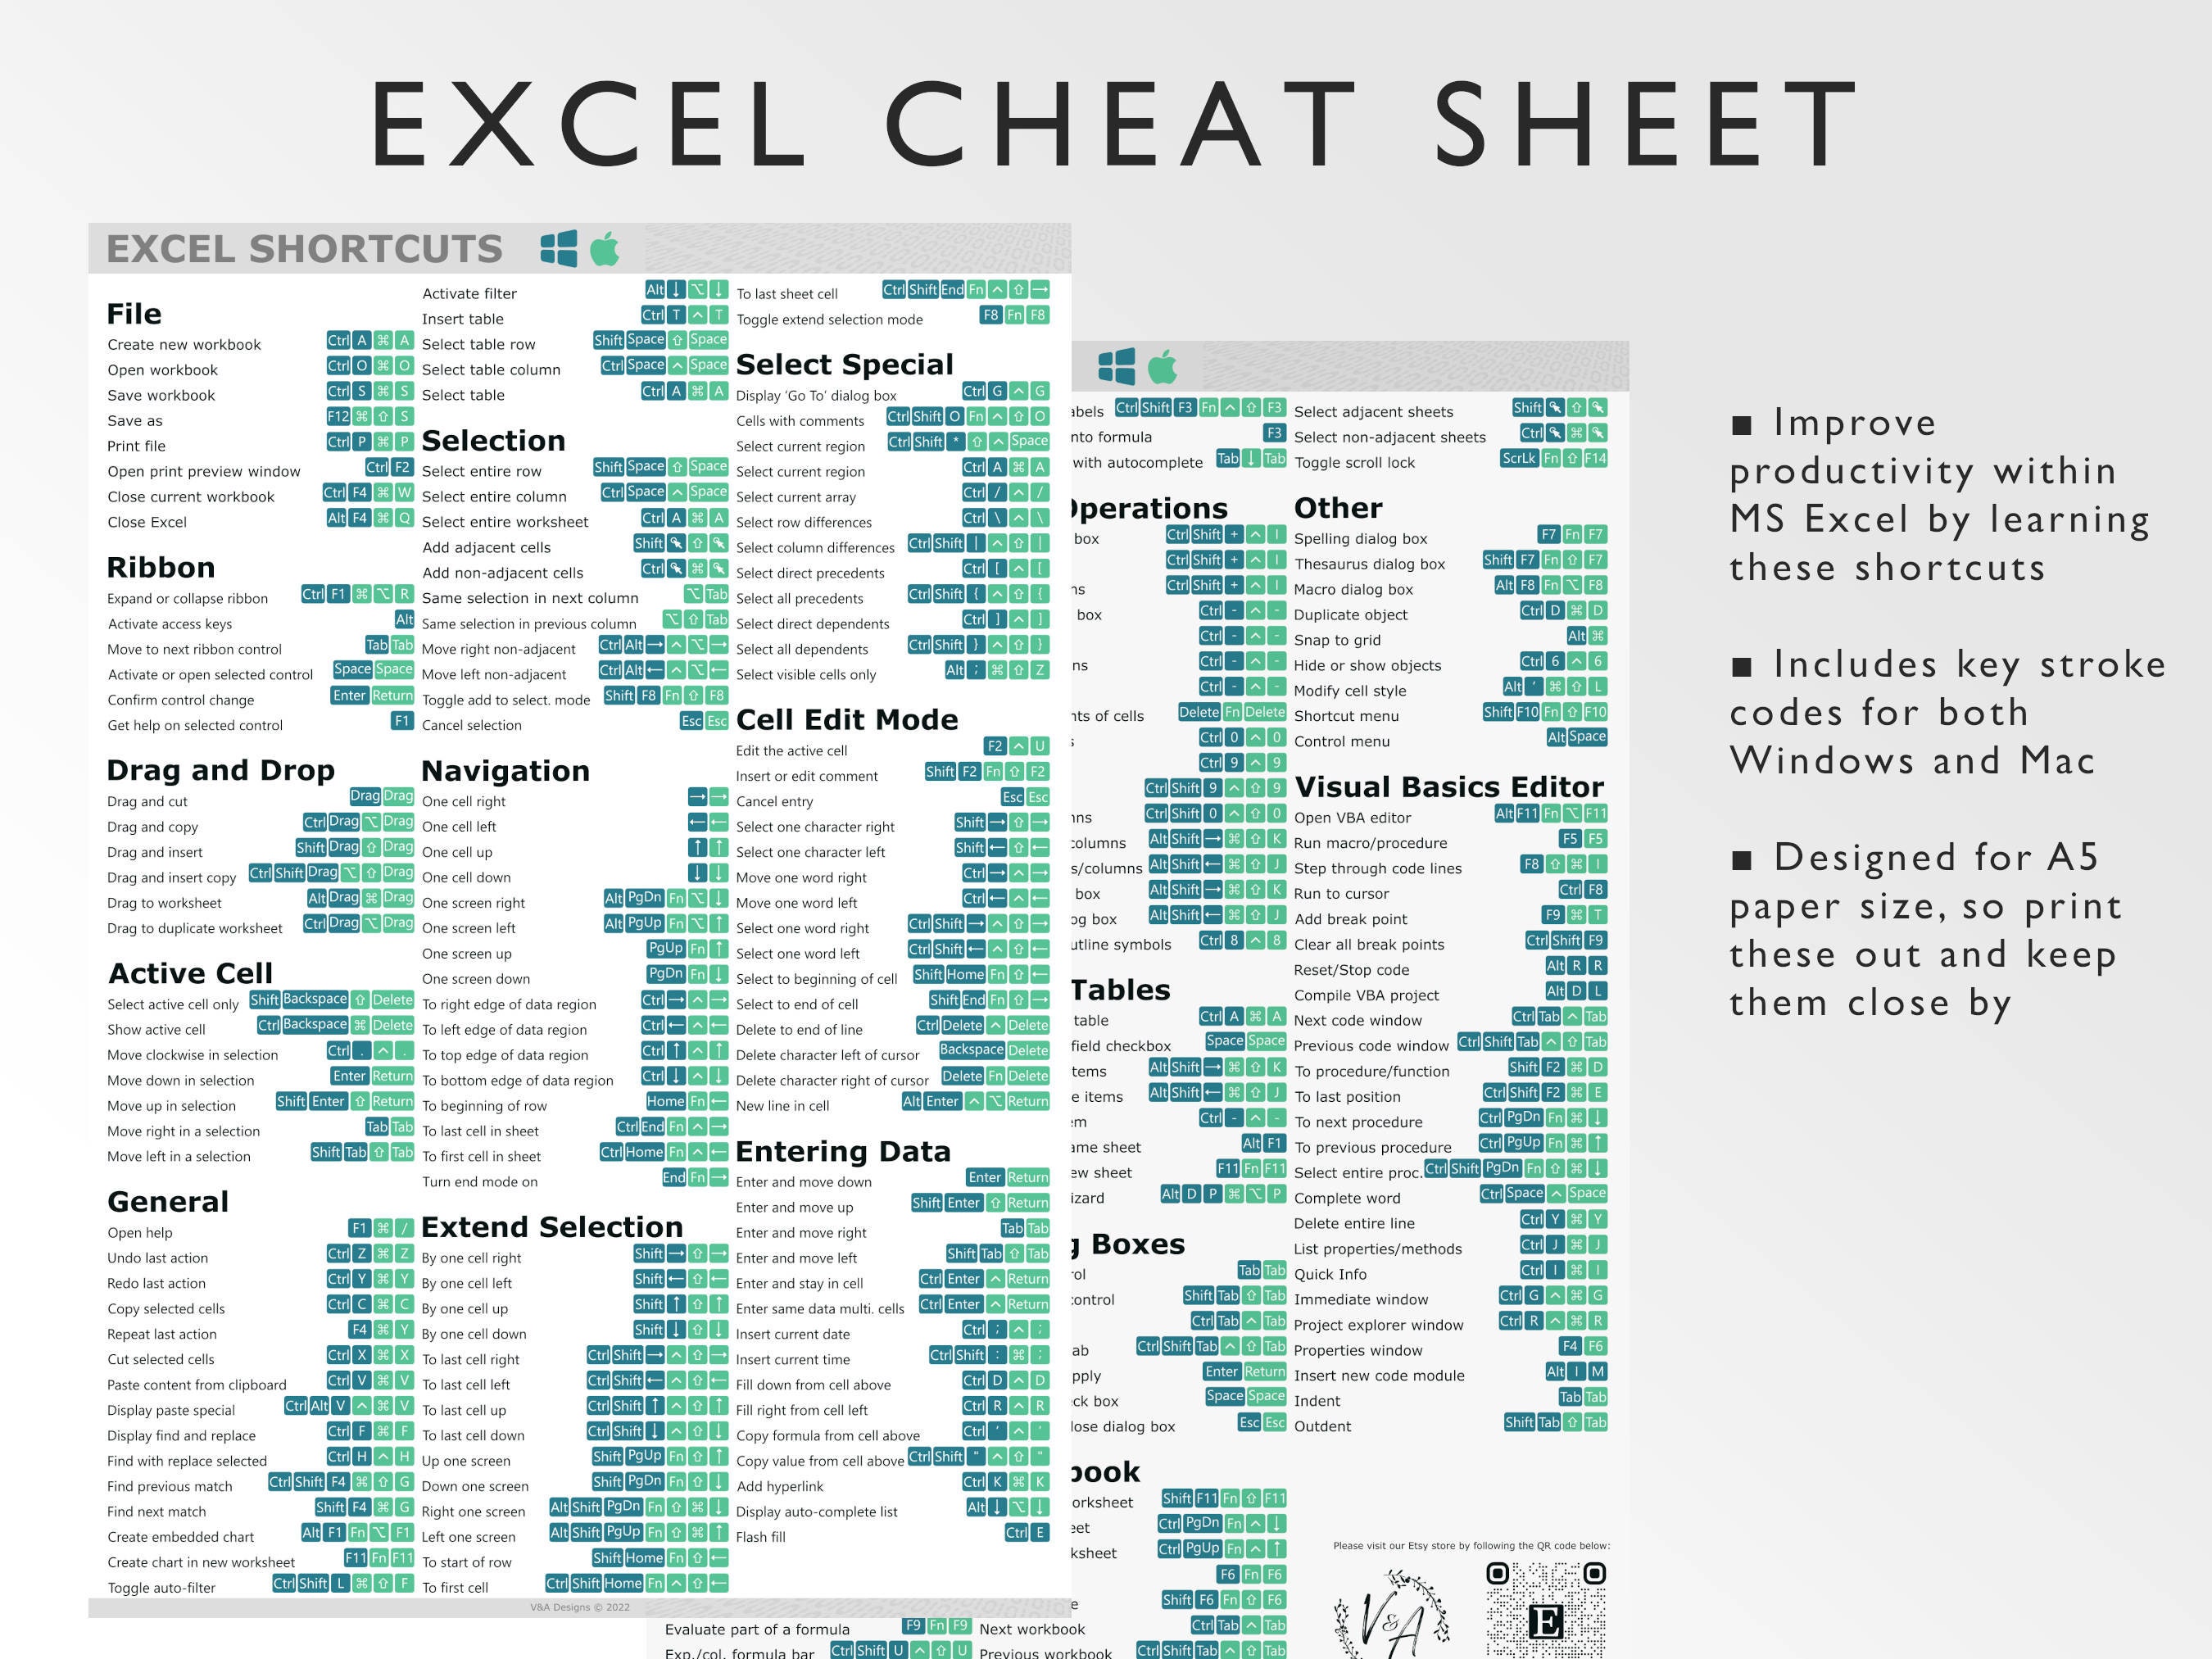
- Font Size and Style: Adjust font size and style (bold, italic, underline) via the Home tab or shortcut keys like Ctrl+B for bold, Ctrl+I for italic, and Ctrl+U for underline.
- Text Color: Change text color to enhance readability or to highlight important information.
- Cell Alignment: Align text vertically and horizontally within cells to create a tidy look. Use 'Merge & Center' for titles to cover multiple columns.
Advanced Text Formatting Options

Here are some advanced text formatting options you can use to elevate your Excel sheets:
- Conditional Formatting: Apply rules to cells that change formatting based on cell values, like highlighting overdue tasks in red.
- Custom Number Formats: Use custom formats to display text with numbers, ensuring data like dates or codes are displayed consistently.
- Text to Columns: Split text from one cell into multiple cells, useful for separating names, addresses, or other formatted text data.
📝 Note: Conditional Formatting can be overwhelming if overused; keep it minimal to maintain clarity in your sheets.
Working with Long Text in Excel

Long text entries in Excel can often be a challenge:
- Wrap Text: This feature wraps text within a cell to ensure it's fully visible without overlapping other cells.
- Shrink to Fit: Automatically reduces the text size to fit the cell width, keeping text in view.
- Merge & Center: Use this for headers or long titles, but remember it can complicate later data manipulation.
| Feature | Function |
|---|---|
| Wrap Text | Adjusts cell height to show all text. |
| Shrink to Fit | Reduces font size for better fit. |
| Merge & Center | Combines cells for a single large entry. |

🧠 Note: Merging cells can lead to issues when sorting, filtering, or applying functions like SUM or AVERAGE.
Inserting Images and Icons

Sometimes, visual elements like images or icons can enhance your text:
- Inserting Images: Use the Insert tab to add images related to your data, like logos or illustrative pictures.
- Icon Integration: Excel offers a wide selection of icons for visual cues or to categorize information.
To summarize, formatting text in Excel sheets involves:
- Applying basic formatting techniques like font style, size, and color.
- Utilizing advanced features such as conditional formatting and custom number formats.
- Managing long text entries effectively.
- Adding visual elements to enhance the presentation of data.
🎨 Note: Overuse of colors, icons, or formatting can clutter your sheet, reducing its effectiveness.
FAQs

How do I wrap text in Excel?

+
To wrap text in Excel, select the cells, then go to the Home tab and click on the "Wrap Text" icon in the Alignment group.
What is the best way to merge cells without affecting functionality?

+
The best practice is to merge cells only for headers or titles, avoiding merged cells within data blocks to prevent issues with sorting, filtering, or calculations.
Can I use conditional formatting for text?

+
Yes, conditional formatting can be applied to text as well, based on cell value, text content, or other conditions like duplicate values or errors.
By following the above guidelines and employing these tips, you can ensure that your Excel sheets not only hold valuable data but also present it in a way that’s both clear and visually appealing, enhancing usability and effectiveness.