7 Tips to Perfectly Format Excel for Printing
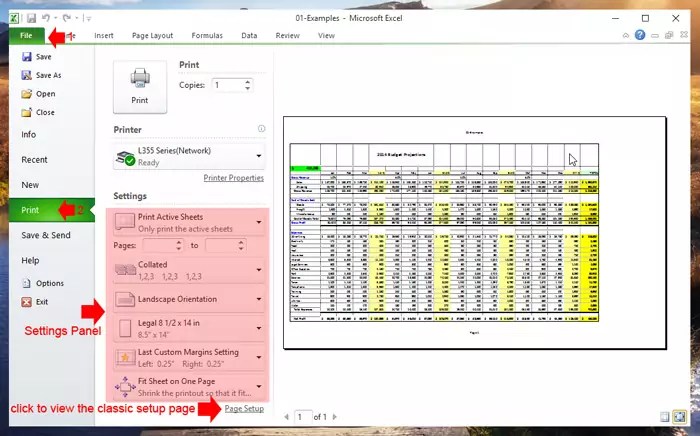
Formatting an Excel spreadsheet for printing is an essential skill that ensures your data not only looks professional but is also easily readable. Here, we'll explore 7 tips that will help you master the art of formatting your Excel sheets for perfect printouts. These tips range from layout adjustments to print settings, ensuring that your data prints exactly how you intend it to, from the first cell to the last, with clarity and organization.
Tip 1: Optimize Page Layout


Before you dive into detailed formatting, set up the page layout. Here’s how:
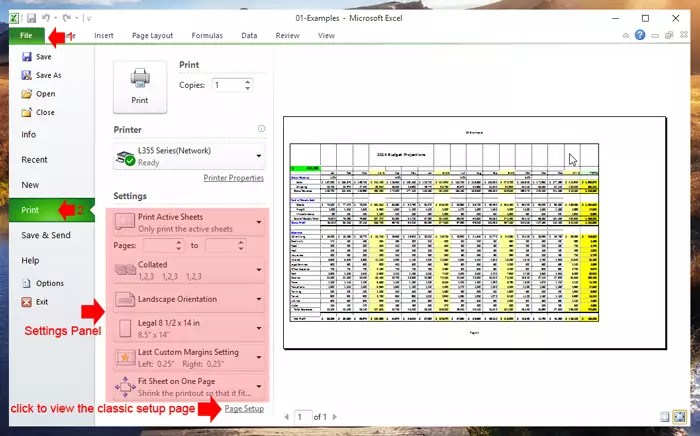
- Page Orientation: Choose between portrait or landscape based on your data layout. Use landscape for wide tables.
- Margins: Adjust margins to fit more content if necessary, but ensure there’s enough space to keep the printout professional.
- Paper Size: Ensure the paper size matches what your printer uses.
- Print Area: Define the specific cells or ranges to print to avoid any unnecessary blank pages.
Tip 2: Use Cell Styles
Uniformity in formatting can make a significant difference in how your data is perceived:
- Cell Styles: Employ cell styles like ‘Good’, ‘Neutral’, or ‘Bad’ to highlight different data segments.
- Format Painter: Use this tool to apply the same format to other cells quickly.
- Conditional Formatting: Apply conditional formatting to visualize data trends or highlight specific values.
💡 Note: Overuse of cell styles can clutter your spreadsheet. Keep it minimal for clarity.
Tip 3: Manage Page Breaks

Excel’s automatic page breaks can split your data in ways you might not want. Here’s how to control them:
- Manual Page Breaks: Insert them where you want new pages to start, ensuring crucial data stays together.
- Page Break Preview: Use this view to see how your pages will split and adjust accordingly.
- Page Break Settings: Set page breaks in the ‘Page Layout’ view to fine-tune the placement.
Tip 4: Print Titles

To ensure that headers and row labels are consistently visible across all printed pages:
- Row and Column Titles: Set specific rows or columns to repeat at the top or left side of each page.
Here’s how you can do this:
Page Layout > Page Setup Group > Print Titles > Rows to Repeat at Top
Page Layout > Page Setup Group > Print Titles > Columns to Repeat at Left
Tip 5: Fit Data to One Page

If you need to fit your data onto a single page without altering its structure, consider these options:
- Shrink to Fit: Automatically scales down the font size to fit on one page.
- Adjust Scale: Manually decrease or increase the scaling percentage to fit your data.
📝 Note: Excessive scaling can make text hard to read, so find a balance.
Tip 6: Use Gridlines and Borders
Gridlines and borders can significantly improve readability when printed:
- Gridlines: Enable gridlines to provide a clear visual separation between cells.
- Borders: Add borders around critical sections or for emphasis on specific data points.
Tip 7: Preview Before Printing
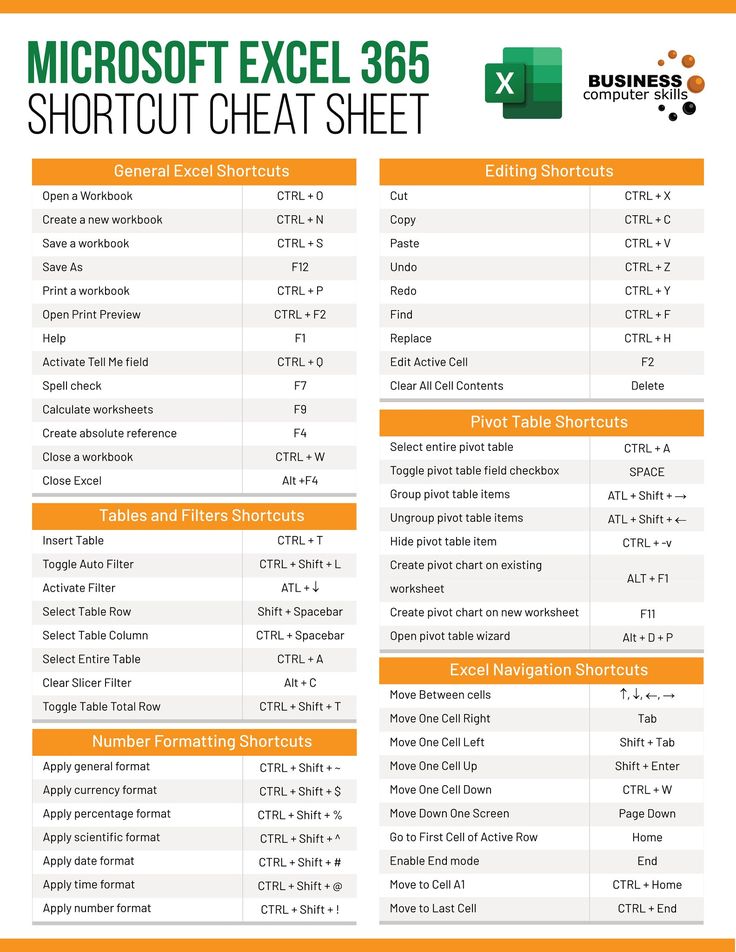

A final check using the Print Preview feature can save paper and time:
- Preview: Check the layout, page breaks, and headers/footers.
- Adjust Settings: If necessary, tweak your formatting or settings based on the preview.
With these tips, you’re now equipped to format Excel spreadsheets that print perfectly, enhancing the clarity, professionalism, and overall effectiveness of your data presentation. Remember, the key is in the details - from setting up your layout, using styles, managing page breaks, to ensuring your printouts are previewed for perfection. By applying these techniques, your next print job from Excel will look as good on paper as it does on screen.
Can I set different print areas for different tabs in the same workbook?
+
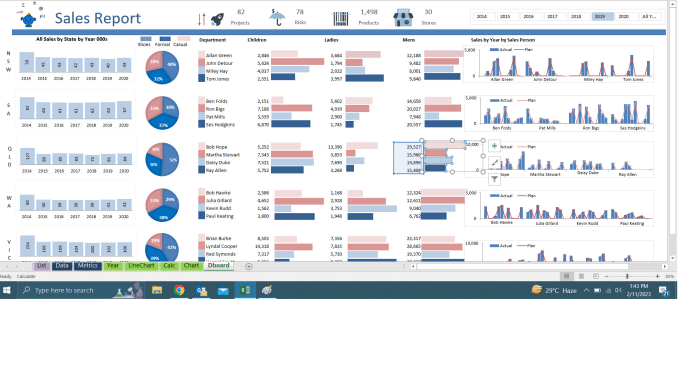
Yes, you can define print areas for each worksheet independently. Just select the desired range, go to Page Layout > Print Area > Set Print Area for each sheet.
How do I print formulas instead of calculated values?
+
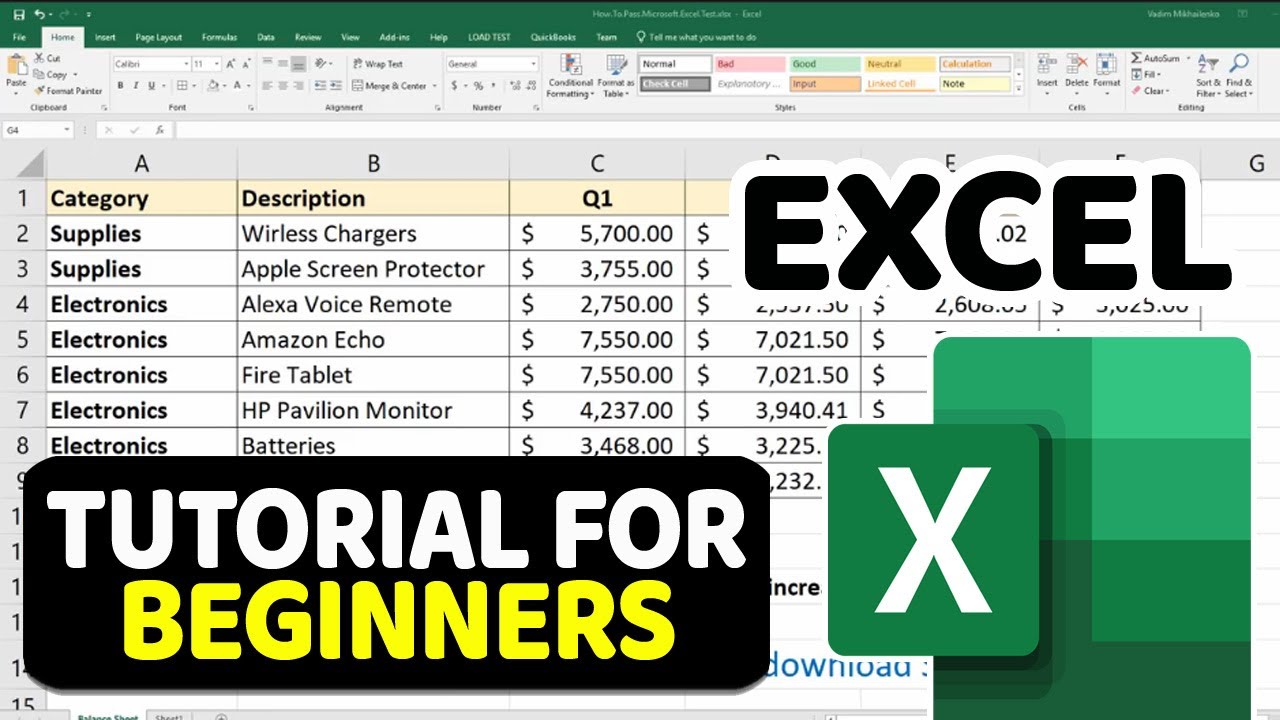
Switch to formula view by pressing Ctrl + ` (grave accent) or by selecting Formulas > Show Formulas, then print the sheet. Remember to revert back to normal view after printing.
What if my printer doesn’t support landscape orientation?
+
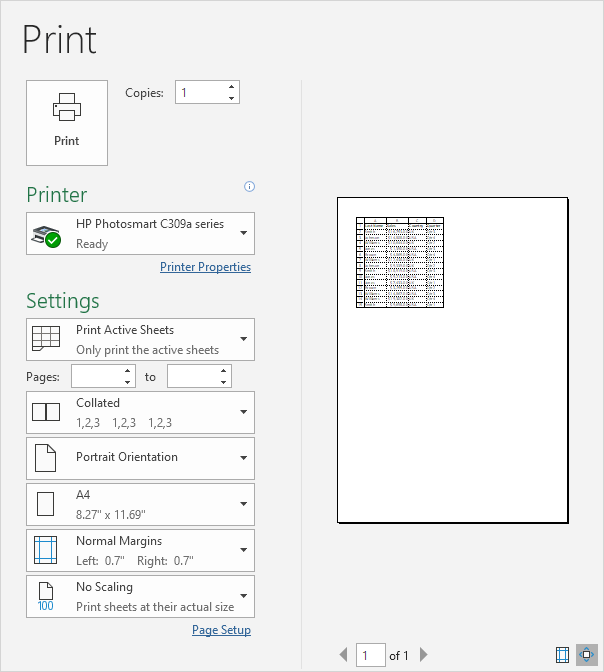
If your printer only supports portrait orientation, you can still fit your data by adjusting the scale percentage or choosing to print multiple sheets with defined print areas that better fit the portrait format.