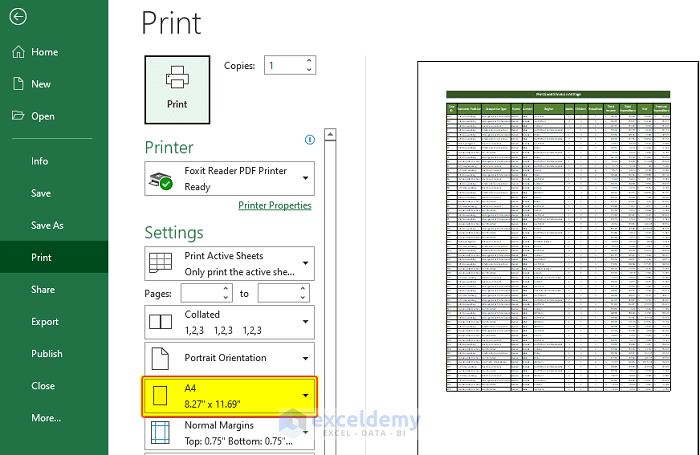
5 Easy Tips to Fit Excel Sheet to One Page PDF

When working with data in Microsoft Excel, you might often find yourself in a situation where you need to convert your Excel sheet into a PDF document. However, getting your spreadsheet to fit neatly onto a single page PDF can be challenging, especially if your data spans multiple pages or if the cell widths do not adjust properly. Here are five practical tips to help you fit your Excel sheet onto one page PDF with ease.
Tip 1: Adjust Margins

The first thing you should do when preparing your Excel sheet for PDF conversion is to check and adjust the page margins.
- Go to the Page Layout tab in Excel.
- Click on Margins and choose Narrow to minimize the white space around the edges.
- If Narrow does not work, you can customize margins by selecting Custom Margins and reduce them further.
📝 Note: Reducing margins too much can cause issues like cut-off data. Make sure your entire sheet is visible.
Tip 2: Scale the Sheet

If adjusting the margins doesn’t fit your data onto one page, scaling your worksheet can be the next step.
- Go to Page Layout > Scale to Fit.
- Change the Width or Height to 1 page or adjust the scale percentage manually.
📝 Note: Excessive scaling might make your text unreadable. Always preview your document to ensure legibility.
Tip 3: Format Cells and Columns

Excel sheets often contain extra spaces or wide columns that can be optimized:
- AutoFit Columns:
- Select all data by pressing Ctrl + A.
- Right-click and choose AutoFit Column Width.
- Adjust Font Size:
- Reduce the font size to fit more text into cells without overflow.
📝 Note: AutoFit might not always fit everything onto one page. Consider manually adjusting the width of key columns.
Tip 4: Orient the Page

Sometimes, changing the orientation of the page can help in fitting the entire sheet on one page:
- Go to Page Layout > Orientation and try both Landscape and Portrait to see which one works better.
📝 Note: Certain spreadsheets with a lot of columns might fit better in landscape mode.
Tip 5: Use Print Area and Print Titles

Setting a print area and print titles can focus the PDF on the relevant data:
- Select the cells you want to print and go to Page Layout > Print Area > Set Print Area.
- For repeating headers or titles, go to Page Layout > Print Titles and set up your rows or columns to repeat at the top or side of each page.
📝 Note: This tip is useful for ensuring that headers or labels are visible on every page, reducing the need for scrolling in the PDF.
These tips should give you a good starting point for fitting your Excel sheet into a single-page PDF. Remember, the goal is to make your data as clear and concise as possible while ensuring all necessary information is included. Always use the print preview function to check how your document will look in PDF form before saving or exporting it.
Why does my Excel sheet not fit on one PDF page even after following these tips?

+
If your Excel sheet still does not fit on one page, you might need to consider reducing the data or splitting it into multiple PDFs. Sometimes, too much content or oversized images and charts can be problematic.
Can I automate scaling in Excel to fit on one page?

+
While Excel does not have an automatic scaling option for one-page PDFs, you can use VBA (Visual Basic for Applications) to create a macro that scales your sheet when exporting to PDF. However, this requires some programming knowledge.
What happens if I reduce the font size too much?

+
If the font size is reduced too much, readability can be severely affected. It’s important to strike a balance between fitting the content and maintaining legibility.