5 Simple Tricks to Fit Excel Sheets in Word Docs

Introduction

When it comes to blending Microsoft Excel spreadsheets with Microsoft Word documents, many of us encounter challenges. The primary issue often revolves around how to effectively fit large Excel sheets into a Word document without losing data integrity or creating a mess on the page. This guide will walk you through five simple yet powerful tricks that can make this integration seamless and efficient.
Trick #1: Adjust Margins and Page Orientation

The first step in ensuring your Excel data fits nicely in Word is to set up your document layout correctly.
- Open your Word document.
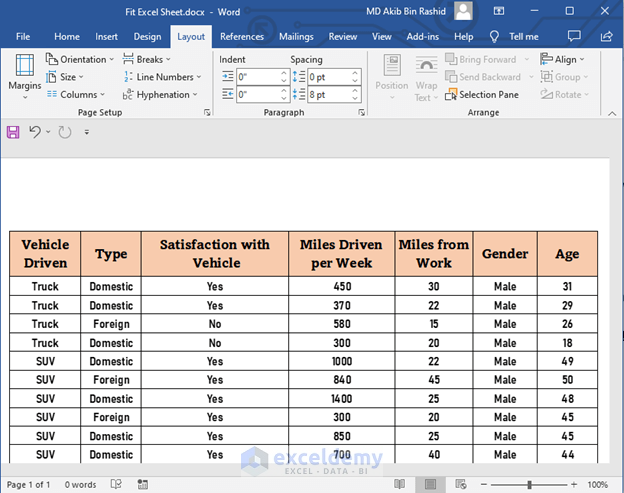
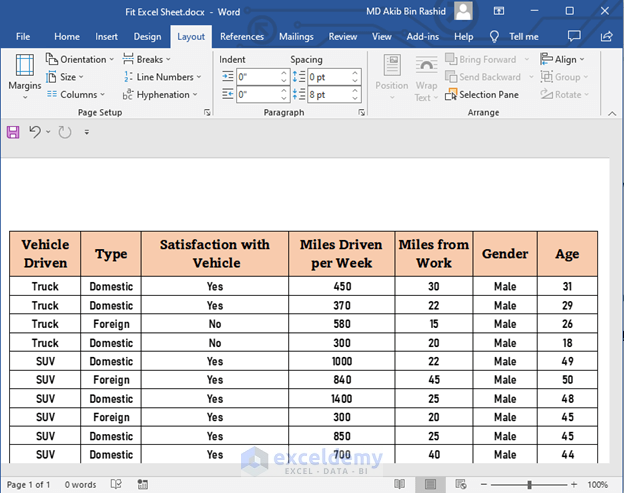
- Go to Layout (or Page Layout in older versions) > Margins. Select Narrow or Custom Margins to reduce the white space on the page.
- Switch to landscape orientation by selecting Orientation > Landscape. This can give you more room for your columns.
💡 Note: Changing margins and orientation will affect the entire document unless you use section breaks.
Trick #2: Use the Paste Special Function

Copying and pasting data from Excel into Word often results in clutter or formatting loss. Here’s how to do it correctly:
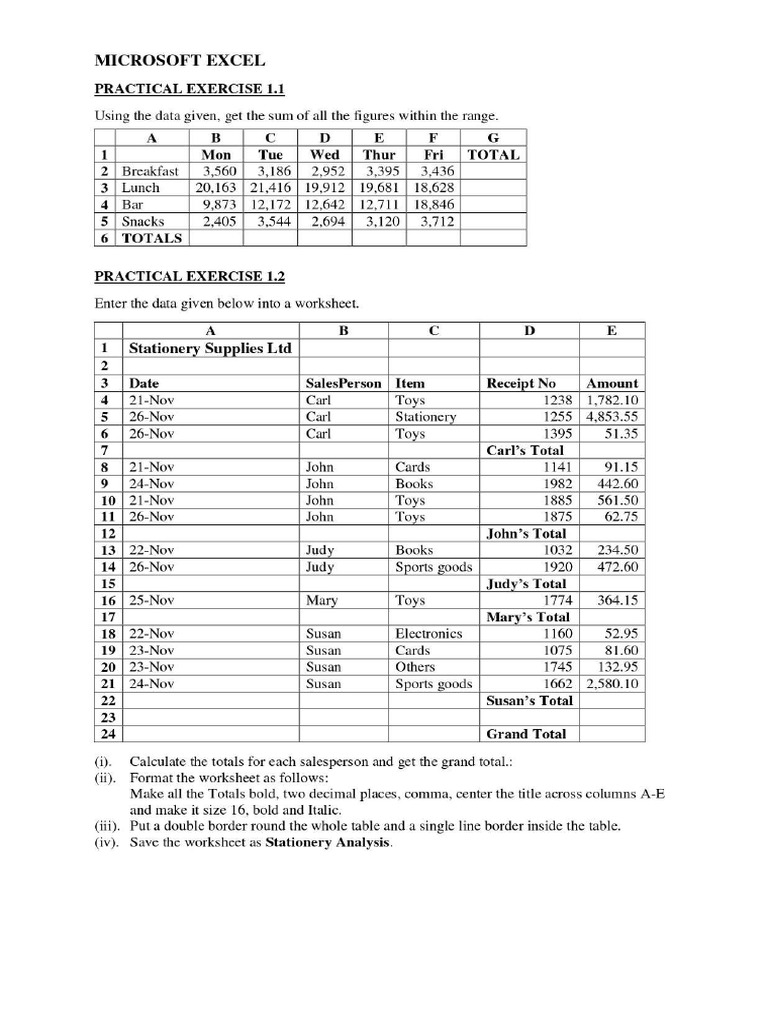
- Copy your Excel data.
- In Word, right-click where you want to paste and choose Paste Special.
- Select Picture (Enhanced Metafile) or Bitmap. This will insert the data as an image, retaining the exact look from Excel.
Trick #3: Link Excel Data into Word

If your data in Excel changes frequently, you might want to link it:
- Select the Excel data you want to link.
- Right-click and choose Copy.
- In Word, right-click where you want to insert, go to Paste Special, and select Paste Link.
- Choose Microsoft Excel Worksheet Object or Microsoft Excel Chart Object depending on your data.
Trick #4: Use Tables in Word

Word tables can mimic Excel’s grid-like structure:
- Insert a table in Word that matches your Excel data’s size.
- Copy the data from Excel and paste it directly into the Word table.
- Adjust column widths and row heights as needed to fit your page layout.
🔥 Note: Ensure your table doesn't span multiple pages, as it might distort the layout.
Trick #5: Use Object Embedding

Embed an entire Excel workbook into Word for a more interactive experience:
- In Word, go to Insert > Object.
- Select Create from File, then browse to your Excel file and insert it.
- You can choose to link or embed the file. If linked, changes in Excel will reflect in Word. If embedded, the data will be static.
Concluding Thoughts

By now, you should feel more confident in fitting Excel data into Word documents. Remember, adjusting page layout, using Paste Special, linking data, creating tables, or embedding objects are all tools at your disposal. Each trick has its merits depending on your specific requirements, like data size, update frequency, and presentation needs. With these techniques, not only can you achieve a seamless fit, but you also preserve the functionality and integrity of your data for a professional and polished document. These practices also ensure better SEO as your content becomes more accessible and user-friendly, potentially increasing visibility in search engine results pages.
Can I keep Excel formulas when pasting into Word?

+
When using Paste Special and selecting Microsoft Excel Worksheet Object, the formulas are preserved, but they become static in Word unless you link the data.
What’s the benefit of linking over embedding?

+
Linking ensures that changes made in Excel automatically update in Word. Embedding gives you a static snapshot, useful when the data should not change.
How can I ensure my table doesn’t break across pages?

+
You can manually adjust the table to fit within the page or use Table Properties > Row > Allow row to break across pages and uncheck it to prevent the table from spanning multiple pages.