Find and Remove Duplicates in Multiple Excel Sheets Easily

Dealing with duplicates in Excel can be a daunting task, especially when you're managing multiple spreadsheets. Whether you're working on financial reports, inventory management, or any dataset where duplicates can skew your results, removing these repeated entries is essential for maintaining data integrity. In this comprehensive guide, we'll walk through the steps to find and remove duplicates in multiple Excel sheets effortlessly, ensuring your data remains accurate and reliable.
Why Remove Duplicates?

Before diving into the how-to, let's consider why you should care about duplicates:
- Accurate Reporting: Duplicates can lead to inflated numbers, causing misleading insights.
- Data Integrity: Maintaining unique entries ensures data consistency.
- Efficiency: Avoids redundancy in data entry, saving time and effort.
Method 1: Using Built-in Features

Excel's built-in features provide an easy way to handle duplicates within a single sheet. Here's how you can do it:
Removing Duplicates from a Single Sheet

- Select the range of cells or columns where you suspect duplicates might exist.
- Navigate to the Data tab.
- Click on the Remove Duplicates button.
- In the dialog box that appears, choose which columns to check for duplicates. By default, Excel will select all columns if you don’t specify.
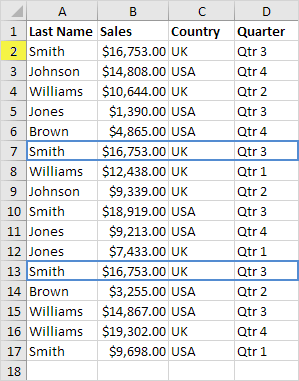
- Click OK. Excel will remove duplicate rows based on the criteria you set.
⚠️ Note: This method only works for a single sheet. You'll need to repeat the process for each sheet if you're working with multiple sheets.
Identifying Duplicates

To find duplicates rather than remove them:
- Select your data range or column.
- Go to the Home tab and click Conditional Formatting.
- Choose Highlight Cells Rules > Duplicate Values.
- Set the format for highlighting and click OK.
Method 2: Advanced Techniques for Multiple Sheets

Consolidating Data Across Multiple Sheets

When dealing with multiple sheets, you can consolidate data into one sheet to manage duplicates. Here’s the step-by-step process:
- Create a new sheet or select an existing one where you’ll consolidate the data.
- Use Excel’s Consolidate feature:
- Go to the Data tab.
- Click on Consolidate.
- In the dialog box, select Function as ‘Sum’ or ‘Count’ depending on what you need.
- Add references to the data ranges from each sheet you want to consolidate by clicking the button with an up arrow next to the Reference field and selecting the range on each sheet.
- Ensure ‘Top row’ and ‘Left column’ are checked to use these for reference labels.
- Click Add for each sheet’s reference, then OK.
- Now you have all your data on one sheet, proceed with Remove Duplicates as described in Method 1.
Using Excel Power Query

Power Query is an incredibly powerful tool for transforming and cleaning data:
- Select a cell in your data range, go to Data > Get & Transform Data > From Table/Range.
- In Power Query Editor, click Home > Combine > Append Queries to combine data from multiple sheets.
- Choose ‘Append Queries as New’.
- Select the sheets or queries you want to combine and click OK.
- Now, you can remove duplicates:
- Go to Home > Remove Rows > Remove Duplicates.
- Load the data back to Excel or close & load to keep the changes.
Method 3: Using Macros for Automated Duplicates Removal

Writing a VBA Macro to Find and Remove Duplicates

If you’re dealing with a large dataset or need a repeatable solution:
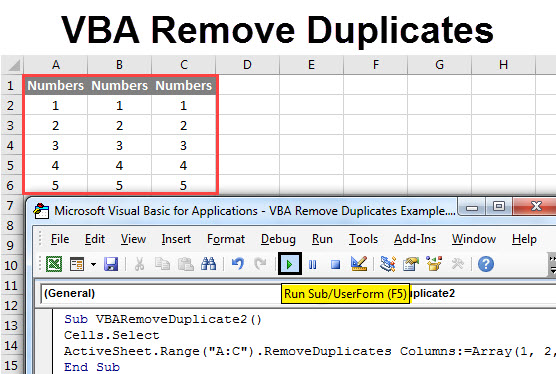
Sub RemoveDuplicatesFromAllSheets()
    Dim ws As Worksheet
    For Each ws In ThisWorkbook.Worksheets
        ws.Range(“A1:Z1000”).RemoveDuplicates Columns:=Array(1, 2), Header:=xlYes
    Next ws
End Sub
💡 Note: Replace “A1:Z1000” with your actual data range. Adjust the ‘Columns’ array to reflect the columns where duplicates should be identified.
This macro will loop through all sheets in your workbook, removing duplicates based on the specified columns.
Final Thoughts on Managing Duplicates in Excel

The methods outlined here provide a comprehensive toolkit for handling duplicates in Excel, from simple in-built functions to advanced automation techniques. Finding and removing duplicates is crucial not only for maintaining clean data but also for ensuring that your analysis yields reliable results. While Excel offers several ways to deal with duplicate entries, choosing the right method depends on your specific scenario:
- Single Sheet Duplicates: Use Excel's native 'Remove Duplicates' feature.
- Multiple Sheets: Consolidate data or use Power Query for an efficient workflow.
- Automation: VBA macros provide a hands-off approach to manage duplicates across sheets.
Remember, data management in Excel is not just about removing what's redundant but also about ensuring your datasets are primed for accurate analysis and reporting. Keep your Excel skills sharp, and your data will thank you.
What if my duplicates are only based on some columns?

+
You can specify which columns to check for duplicates by selecting them in the ‘Remove Duplicates’ dialog box or modifying the VBA macro’s ‘Columns’ array.
Can I undo the removal of duplicates?

+
No, Excel does not provide an automatic way to undo the removal of duplicates. It’s advisable to make a copy of your data before performing the operation.
Is there a way to handle duplicates across multiple workbooks?

+
You can manually copy all data into one workbook and then use the methods described. For VBA, you’d need to modify the macro to loop through multiple workbooks.