Excel Inventory Sheet Tutorial: Simplify Your Stock Tracking

Managing inventory effectively can make a significant difference in the success of your business. Whether you run a small retail store or manage a larger warehouse, using Microsoft Excel to create an inventory sheet can help you track your stock accurately, save time, and reduce human error. In this comprehensive tutorial, we'll walk through how to set up and use an Excel inventory sheet to streamline your stock tracking process.
What is an Inventory Sheet?

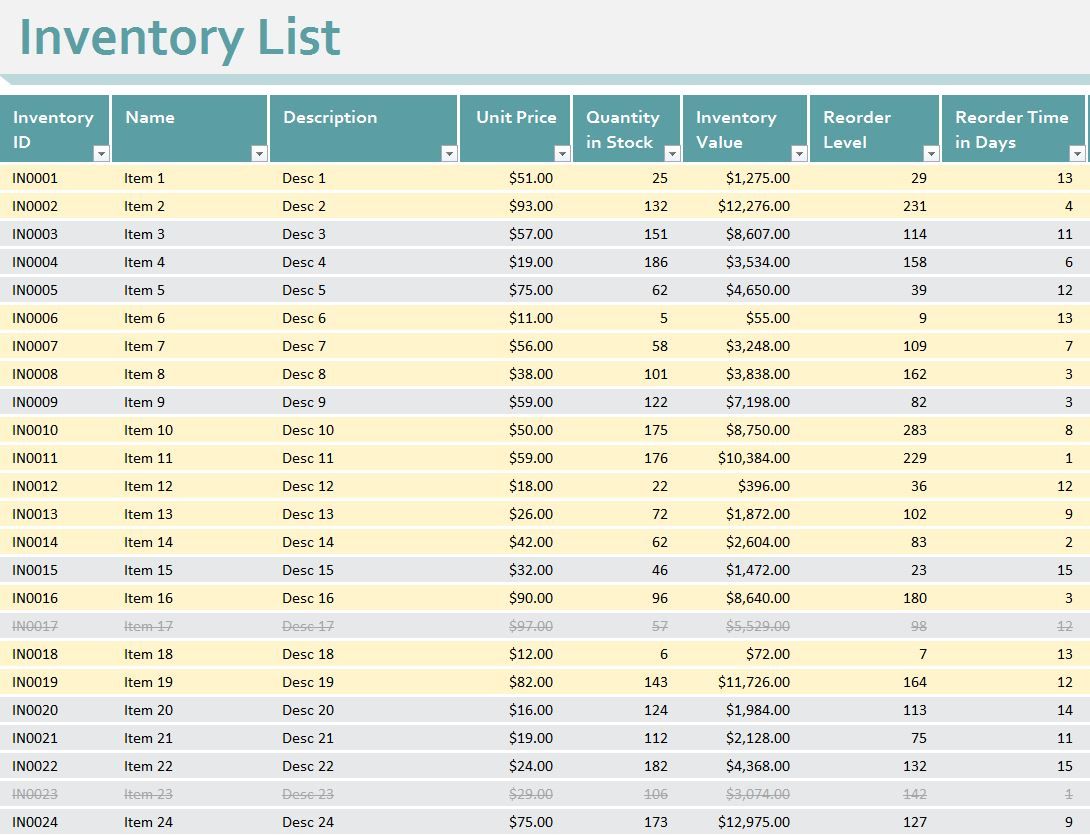
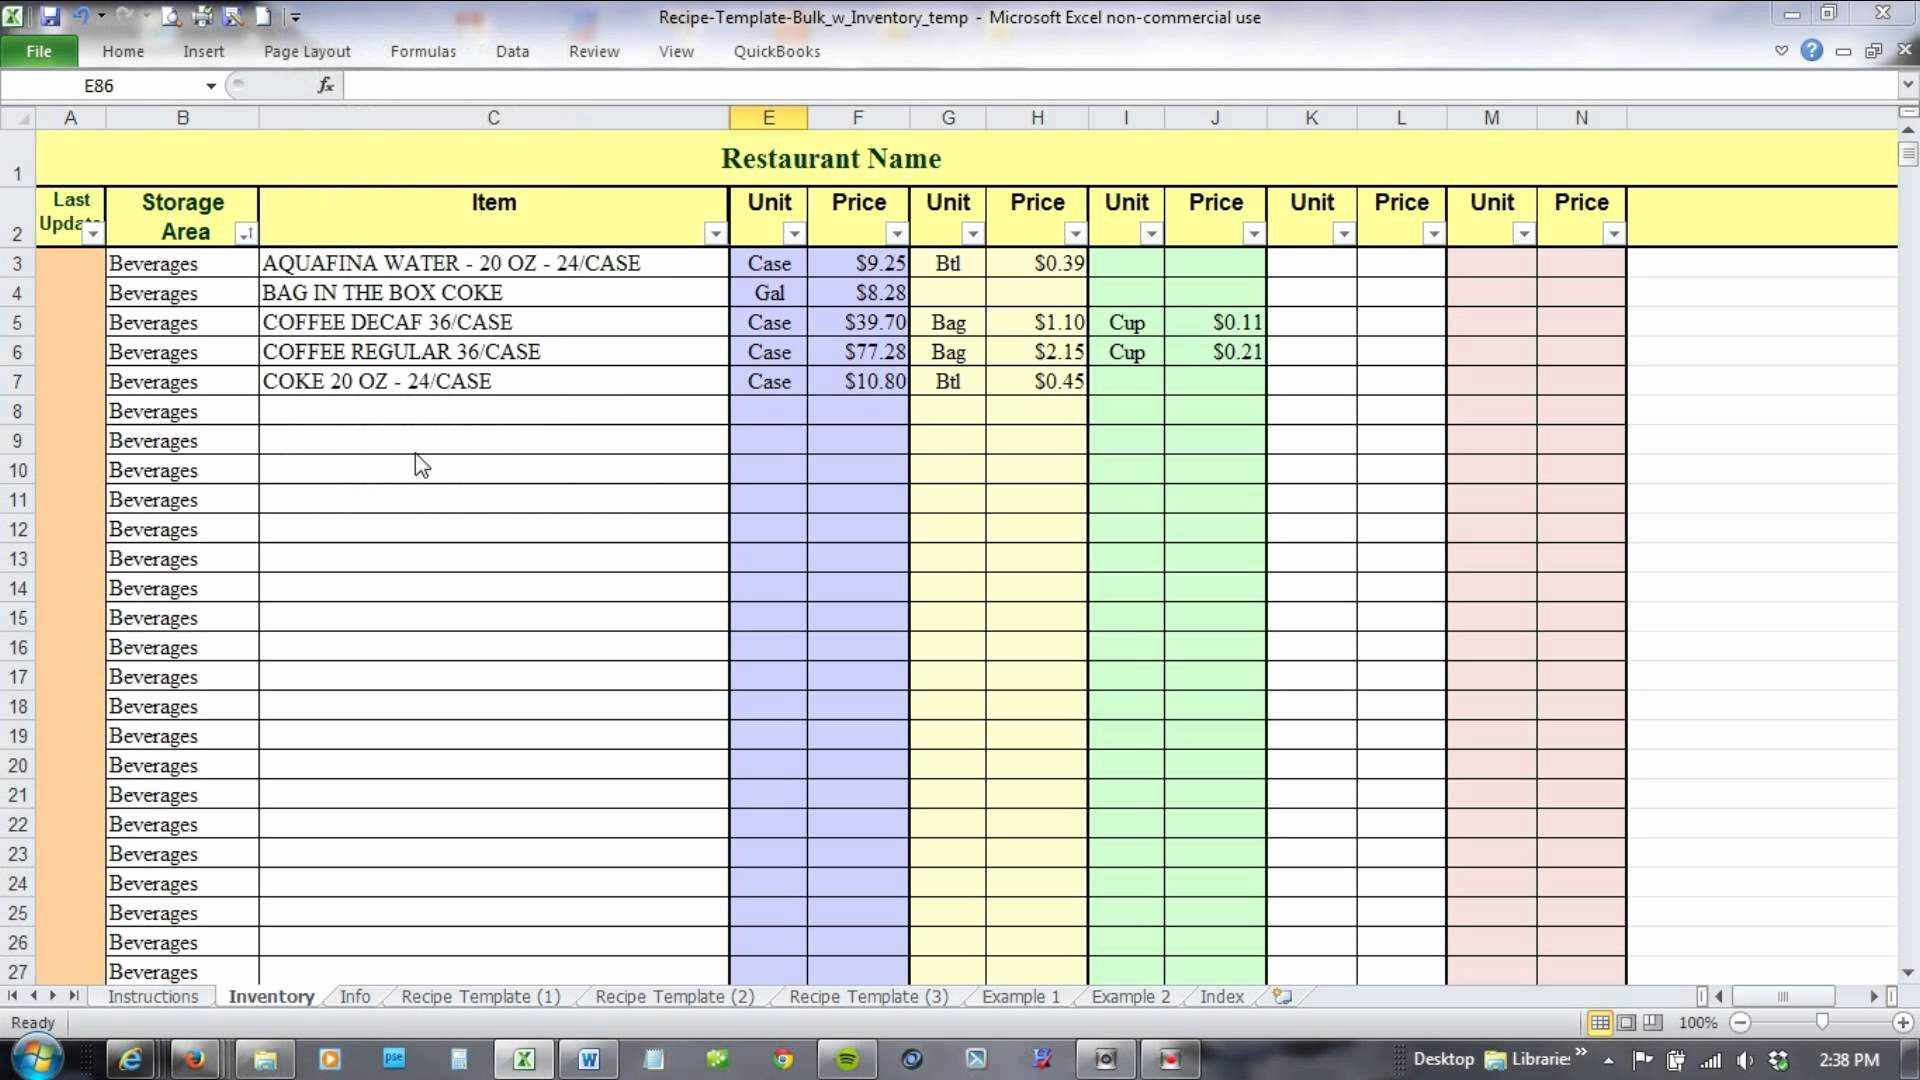
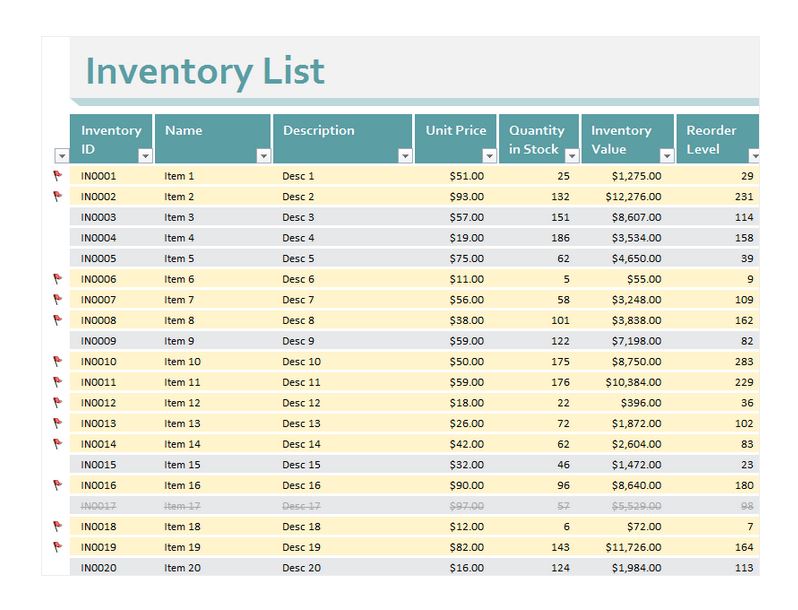
An inventory sheet in Excel is essentially a spreadsheet designed to keep track of the items you have in stock. It typically includes details like product names, quantities, prices, and more, making it easier to monitor inventory levels, track sales, and manage orders.
Setting Up Your Inventory Sheet
1. Planning Your Sheet Layout

- Product Details: Product ID, Name, Description, Category.
- Quantity: Stock Level, Minimum Stock Level, On Order.
- Financials: Purchase Price, Selling Price, Total Value.
- Miscellaneous: Supplier Information, Last Restock Date.
2. Creating the Excel Sheet
Open Microsoft Excel and follow these steps:
- Start with a blank workbook. Click on “File” then “New Workbook.”
- Begin by setting up your header row:
- Enter “Product ID” in cell A1, “Name” in B1, “Description” in C1, “Category” in D1, and so on.
- Adjust column widths to suit your headers and expected content.
3. Data Entry
- Begin filling in your inventory details starting from row 2. Ensure each row corresponds to a unique item.
- Use Excel’s dropdown lists or data validation to minimize errors in data entry. For example, setting up a dropdown list for categories:
- Select the cells under “Category” (let’s say D2 to D100).
- Go to “Data” > “Data Validation.”
- Choose “List” from the “Allow” box and type in your categories separated by commas.
- Click “OK.”
Tracking and Updating Inventory

Manual Updates

Regularly update the quantities:
- Use the stock level column to manually adjust numbers when items are sold or received.
- Set up an alert system using conditional formatting or formulas to highlight low stock levels or suggest reorder points.
💡 Note: Excel has limitations in real-time updating. Consider using barcode scanning solutions or integrated inventory management systems for real-time tracking if feasible.
Using Formulas for Automation

- Automate inventory calculations with these formulas:
- Total Value: =[Quantity]*[Price]
- Stock Alert: Use conditional formatting or IF statements to alert when stock drops below the minimum threshold.
Advanced Features
1. Sort and Filter

- Sort your data by various parameters like name, stock level, or category to find information quickly.
- Filter your data to view only what’s relevant for your current task or analysis.
2. Pivot Tables for Analysis

- Pivot tables can summarize data for better inventory analysis:
- Select your entire data range.
- Go to “Insert” > “PivotTable.”
- Choose where to place your PivotTable.
- Drag fields into the rows, columns, values, and filters to analyze trends or stocks by category or supplier.
Summing Up

Having a well-organized inventory sheet in Excel can streamline your business operations significantly. With this guide, you’ve learned how to set up, manage, and utilize an Excel inventory sheet effectively. Remember that the key to maintaining good inventory control is consistency in updates and reviewing your inventory data regularly.
How do I prevent data entry errors in my inventory sheet?

+
Use Excel’s Data Validation feature to set rules for what data can be entered, or employ dropdown lists for standardized entries.
Can Excel handle real-time inventory updates?

+
Excel is not designed for real-time updates but can be linked with databases or external apps for near-real-time data synchronization.
Is there an easy way to print my inventory sheet?
+
Yes, set up print areas in Excel. Go to “File” > “Print” > “Page Setup” and define your print area to include only relevant data.