Effortlessly Delete Duplicates in Excel: Simple Guide

What Are Duplicate Entries in Excel?

Before delving into the process of deleting duplicates, let’s understand what duplicate entries are. Duplicates are exact copies of information within a dataset that appear more than once. They can occur in various scenarios:
- When merging data from different sources.
- During data entry due to human errors.
- When importing data from external systems without proper checks.
Having duplicates can lead to:
- Inflated data, which can misrepresent your analysis.
- Inaccurate results or skewed statistics.
- Redundancy in operations or communications, like sending emails to the same person multiple times.
Why Removing Duplicates in Excel is Essential

Deleting duplicates is not just about maintaining data integrity; it has practical benefits:
- Clean Data: Ensures your dataset represents unique values, preventing skewed analyses.
- Save Time and Resources: Avoids redundant efforts in data processing or communication.
- Better Insights: Provides a clearer picture for making strategic decisions.
Step-by-Step Guide to Remove Duplicates in Excel

Here's a straightforward approach to delete duplicate entries in Excel:
1. Selecting Data

First, select the range where you want to check for duplicates. You can do this by:
- Clicking and dragging to highlight your dataset.
- Using shortcuts: Ctrl+A for the entire worksheet or Shift+Arrow keys for a specific range.

2. Activating the Remove Duplicates Feature

Once you’ve selected your data, navigate to:
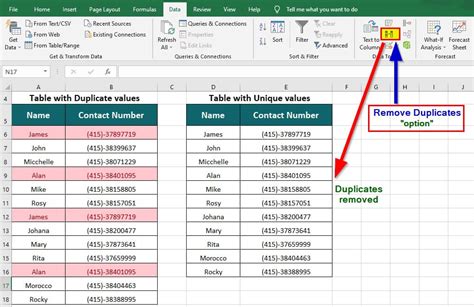
- Data Tab > Remove Duplicates
This action opens the "Remove Duplicates" dialog box.
3. Configuring Duplicates to Remove

In the dialog box, you have two options:
- Columns: Select which columns to check for duplicates. Uncheck those you want to ignore.
- My data has headers: Check this if your dataset has column headers to ensure they’re not treated as duplicates.
👉 Note: If your data doesn't include headers, uncheck "My data has headers".
4. Removing the Duplicates

Click “OK” to initiate the removal process. Excel will:
- Identify and remove duplicates based on your configuration.
- Display a message showing the number of duplicates removed and remaining unique records.
Here's a quick visual reference:
| Steps | Actions |
|---|---|
| Select Data | Highlight your dataset or use shortcuts. |
| Remove Duplicates | Data Tab > Remove Duplicates > Configure Columns > OK |

5. Verifying the Results

After removing duplicates, take a moment to:
- Check if any critical data was inadvertently removed.
- Ensure unique entries remain intact.

🛈 Note: Always back up your data before performing any data-cleaning operations.
In this comprehensive guide, we’ve tackled the issue of duplicate entries in Excel, emphasizing why they occur, their negative impacts, and how to effectively remove them. With step-by-step instructions, you’re now equipped to clean your data with ease. Remember that while Excel provides user-friendly tools for data management, keeping a backup of your data before cleaning is always a best practice. This ensures you can recover your data should anything go awry.
Can I remove duplicates without using the “Remove Duplicates” feature?

+
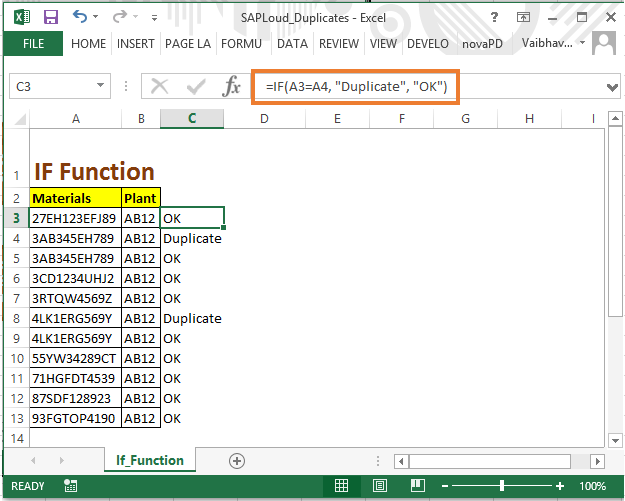
Yes, you can use various workarounds like filtering, sorting, and manually deleting duplicates or by using conditional formatting and formulas to highlight and remove them.
How does Excel determine what is a duplicate?

+
Excel considers entries as duplicates if the values in the columns you selected are exactly the same. It compares values on a row-by-row basis for the entire selected range.
What should I do if I accidentally remove data I needed?

+
Restore your Excel file from the backup or use Excel’s undo feature (Ctrl+Z) immediately after the mistake if you haven’t closed Excel. If neither is an option, you might need to manually re-enter the data.


