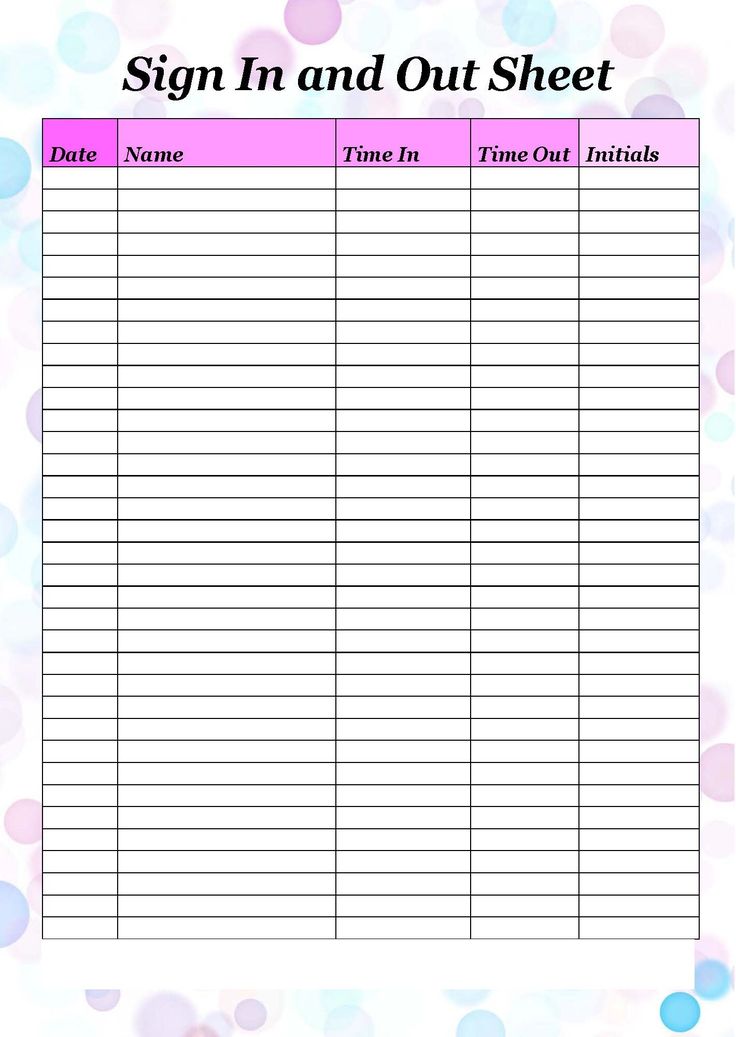
5 Easy Steps to Create a Sign In Sheet in Excel

Microsoft Excel is a powerful tool not only for number-crunching but also for organizing and managing data in various forms. One practical application of Excel in everyday office settings is creating a sign-in sheet, which can be used for events, meetings, or employee attendance tracking. Here, we will guide you through 5 Easy Steps to Create a Sign In Sheet in Excel.
Step 1: Open Excel and Select a Template

- Open Microsoft Excel.
- Navigate to File > New from the Excel ribbon.
- Type “Sign in Sheet” or similar keywords into the search bar to find templates.
- Choose a template that suits your needs, or if none fit, create a new blank workbook.
An image of Excel’s template search could be placed here to illustrate the process.
Step 2: Set Up Your Data Fields

- In the first row, enter the titles for the columns you want on your sign-in sheet. Common fields include:
- Name
- Date
- Time In
- Time Out
- If needed, add more fields like “Purpose” or “Event Name”.
| Name | Date | Time In | Time Out |
|---|---|---|---|
| Jane Smith | 01/01/2023 | 08:30 AM | |
| John Doe | 01/01/2023 | 08:45 AM |

❗ Note: Ensure your column headers are descriptive and clear for future reference.
Step 3: Formatting for Clarity and Usability

- Select the headers row and:
- Use Home > Font > Bold to make headers stand out.
- Apply a different fill color to distinguish the header from the data entries.
- Adjust column widths to fit the expected data length:
- Double-click the column border to auto-fit, or drag to resize manually.
- Use Excel’s formatting options like cell borders, alignment, and conditional formatting for better readability.
Step 4: Add Data Validation

- To prevent incorrect entries, you can:
- Add drop-down lists for fields like “Purpose” using Data > Data Validation > List.
- Set up rules for date and time formats:
- Navigate to Data > Data Validation > Custom.
- Enter formulas like
=AND(A1>=DATE(2023,1,1),A1<=DATE(2023,12,31))for date range validation.
Step 5: Finalize and Test Your Sign In Sheet

- Save your work frequently.
- Test the sign-in sheet:
- Enter sample data to check for functionality and formatting.
- Ensure all data validations are working correctly.
- Share the sheet with colleagues for feedback on usability.
- Add any final touches:
- Include company or event logos if relevant.
- Use Insert > Header & Footer to add page numbers or company information.
Creating a sign-in sheet in Excel can be a breeze when you follow these straightforward steps. It's not just about data entry; it's about organizing information efficiently for future use. Excel’s versatility allows for custom modifications that can streamline your sign-in process, making it both functional and professional. Remember to test your sheet for accuracy and functionality to ensure that it serves its purpose well.
Can I customize the Excel sign-in sheet further?

+
Yes, you can customize it by changing colors, adding or removing fields, setting up macros for automation, or even using conditional formatting to highlight certain data points for easy analysis.
What if I need to track more than basic information?

+
If you need to track additional information, simply add more columns to your Excel sheet. You can also use separate tabs within the same workbook for different purposes or events.
How can I make the sign-in sheet secure?

+
To make the sheet secure, you can protect certain cells or the entire worksheet using Home > Cells > Format > Protect Sheet. Also, consider using Excel’s built-in sharing features or password protection for sensitive information.


