Create Excel Sheets from Rows: A Simple Guide

Microsoft Excel is a powerhouse for organizing and analyzing data, with its versatility lending itself to a myriad of tasks. However, many users find the concept of splitting rows into separate sheets daunting. This guide will walk you through the process, offering a simple way to do this for various uses, from financial analysis to inventory tracking.
Why Split Excel Rows?
Before diving into the tutorial, it's crucial to understand why you might want to split rows into new sheets:
- Manageability: Large datasets can become unwieldy. Splitting rows helps maintain data in smaller, more manageable chunks.
- Analysis: If you want to analyze specific sections of your data, having it on separate sheets can make this easier.
- Organization: Separate sheets for different projects, categories, or departments can streamline workflow.
How to Split Excel Rows into Separate Sheets

Here is a step-by-step guide to creating Excel sheets from rows:
Method 1: Using Excel Formulas
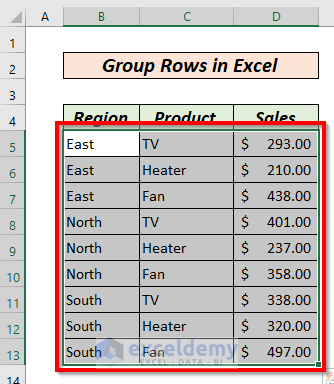
This method leverages formulas to manage the splitting process, which is perfect for handling data in a flexible and dynamic manner:
- Create a Reference Table: In a new column, use a formula to create a unique identifier for each row. For example, if you're splitting by project, you might enter:
=IF(A2<>A1, A2, "")This will tag rows when the project changes. - Filter and Copy: Use Excel's Filter to show only the rows with unique identifiers. Copy these filtered rows to new sheets.
- Name the Sheets: Use the identifier for naming the new sheets. You can manually rename or use a VBA script for automation.
Method 2: Using VBA
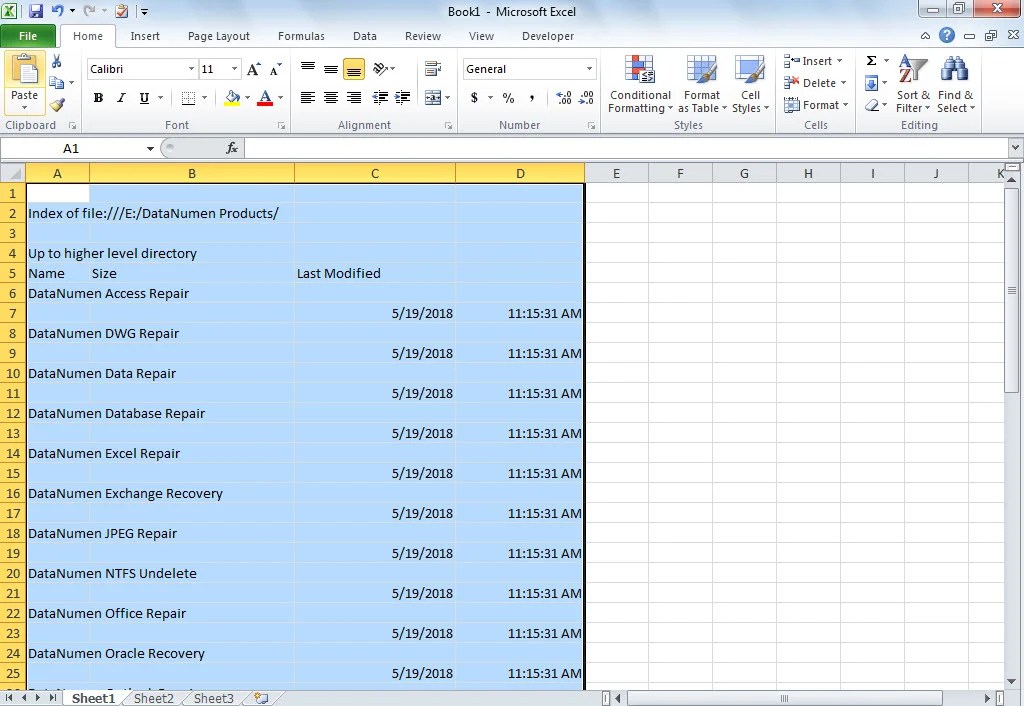
If you're comfortable with VBA, you can automate the process:
- Open the VBA Editor: Press ALT+F11 or navigate to Developer > Visual Basic.
- Insert New Module: Right-click on 'VBAProject', select Insert > Module.
- Enter Code: Copy and paste the following VBA script into the new module: ```vba Sub SplitDataIntoSheets() Dim ws As Worksheet Dim uniqueList As Range Dim cell As Range Dim lastRow As Long Dim uniqueID As String Dim newWs As Worksheet Set ws = ActiveSheet lastRow = ws.Cells(ws.Rows.Count, 1).End(xlUp).Row Application.ScreenUpdating = False Set uniqueList = ws.Range("A2:A" & lastRow) For Each cell In uniqueList If Not IsError(cell.Value) Then uniqueID = cell.Value If Not WorksheetExists(uniqueID) Then Set newWs = Worksheets.Add(After:=Worksheets(Worksheets.Count)) newWs.Name = uniqueID Else Set newWs = Worksheets(uniqueID) End If ws.Range("A" & cell.Row & ":Z" & cell.Row).Copy Destination:=newWs.Range("A" & newWs.Cells(newWs.Rows.Count, 1).End(xlUp).Row + 1) End If Next cell Application.ScreenUpdating = True End Sub ``` This script checks for unique values in column A and creates new sheets accordingly.
- Run the Macro: Close the VBA editor, and run the macro from Excel (Developer > Macros > Run).
💡 Note: Remember, VBA will overwrite existing sheets with the same name, so ensure there's a backup of your workbook or you have a way to rename sheets uniquely.
Optimizing Your New Sheets

After splitting your data, you might want to:
- Format: Adjust the new sheets for readability and consistency.
- Formulas: Add any necessary formulas or links between sheets.
- Summarize: Create summary sheets that reference the new sheets for quick overviews.
Conclusion

Splitting rows into separate sheets in Excel not only makes data management more straightforward but also enhances analysis capabilities. By following the methods outlined here, you can transform large datasets into a series of smaller, focused spreadsheets, each serving its purpose efficiently. Remember, the flexibility of Excel allows for these techniques to be adapted to various scenarios, making your data organization seamless and effective.
Can I revert this process?
+
Yes, you can consolidate the sheets back into one by copying data from the separate sheets into a master sheet. Using VBA can automate this process if needed.
Is there a limit to how many sheets Excel can handle?
+
Excel 2010 and later versions have a limit of 255 sheets in one workbook. For the best performance, try to stay below this limit when possible.
What if my data doesn’t have a unique identifier?

+
You can create your own identifier by concatenating or indexing multiple fields or adding a helper column with a formula that generates a unique value.


