5 Easy Steps to Create a Salary Sheet in Excel

Getting Started with Excel
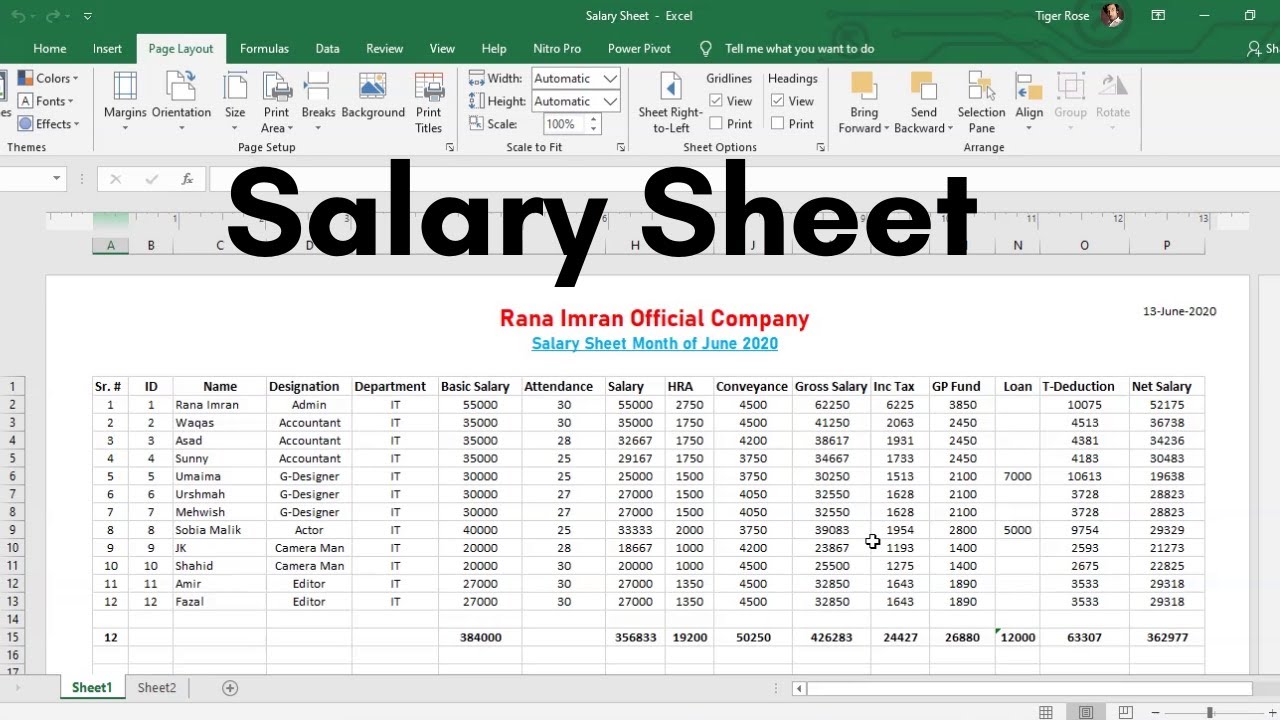
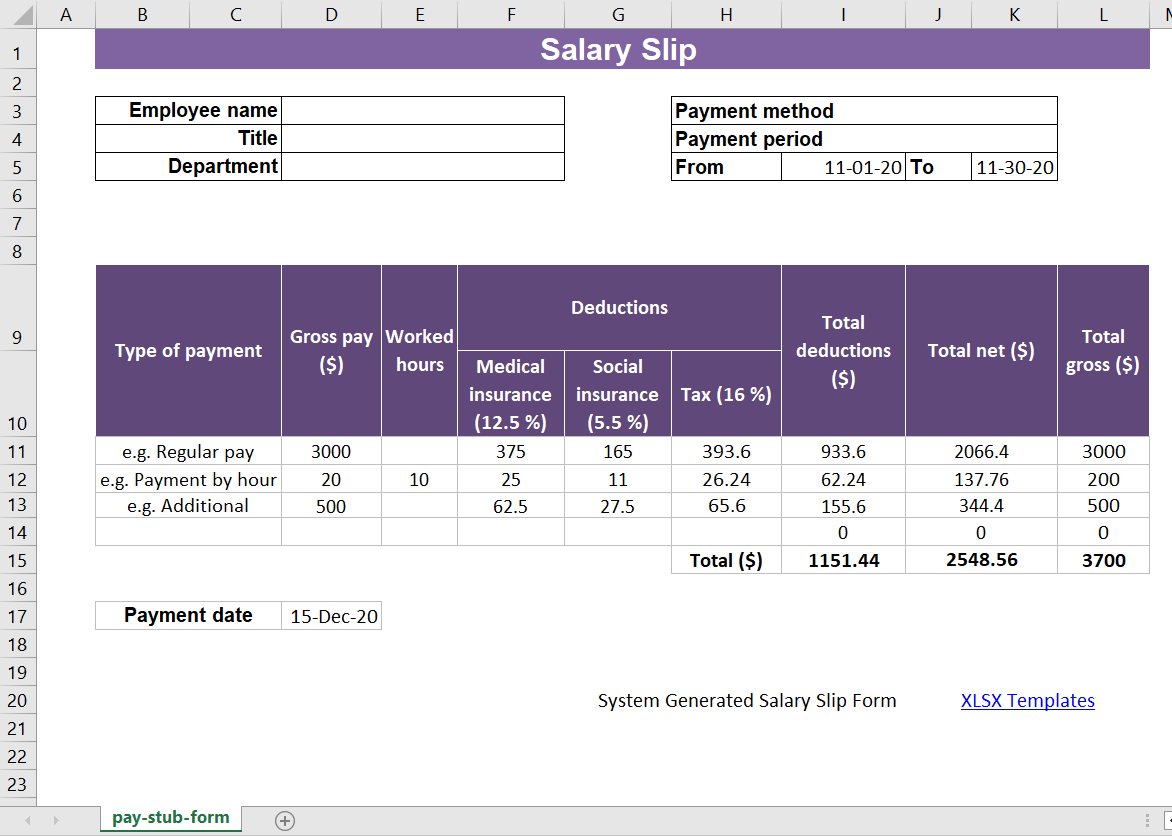
Excel is a versatile tool for managing data, and creating a salary sheet is one of its many practical applications. It simplifies payroll calculations, tracks employee earnings, and ensures accuracy in financial records. To begin, ensure you have Microsoft Excel installed on your computer. Here are the steps you’ll need to follow to create an efficient salary sheet:
Step 1: Design the Layout
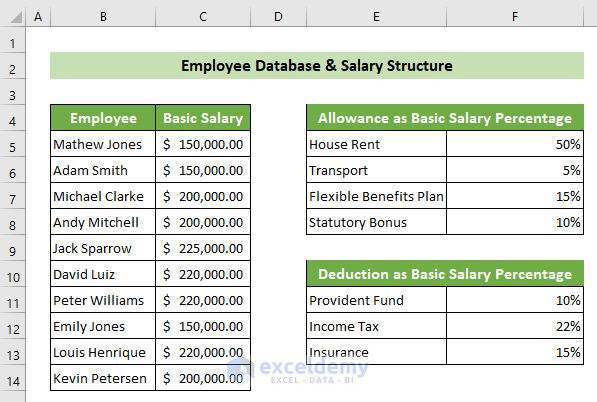
- Create Headers: Start with the headers for your salary sheet. Include columns for Employee Name, Employee ID, Position, Basic Salary, Allowances, Deductions, Net Salary, and any other necessary details.
- Add Borders: Add borders to make the sheet more readable.
- Adjust Column Width: Auto-fit or manually adjust column widths to accommodate the data without truncating information.

📝 Note: Keep your header in row 1 frozen so that as you scroll down, the headers remain visible.
Step 2: Input Data
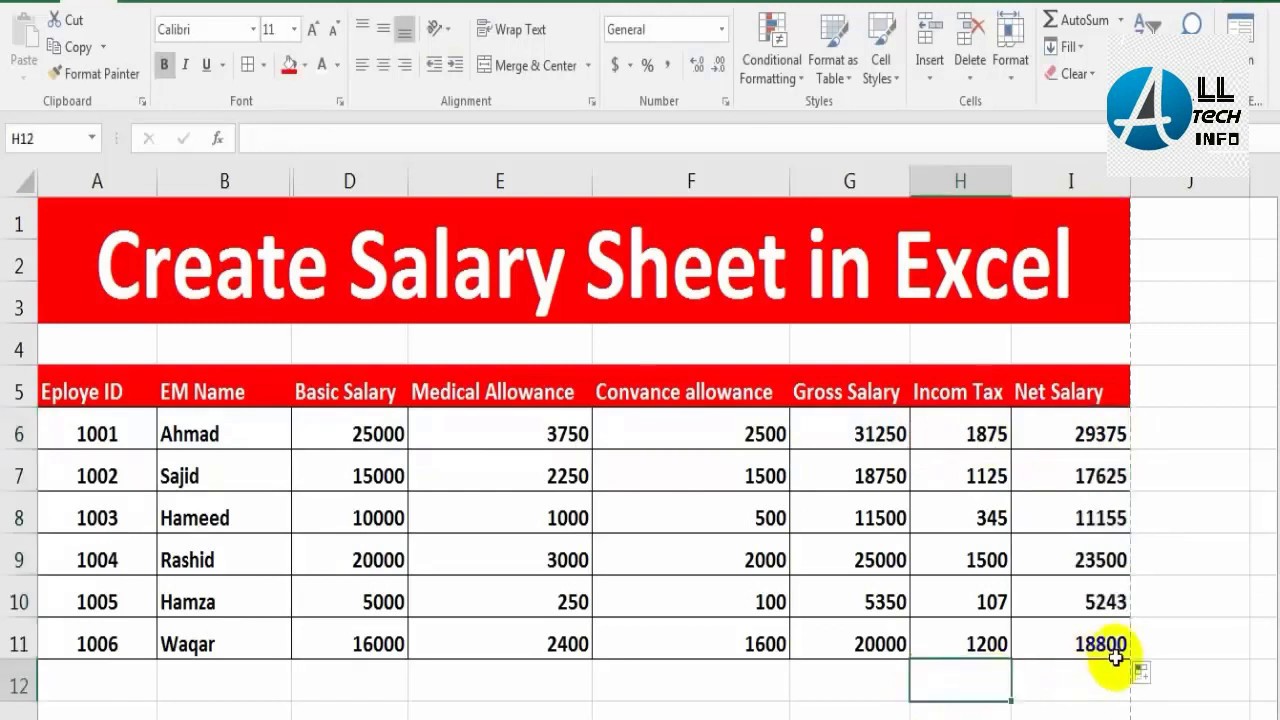
- Employee Information: Start entering data from row 2. List each employee’s details under their respective columns.
- Formulas for Calculations: Use Excel formulas to calculate allowances, deductions, and net salary. For instance, if basic salary is in cell C2 and allowances in D2, then the formula for net salary would be:
=C2+D2-E2where E2 represents deductions.
Step 3: Adding Formulas for Payroll

| Item | Formula Example |
|---|---|
| Total Salary | =Basic Salary + Allowances |
| Total Deductions | =Gross Pay * Deduction Rate |
| Net Salary | =Total Salary - Total Deductions |

Copy these formulas down the rows to calculate values for each employee automatically.

💡 Note: Use absolute cell references (e.g., $A$1) if your formulas will be copied to other sheets or to avoid unintended changes in references.
Step 4: Customizing with Conditional Formatting

- Highlighting: Use conditional formatting to highlight:
- Overtime hours with a different color.
- Employees with above-average salaries.
- Alerts for discrepancies or errors in calculations.
- Data Bars: Insert data bars to visually represent each employee’s salary.
Step 5: Finalizing Your Salary Sheet
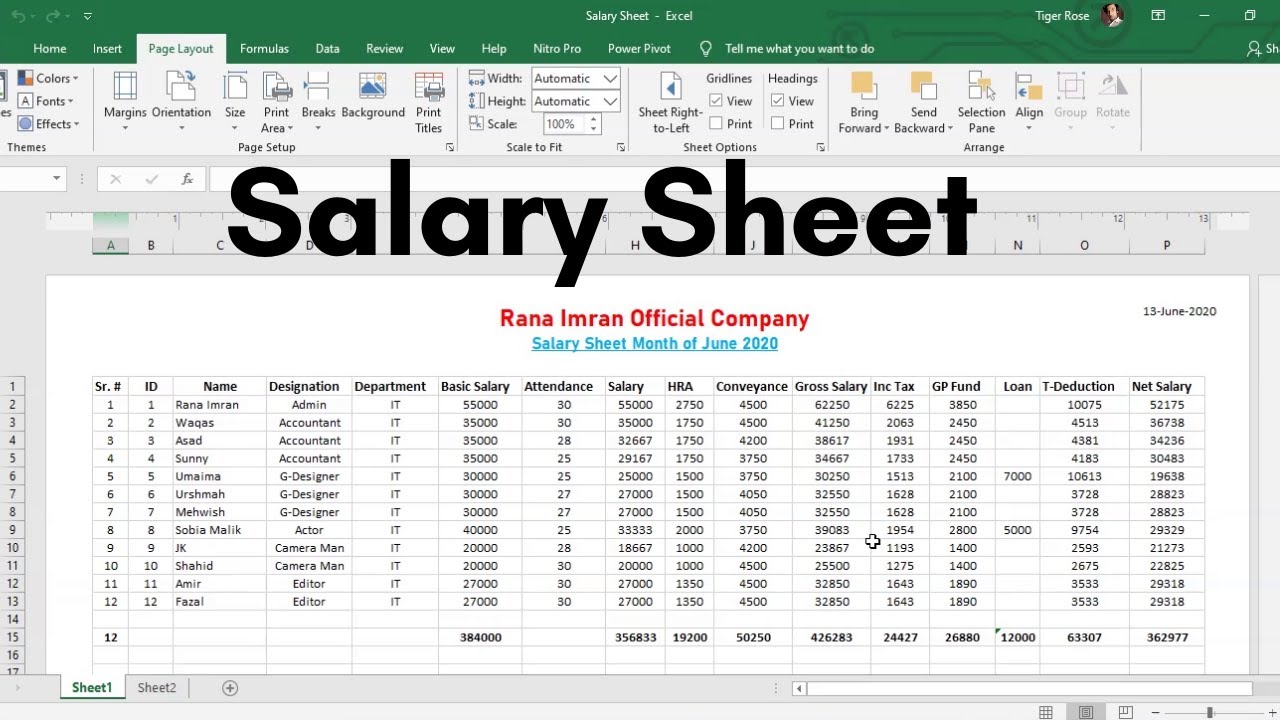
- Review for Accuracy: Check all calculations manually or use Excel’s auditing tools to verify formulas.
- Protect the Sheet: To prevent accidental changes, protect the sheet while allowing specific cells to be editable.
- Print or Export: Set up your print area, page layout, and export the data if needed for backups or distribution.
In crafting a salary sheet in Excel, you’ve taken a significant step towards efficient payroll management. You’ve learned how to organize data, apply formulas for calculations, use conditional formatting for visual cues, and secure your work with protective measures. With these skills, you can manage employee compensation more accurately and with less effort.
Remember, Excel offers additional features like data validation to ensure correct data entry and pivot tables for summarizing information, which can further enhance your payroll processes.
How can I ensure my data is secure in Excel?
+
You can secure your Excel sheet by using the ‘Protect Sheet’ feature. This allows you to specify what changes can be made, protecting the structure and contents of your salary sheet from accidental edits.
What are some common mistakes when calculating payroll in Excel?

+
Common mistakes include errors in formula references, not accounting for all allowances or deductions, incorrect rounding, and neglecting to update data for new employees or changes in pay rates.
Can I automate salary calculations with Excel?

+
Yes, by setting up formulas correctly and using features like macros or VBA (Visual Basic for Applications), you can automate many aspects of payroll calculations in Excel.
Is Excel suitable for large companies’ payroll management?

+
Excel can handle payroll for small to medium-sized companies efficiently, but for large organizations, it might be better to consider specialized payroll software that offers more robust features for scalability and compliance.