5 Easy Steps to Create a Payroll Sheet in Excel

In the world of business, managing payroll effectively is crucial for smooth operations. Whether you're running a small startup or managing a large corporation, having an organized and accurate payroll system is essential. Excel, with its versatile tools, remains one of the most popular software choices for creating payroll sheets. This blog post will guide you through the 5 simple yet comprehensive steps to create a payroll sheet using Microsoft Excel, ensuring accuracy and efficiency in your payroll processes.
Step 1: Setting Up Your Spreadsheet

When creating a payroll sheet, your first step is to establish a structure that is both user-friendly and organized:
- Open Microsoft Excel: Start by launching Excel and selecting a new, blank workbook.
- Name Your Sheet: Rename the first sheet something like ‘Payroll Details’ by double-clicking on the tab at the bottom.
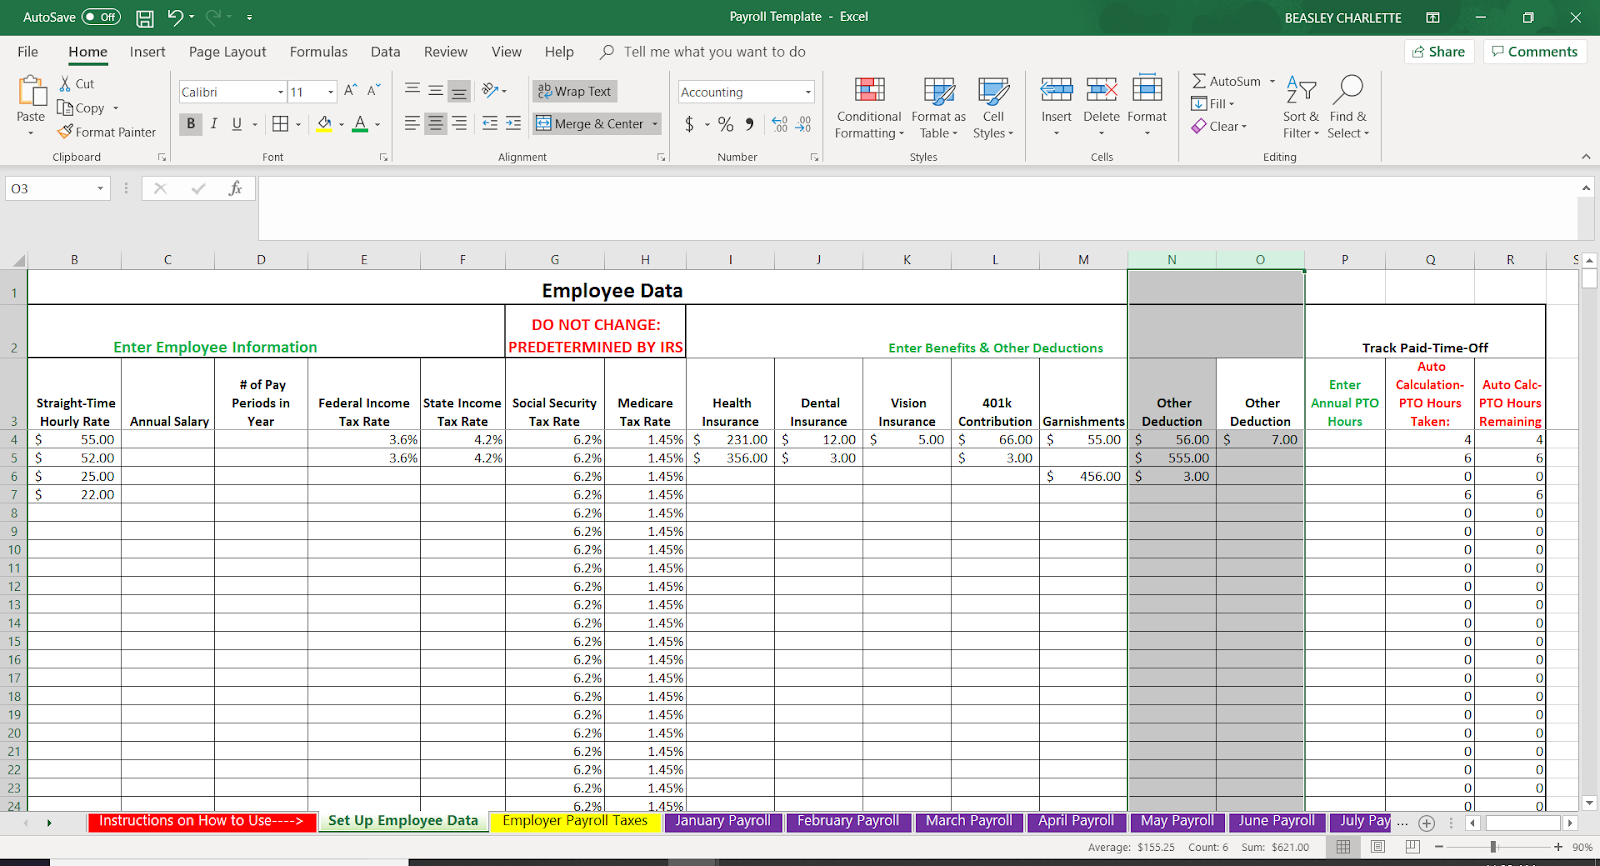
- Create Headers: Use the top row for column headers. Include columns such as ‘Employee ID’, ‘Name’, ‘Department’, ‘Position’, ‘Hourly Rate’, ‘Hours Worked’, ‘Regular Pay’, ‘Overtime Pay’, ‘Deductions’, and ‘Net Pay’. Your headers should be concise and clear.
🔍 Note: Make sure your headers are formatted differently from the data entries (e.g., use bold or a different color) to distinguish them at a glance.
Step 2: Inputting Employee Information

Once your structure is set, you’ll need to populate your spreadsheet with employee information:
- Employee ID: Enter unique identifiers for each employee to avoid confusion.
- Name: List the full names of your employees.
- Department & Position: Add departments and positions for organizational clarity.
- Pay Information: Input the hourly or salary rate, hours worked per week, and any fixed deductions like taxes or health insurance.
🔍 Note: Ensure privacy of employee data; personal information like social security numbers should not be included on shared sheets.
Step 3: Calculating Payroll

With employee data in place, here’s how to compute their earnings:
- Regular Pay: Use formulas like =Hours Worked*Hourly Rate for regular pay.
- Overtime: Excel formulas can handle overtime with IF conditions, like =IF(Hours Worked>40, (Hours Worked-40)*Hourly Rate*1.5, 0).
- Deductions: Summarize deductions with formulas, considering tax brackets, insurance, and any other mandated or voluntary deductions.
- Net Pay: Total up earnings and subtract deductions to get the net pay.
| Formula | Description |
|---|---|
=Hours Worked*Hourly Rate | Calculate Regular Pay |
=IF(Hours Worked>40, (Hours Worked-40)*Hourly Rate*1.5, 0) | Calculate Overtime |
=Regular Pay+Overtime Pay-Deductions | Calculate Net Pay |

🔍 Note: Regularly review formulas to ensure they're working correctly, especially after changes in regulations or rates.
Step 4: Adding Conditional Formatting and Data Validation

To make your payroll sheet more intuitive and error-resistant:
- Conditional Formatting: Highlight cells based on criteria (e.g., overtime hours or high deductions).
- Data Validation: Set up rules for data input to prevent errors, like allowing only numeric input in hourly rate columns.
Step 5: Finalizing and Sharing

Your payroll sheet is almost ready:
- Review: Check all entries and calculations for accuracy.
- Protect Data: If necessary, lock the sheet to prevent unauthorized changes.
- Backup: Save a copy of the payroll sheet for record-keeping.
- Sharing: Excel offers options to share the workbook via email or cloud services, ensuring secure distribution.
Creating a payroll sheet in Excel is a task that combines careful data entry with the power of Excel's functions for automating calculations. These steps provide a foundation for efficient and accurate payroll management. By organizing data, utilizing formulas, applying conditional formatting, and ensuring data integrity, you can create a robust system that serves your business needs while minimizing errors and maximizing compliance with legal and financial requirements.
Can Excel handle complex payroll scenarios?

+
Yes, Excel can manage complex payroll situations with advanced formulas, custom functions, and add-ins. Features like PivotTables can help analyze payroll data, and with macros or Visual Basic for Applications (VBA), automation can be taken to the next level.
How often should I update my payroll sheet?

+
Updating the payroll sheet should be done monthly, bi-weekly, or weekly, depending on your organization’s pay cycle. Additionally, it should be reviewed and updated whenever there are changes in employee status, pay rates, or legal regulations affecting payroll calculations.
What security measures should I take with payroll data?

+
Ensure payroll sheets are password-protected, use encryption when sharing files, and limit access to the sheet. Regular backups and secure storage (like cloud services with stringent security measures) are also essential. Compliance with data protection laws is critical to safeguarding employee information.
How do I ensure my payroll sheet is compliant with employment laws?

+
Regularly check for updates to labor and tax laws, use formulas and cell references that automatically reflect changes in tax rates, and incorporate any government-mandated calculations for benefits, minimum wage adjustments, or other payroll-related regulations into your sheet.


