5 Simple Steps to Create a Calendar in Excel

The need for a well-organized schedule has never been more paramount. Whether you're managing personal appointments, team projects, or critical business events, Excel can be a powerful ally. Here are five simple steps to craft a functional and visually appealing calendar in Excel.
Step 1: Plan Your Calendar Layout

Before diving into Excel, it's beneficial to sketch out what you want your calendar to look like. Here are some key elements to consider:
- Months or weeks you wish to cover.
- What days, dates, and events you want to highlight.
- Any color coding or conditional formatting you'd like to employ.
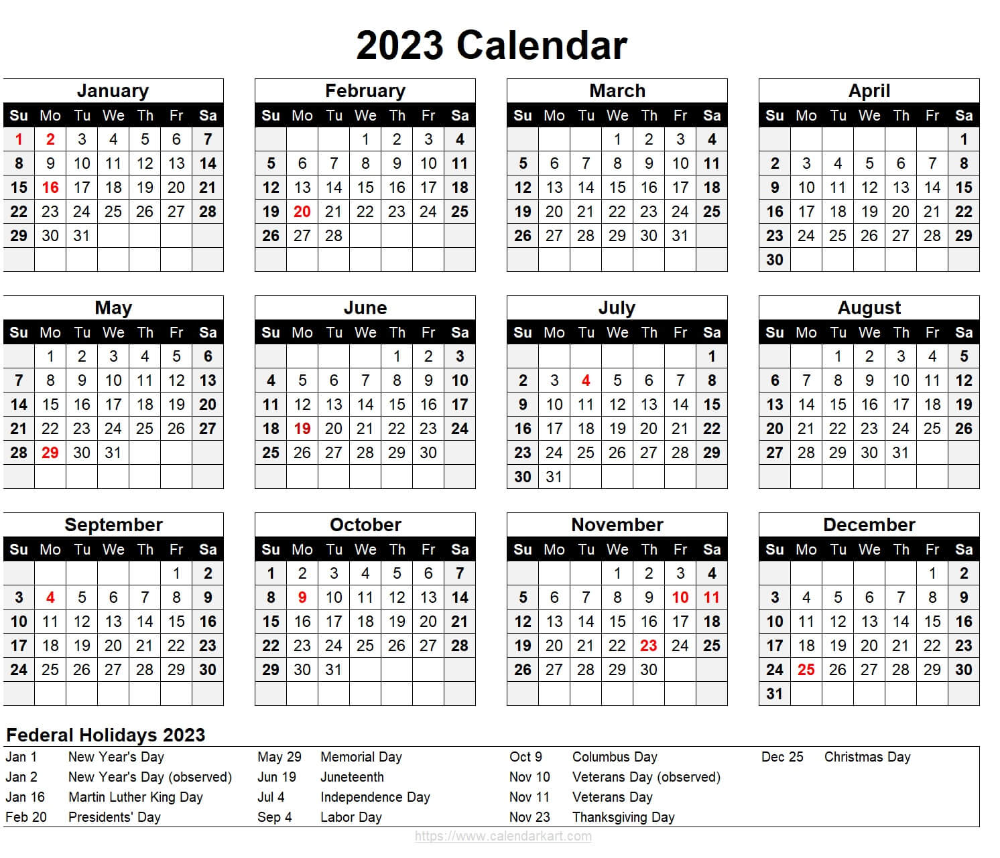
💡 Note: If you're planning a yearly calendar, you might find it useful to use separate sheets for each month or employ a macro to automate the process.
Step 2: Set Up the Workbook

Open Excel and create a new workbook:
- Choose a clean, minimalist template or start with a blank workbook.
- Select a sheet for your calendar and name it accordingly, like "June 2023" or "Annual Calendar."
- Adjust the page layout settings for printing, if needed, by selecting "Page Layout" from the ribbon and choosing the orientation that suits your calendar best.
Insert the days of the week at the top of the sheet:
| Mon | Tue | Wed | Thu | Fri | Sat | Sun |

📌 Note: Ensure your days of the week are aligned with your week's start day preference.
Step 3: Populate Dates and Structure

Populate the calendar grid with dates:
- Choose the first day of the month and align it with the corresponding day of the week.
- Use Excel formulas to automatically fill in dates. For example, if your first cell for dates is
B3(for Monday), the formula would be=DATE(2023, 6, 1). - Drag the fill handle to populate the dates for the entire month, adjusting as necessary for leap years and the variable number of days in each month.
Utilize cell merging and border formatting to structure your calendar:
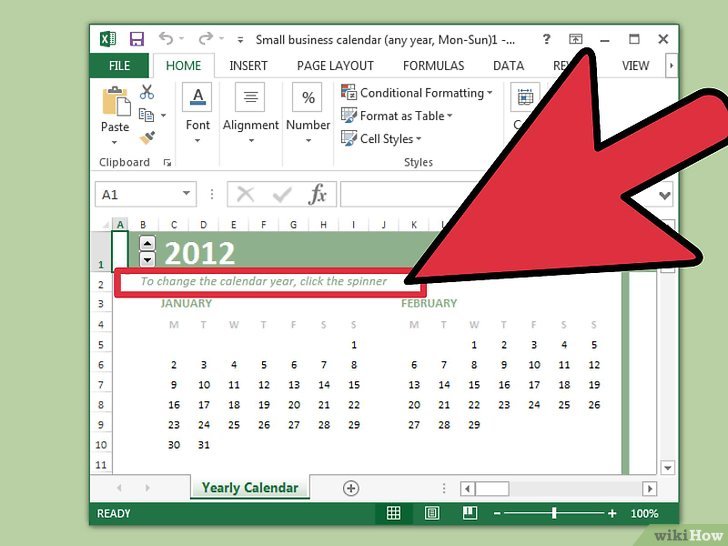
- Merge cells above the days to create a title area where you can add the month and year.
- Add borders around cells to clearly delineate days.
📝 Note: If you're creating a calendar with specific events, this step is where you'll reserve space for notes or special events.
Step 4: Enhance with Formatting and Features

Once your calendar is structurally sound, you can elevate its functionality and aesthetic appeal with these steps:
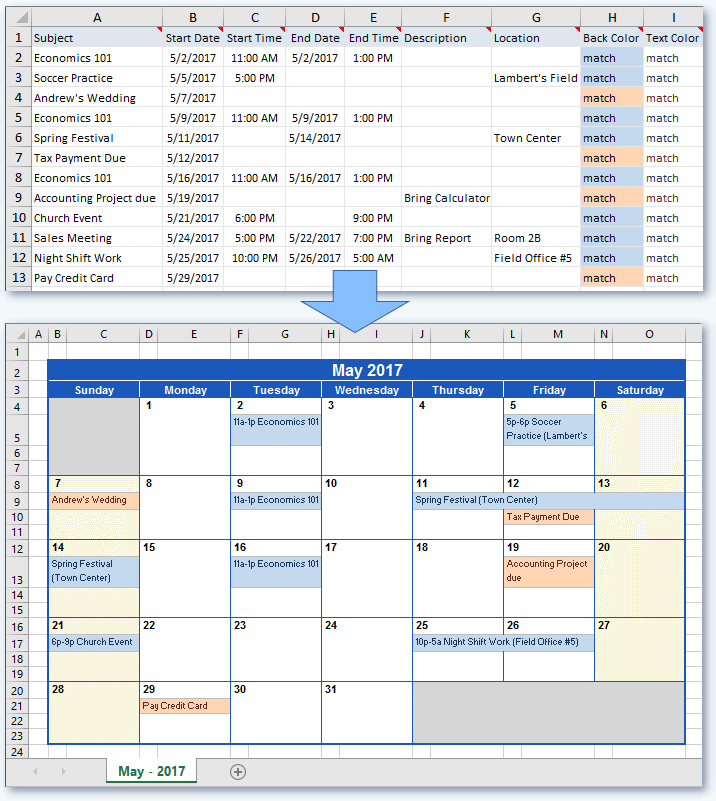
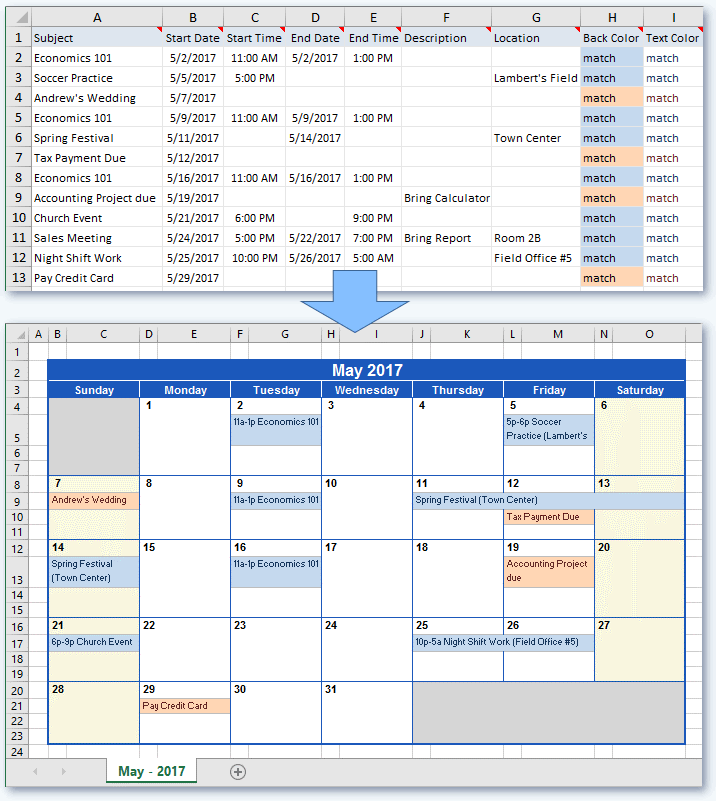
- Color Coding: Use different colors for weekends, public holidays, or various event types for easy visual identification.
- Conditional Formatting: Highlight cells based on certain criteria, like past dates or important events.
- Hyperlinks and Comments: Add links to relevant documents or resources, and include comments for additional details.
- Data Validation: Set up drop-down lists for recurring events or task statuses, ensuring consistent entries.
🖍 Note: Remember, consistency in your formatting choices will make your calendar not only attractive but also functional.
Step 5: Final Touches and Maintenance

After setting up your calendar:
- Review: Go through your calendar to ensure all dates are correct, events are properly entered, and your formatting is consistent.
- Print Preview: Check how it looks in print view, making adjustments for margins and headers/footers.
- Dynamic Features: If you're familiar with VBA, you can add macros to automate repetitive tasks like updating month or year.
- Version Control: Keep backups of your calendar before making major changes.
In summary, creating a calendar in Excel is a straightforward process if you follow these steps:
- Plan your layout.
- Set up your workbook.
- Populate dates and structure.
- Enhance with formatting.
- Add final touches.
With these steps, your calendar becomes a dynamic tool for efficient time management, event tracking, and team coordination. Remember, the key to a successful Excel calendar is not just in its creation but in its regular upkeep and adaptability to changing needs. Whether you're managing a team or your personal life, Excel's versatility will keep your schedule on track with style and precision.
How can I sync my Excel calendar with other digital tools?

+
Excel itself doesn’t offer direct sync capabilities. However, you can export your calendar to a CSV file, which can then be imported into tools like Google Calendar or Microsoft Outlook. Services like Zapier can also help automate this process.
Can I share my Excel calendar with others?

+
Absolutely. You can share your workbook via OneDrive or SharePoint, allowing for real-time collaboration. Just ensure to set the appropriate permissions for editing or viewing.
What if I need to create a calendar for multiple users or groups?

+
Consider using a multi-sheet approach in Excel where each sheet represents a different user or group. You can also use Excel Online for real-time collaboration, where users can update their own sheets independently.