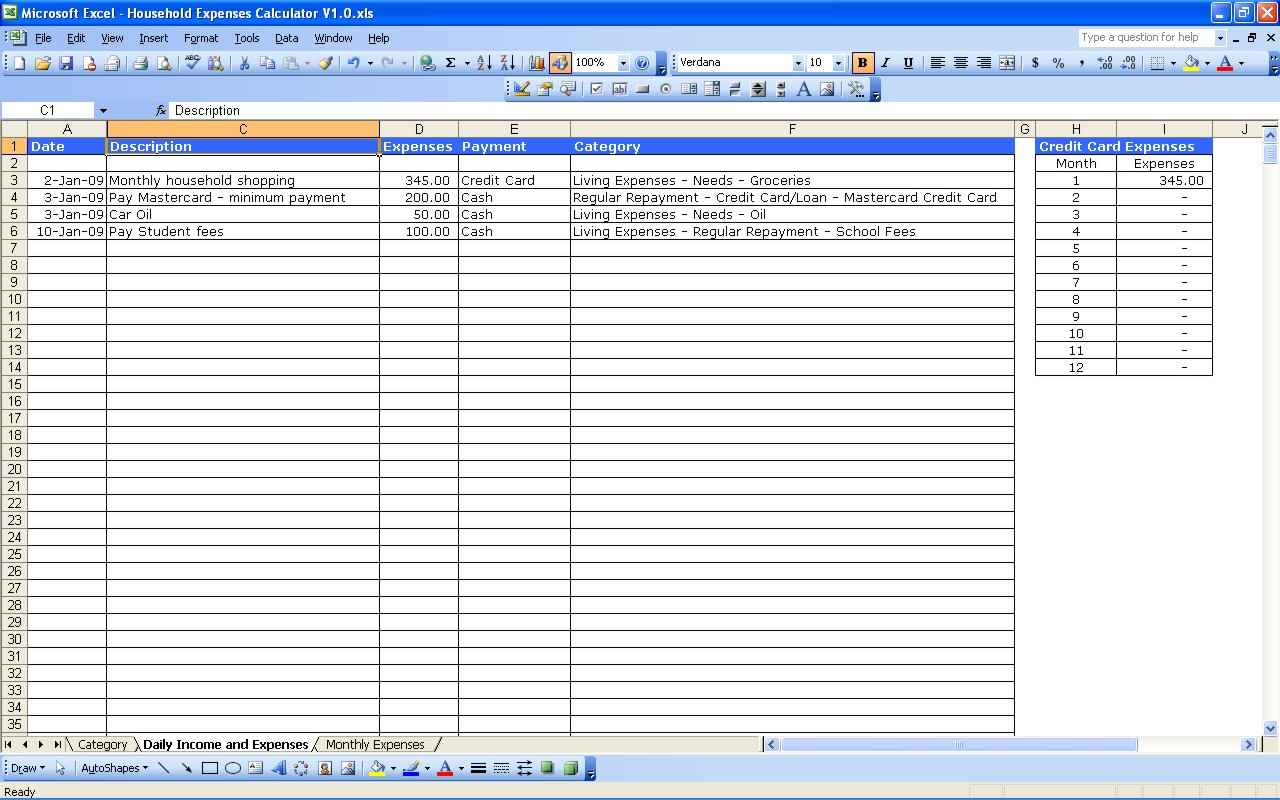
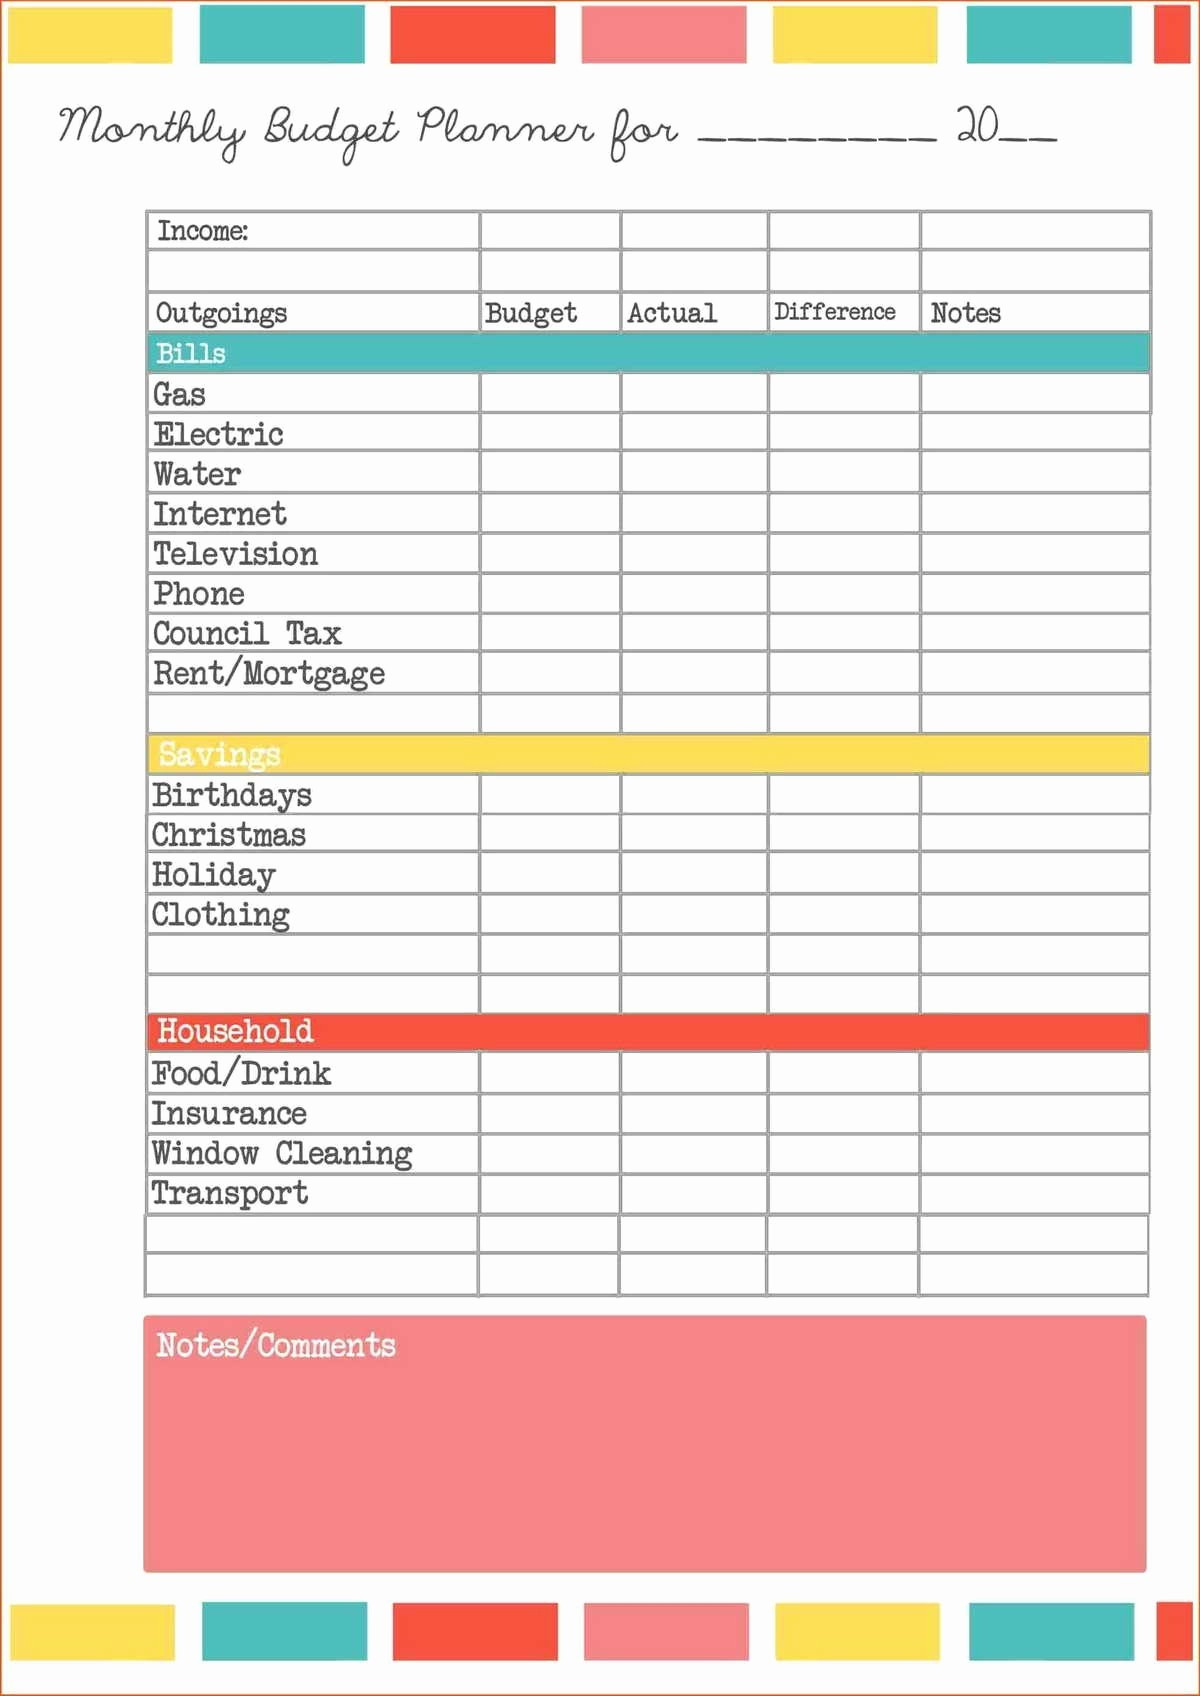
5 Steps to Craft Your Excel Income & Expense Sheet

Managing personal finances is an integral part of ensuring financial health and stability. One effective method for keeping track of where your money comes from and where it goes is by using an Excel income and expense sheet. Crafting your own can be a straightforward process, empowering you to take control over your financial destiny. Here are five steps to creating an organized, effective Excel income and expense sheet:
Step 1: Set Up Your Excel Workbook

Begin by opening Microsoft Excel. Here are the steps to set up your workbook:
- Create a new workbook.
- Name it something identifiable like “Personal Finance 2023.”
- Save it in a location where you can easily access it, like your cloud storage or a dedicated financial folder on your computer.
📌 Note: Ensure you back up this file to prevent data loss.
Step 2: Define Your Categories

Your income and expenses will fall into various categories. Here’s how to structure them:
- Income: Salary, Investments, Gifts, Other
- Expenses:
- Housing (rent, mortgage, utilities)
- Food (groceries, dining out)
- Transportation (fuel, public transport, car maintenance)
- Entertainment (movies, shows, hobbies)
- Savings (emergency fund, retirement)
- Personal (clothing, health care)
- Other (taxes, miscellaneous expenses)
Create two sheets within your workbook: “Income” and “Expense.”
🔄 Note: You might want to categorize expenses further (e.g., fixed vs. variable).
Step 3: Design the Layout

Now, let’s design the layout:
| Column Header | Description |
|---|---|
| Date | The date the transaction was made or the income received. |
| Category | The category the transaction falls under. |
| Description | A brief note describing the transaction. |
| Amount | The amount of money involved, with positive for income and negative for expenses. |

Include headers and apply formatting to make the sheet visually appealing and easier to navigate. Use filters to sort and view your data dynamically.
Step 4: Input Your Data

Start recording your financial transactions:
- Enter the date of each income or expense.
- Choose the correct category from your predefined list.
- Describe the transaction succinctly.
- Enter the amount accurately. Positive for income, negative for expenses.
📝 Note: Regularly update this sheet to keep it current.
Step 5: Analyze and Visualize Your Finances

With your data inputted, here’s how to analyze your financial health:
- Use Excel’s SUMIF function to sum income and expenses by category.
- Create charts or graphs using Excel’s chart tools to visualize income vs. expense trends over time.
- Calculate monthly and annual totals to see your overall financial health.
Now that your Excel income and expense sheet is set up, you have a powerful tool at your fingertips to monitor your financial status. Over time, you'll become more adept at tracking your money, spotting trends, identifying potential overspending, and planning for future savings. Regular updates will give you real-time insights, making this sheet not just a record but a dynamic planning tool.
Can I share my Excel income and expense sheet with others?

+
Yes, Excel allows you to share workbooks via cloud services like OneDrive or Google Drive. Be cautious with whom you share your financial data and ensure you use password protection and encryption where possible.
How often should I update my sheet?

+
At least weekly, but daily updates provide the most accurate and real-time overview of your finances.
What if I miss entering a transaction?

+
Add the transaction as soon as you remember. Regular checks can help identify any missing entries. If you’re significantly behind, you might need to estimate or review bank statements for accuracy.