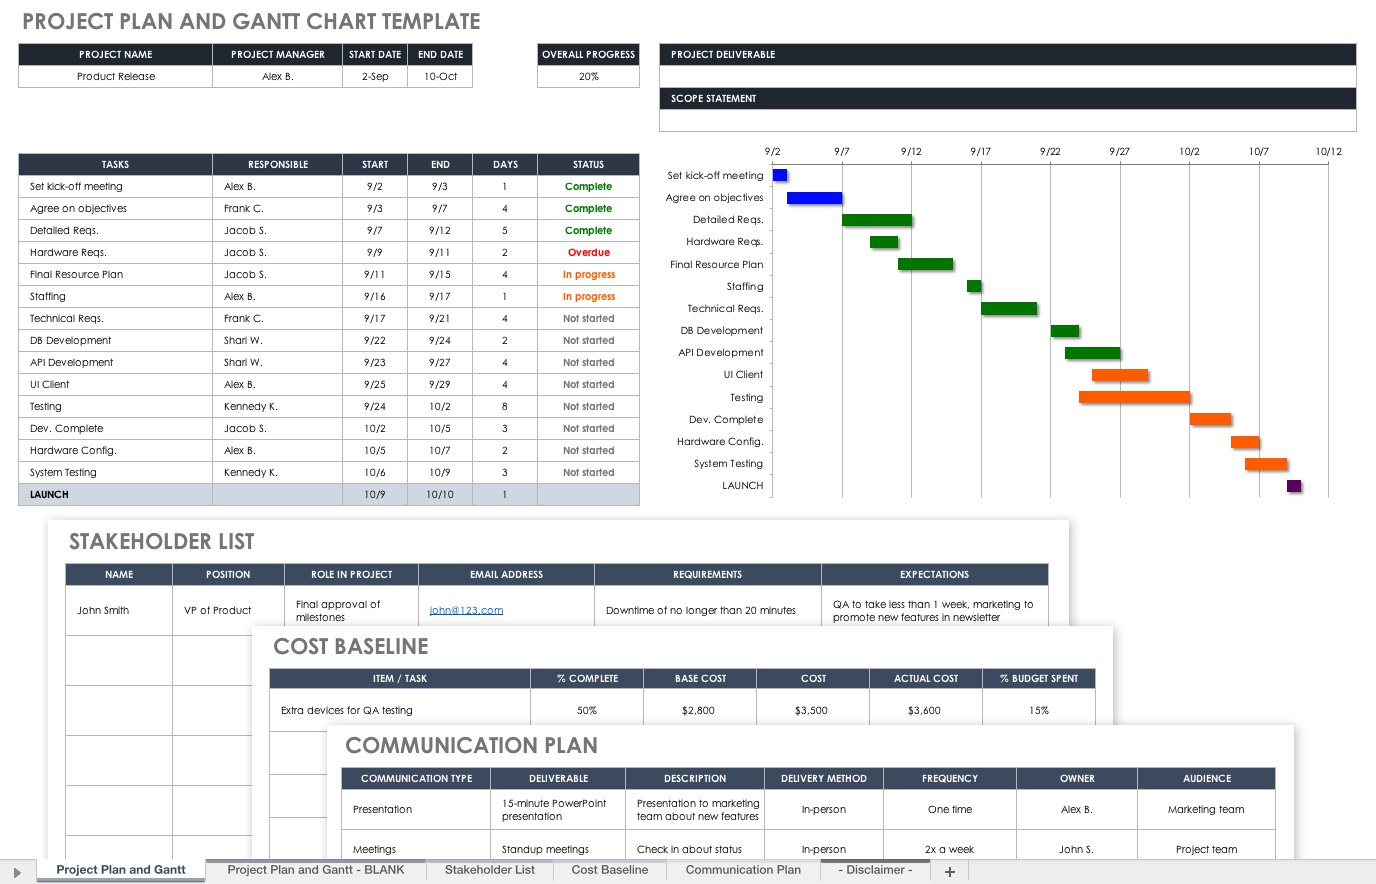
Create an Excel Tracking Sheet: Easy Steps

One of the most versatile tools available for managing data, tracking expenses, scheduling tasks, and much more is Microsoft Excel. Whether you're looking to organize your personal finances, keep a record of sales for your small business, or track inventory, creating an Excel tracking sheet can be a game-changer. Here's a step-by-step guide on how to craft a simple yet effective tracking sheet:
Step 1: Planning Your Tracking Sheet

Before you dive into Excel, take a moment to outline what you want to track:
- What information do you need to record?
- Who will be using this sheet?
- How often will the data be updated?
- What formulas or calculations might be necessary?
Planning ensures your tracking sheet will serve its intended purpose efficiently.
Step 2: Open Excel and Create a New Workbook
Launch Microsoft Excel, and you’ll be greeted with a blank worksheet. Here’s where the creation process begins:
Step 3: Setting Up Your Sheet
Let’s start by laying out the basic structure:
- Headers: In the first row, enter the headers for your columns. For example, if tracking expenses, you might have columns like ‘Date’, ‘Description’, ‘Category’, ‘Amount’, and ‘Notes’.
- Formatting: Highlight these headers and apply formatting like bold text, background color, or different font sizes to make them stand out.
- Width Adjustment: Adjust the column widths so that the headers and expected data entries are readable and well-spaced.
💡 Note: Utilize “Text to Columns” if you need to split data from one column into multiple columns later on.
Step 4: Data Entry and Navigation

With your sheet set up, begin entering your data:
- Manual Entry: Simply type your data into the respective cells.
- Using Functions: If you’re entering repetitive data, consider using Excel’s functions like VLOOKUP or Data Validation to minimize errors.
- Date and Time: Excel can automatically convert dates and times into an understandable format when you type them in.
Step 5: Applying Formulas and Functions
Now, let’s make your sheet functional with formulas:
| Function | Usage |
|---|---|
| SUM | Sum up amounts in a column or range, e.g., “=SUM(B2:B10)”. |
| AVERAGE | Calculate the average of numbers, e.g., “=AVERAGE(C2:C10)”. |
| COUNTIF | Count cells that meet a specified condition, e.g., “=COUNTIF(D2:D10, >500)”. |
| IF | Perform conditional logic, e.g., “=IF(B2>1000, “Large Purchase”, “Normal”)“. |
| VLOOKUP | Look up values in a table based on a key, e.g., “=VLOOKUP(A2, LookupTable, 2, FALSE)”. |
Step 6: Data Validation
To ensure data integrity, you can:
- Use Data Validation to restrict data entry to predefined options or ranges.
- Apply conditional formatting to highlight cells based on specific criteria.
Step 7: Organizing Your Data
As your sheet grows, organization becomes key:
- Use sorting features to arrange data in meaningful order.
- Filter data to view only what’s relevant.
- Employ tables for dynamic data handling and easy navigation.
Step 8: Formatting for Presentation
Once your data is entered, enhance the visual appeal:
- Add borders to cells or tables for clarity.
- Apply cell and text styles to highlight important data.
- Use color coding to make your sheet more readable.
To wrap things up, crafting a tracking sheet in Excel is a valuable skill for anyone looking to manage and analyze data efficiently. From the initial planning to the final presentation, each step ensures that your tracking sheet is not just a collection of data but a dynamic tool for monitoring and reporting. With time, you can even incorporate more advanced Excel functionalities like macros or pivot tables to delve deeper into your data analysis. Whether you're tracking expenses, projects, or any other metrics, Excel's versatility allows you to customize your tracking sheet to fit any requirement. Remember, the real power of Excel lies not just in the data entry but in how you can manipulate and analyze this data to reveal trends, make decisions, and ultimately streamline your processes.
What are the benefits of using an Excel tracking sheet?

+
Excel tracking sheets allow for detailed data entry, real-time updates, customizable views, and comprehensive analysis. You can manage everything from finances to project timelines effectively.
Can I automate data entry in Excel?
+
Yes, through Data Validation, using functions like VLOOKUP, or creating macros, you can automate and streamline data entry processes in Excel.
How do I protect my Excel tracking sheet from unauthorized changes?
+
Excel provides a ‘Protect Sheet’ or ‘Protect Workbook’ feature, where you can set permissions to prevent unauthorized changes or edits to your tracking sheet.


