How to Print Excel Sheets Perfectly: Easy Guide

Printing Excel sheets perfectly might seem like a simple task, but for many, it involves navigating through a maze of settings and options that can be overwhelming. Whether you're preparing to print financial reports, spreadsheets for meetings, or any other data-rich documents, getting your Excel sheets to print exactly as you want can significantly improve their presentation and readability. This guide will walk you through the steps to achieve print perfection in Microsoft Excel.
Setting Up Your Excel Sheet for Printing

Before you delve into the actual printing process, setting up your Excel sheet properly ensures that everything prints as expected.
- Check Margins: Go to Page Layout > Margins. Adjust to your preference or select a pre-set margin size.
- Orientation: Decide if you need your document in portrait or landscape. Landscape is often better for wider data.
- Print Area: If you don’t need to print the entire worksheet, select the range you wish to print and set it as the Print Area (Page Layout > Print Area > Set Print Area).
- Fit to Page: Use this option to scale your print to fit on one page. Go to Page Layout > Scale to Fit and adjust the width and height.
⚠️ Note: Over-scaling can make text or figures hard to read, so ensure readability isn’t compromised.
Optimizing Sheet Layout

A well-organized sheet makes for a better print:
- Column Width & Row Height: Adjust these to ensure data fits nicely. You can select all (Ctrl+A) and then adjust.
- Hide Unnecessary Rows or Columns: Right-click on the row or column header and choose ‘Hide’ for unnecessary areas.
- Repeat Titles: In Page Layout > Print Titles, set rows or columns to repeat on every page for headers or labels.
Preview and Final Adjustments

Always preview your document before printing:
- Page Break Preview: Found under View > Page Break Preview, this view helps you see where pages will break. Drag the blue lines to adjust.
- Adjust Scale: If your data is cut off, you might need to reduce the scale (Page Layout > Scale to Fit).
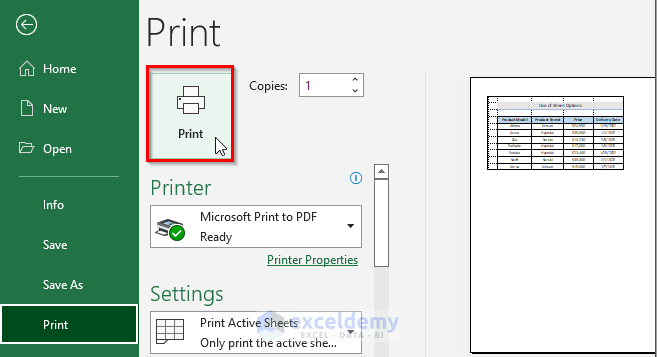
- Print Preview: Use the Print Preview option to see how your sheet will look when printed.
🔍 Note: Utilize the Zoom in Print Preview to closely inspect the details that might be overlooked on smaller displays.
Handling Large Data Sets

When dealing with large data sets, consider these tips:
- Freeze Panes: Keep headers visible as you scroll. Go to View > Freeze Panes and choose your option.
- Group Data: Use grouping to collapse sections you don’t need to print. Select rows or columns, right-click, and choose ‘Group’.
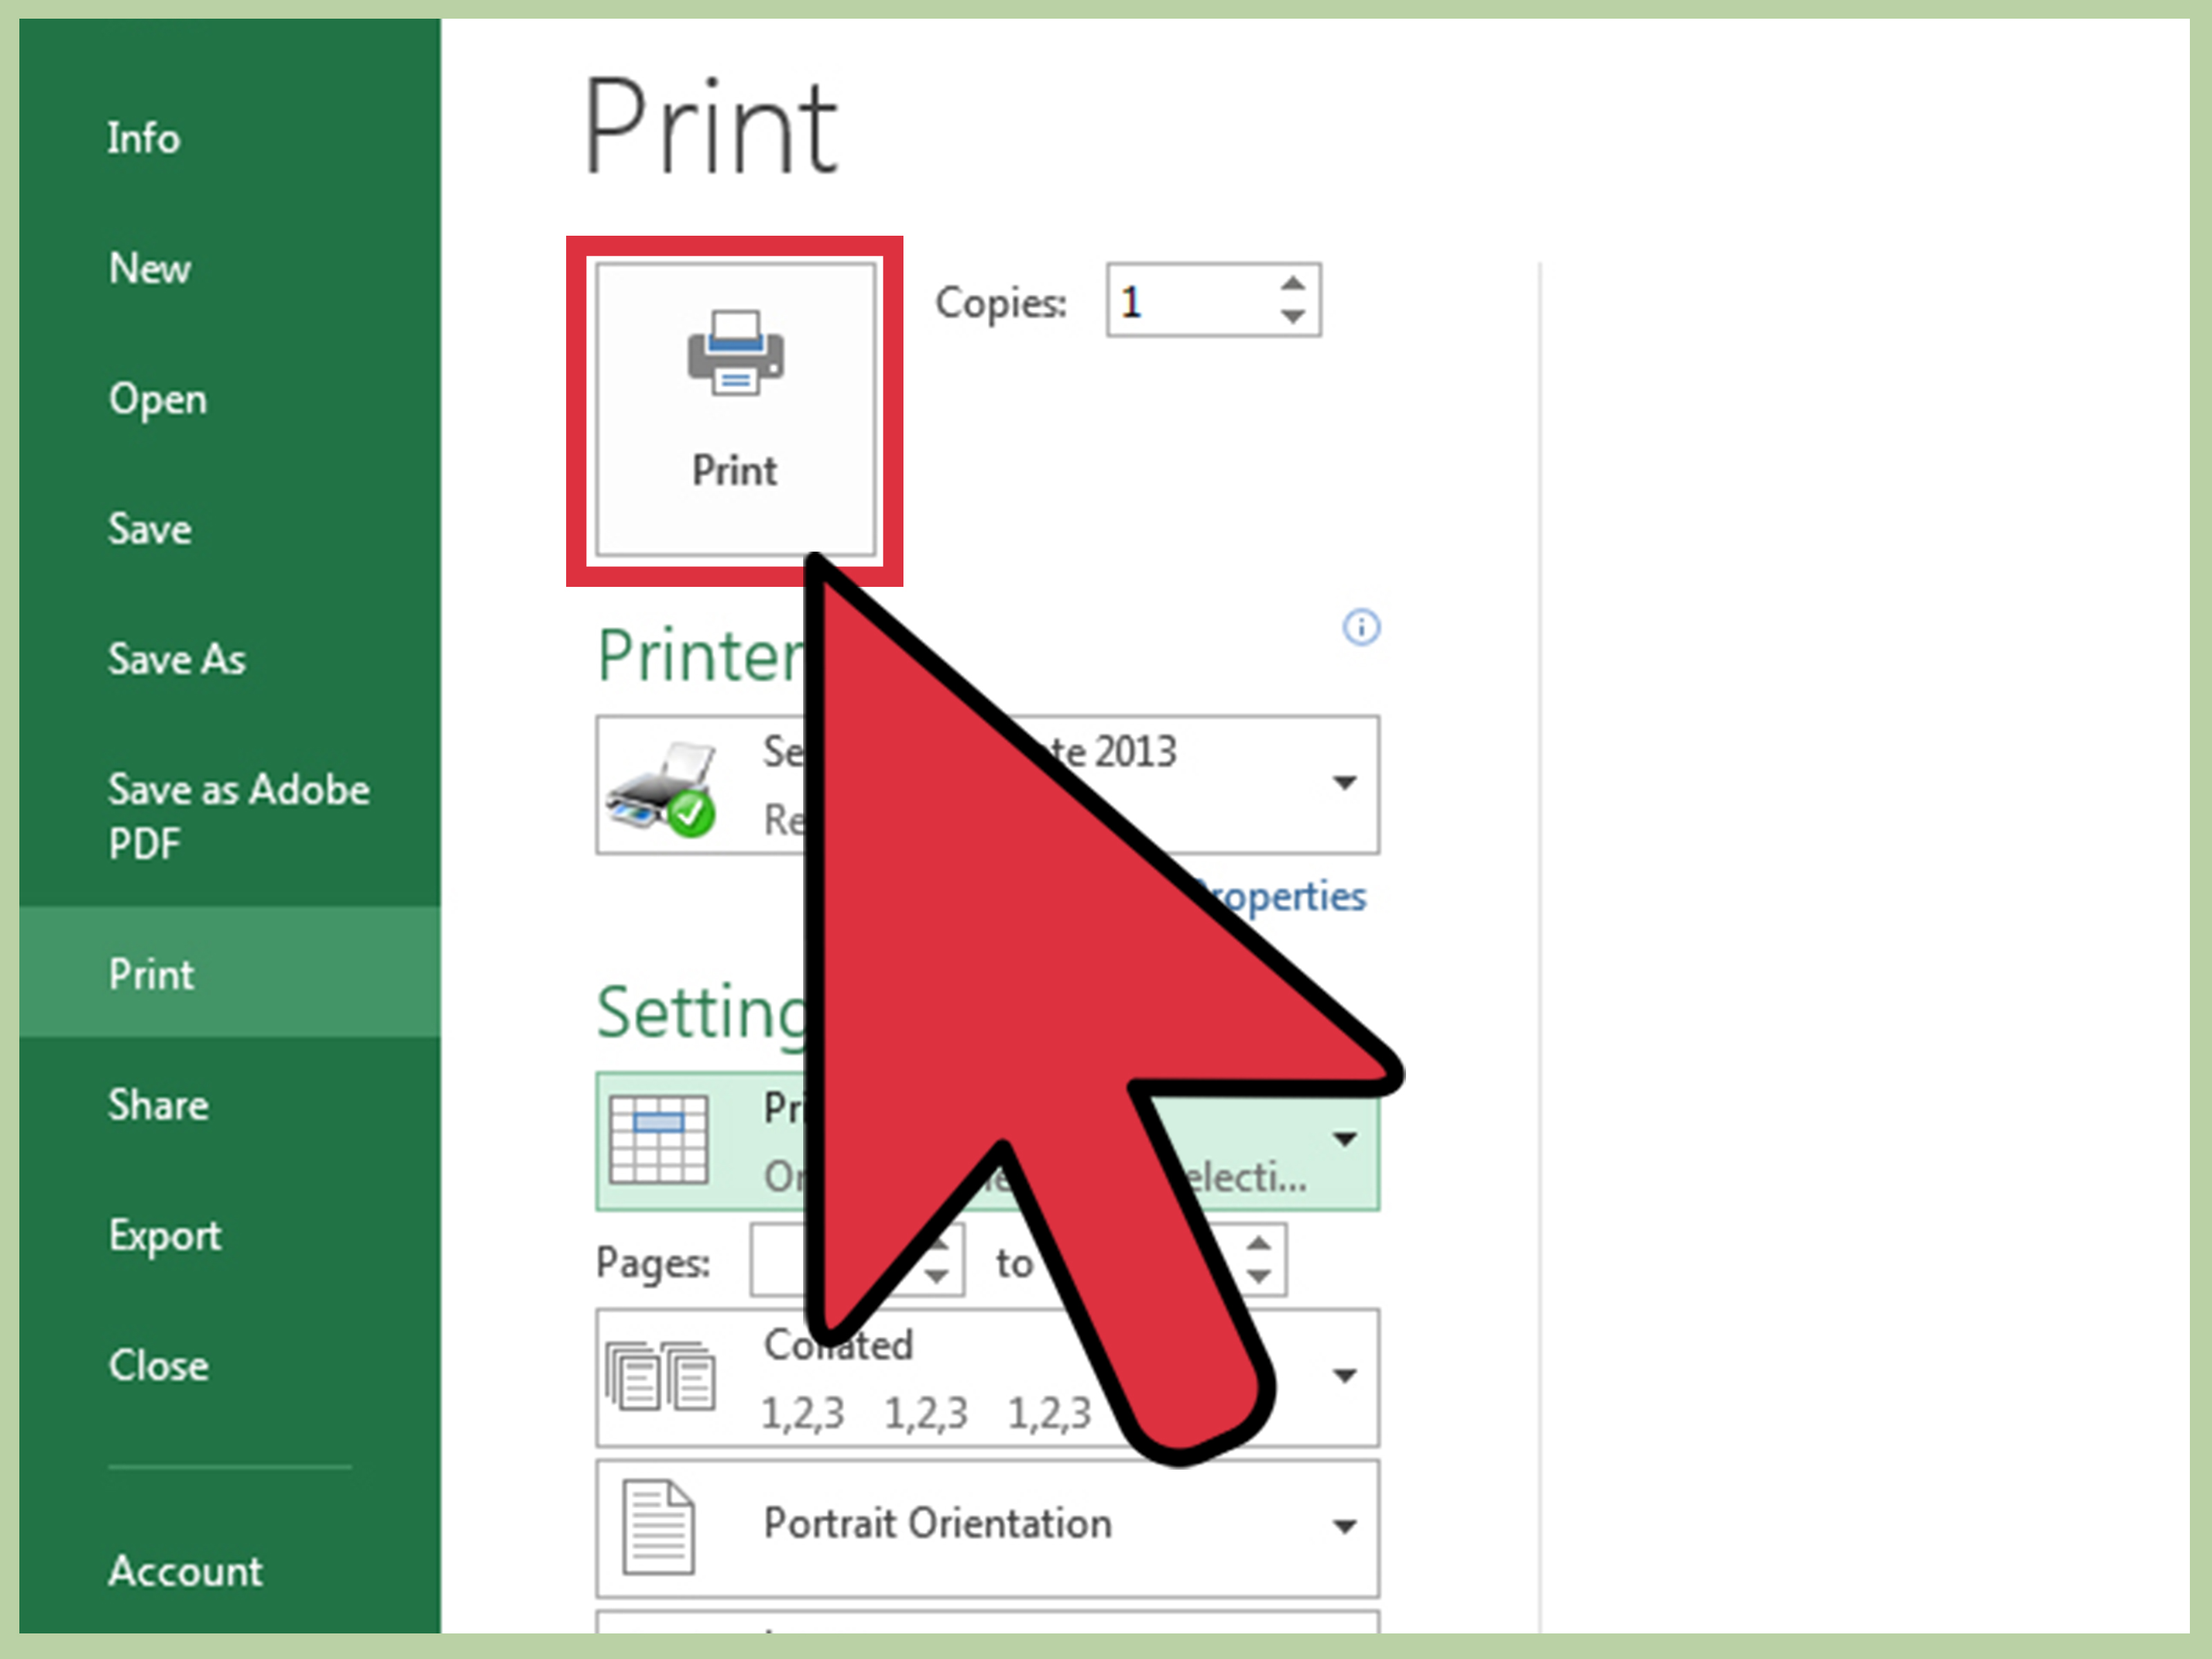
- Print Selection: If you only need part of a large sheet, select and choose File > Print > Print Selection.
| Setting | Description |
|---|---|
| Print Area | Defines which parts of your worksheet will be printed. |
| Scale to Fit | Automatically scales your sheet to fit on a single page. |
| Page Setup | Where you adjust margins, orientation, and headers/footers. |

The journey to perfect printing in Excel involves understanding and tweaking various settings to ensure your data is presented precisely as you intend. By taking the time to set up your Excel sheet correctly, optimizing layout, previewing your print, and handling large data sets efficiently, you can avoid common pitfalls and achieve professional-looking prints. Remember, the key is in the details, and a little setup goes a long way in simplifying the process.
How do I change the page orientation in Excel?

+
To change page orientation, go to Page Layout > Orientation, then select either Portrait or Landscape.
What should I do if my data is cut off on the printed page?

+
You can reduce the scale of your printout. In Page Layout > Scale to Fit, adjust the Width or Height to fit on one page or use Fit to Page.
Can I print specific cells or areas rather than the entire sheet?

+
Yes, select the cells or area you want to print, then go to File > Print > Print Selection.