5 Easy Steps to Copy Balance Sheet to Excel

When it comes to managing financial data, accurately copying a balance sheet into Excel can streamline your financial analysis and reporting tasks. Here are five straightforward steps to help you achieve this, whether for personal use or professional purposes.
1. Open the Financial Software


- Identify the Balance Sheet: Navigate to the section where the balance sheet is located. This could be labeled as ‘Reports’, ‘Financials’, or directly ‘Balance Sheet’.
- Export Options: Check for any built-in options to export data directly to Excel or another spreadsheet program.
- Customization: If available, customize the balance sheet to include only the necessary accounts or figures for your analysis.
2. Prepare the Balance Sheet for Copying

- Adjust Views: If your software allows, switch to a view that shows raw data without any graphical elements or headers that won’t be needed in Excel.
- Reorganize: Sometimes, you might need to rearrange columns or accounts to ensure they appear logically in Excel.
- Save as PDF: If there’s no direct export to Excel, consider saving the balance sheet as a PDF for later copy-pasting.
🚨 Note: Before proceeding, make sure your balance sheet includes all necessary details like dates, period covered, and account names.
3. Copy the Data

| Action | Description |
|---|---|
| Highlight Data: | Use your mouse or keyboard to select the entire balance sheet or just the relevant sections. |
| Right Click: | Right-click within the highlighted area for copy options. If available, choose ‘Copy’ or ‘Copy to Clipboard’. |
| Use Shortcuts: | Alternatively, use Ctrl + C (Windows) or Cmd + C (Mac) to copy. |

4. Paste into Excel

- Open Excel: Create a new Excel document or open an existing one where you want to paste the data.
- Select Cell: Choose the cell where you want the top-left corner of your balance sheet to appear.
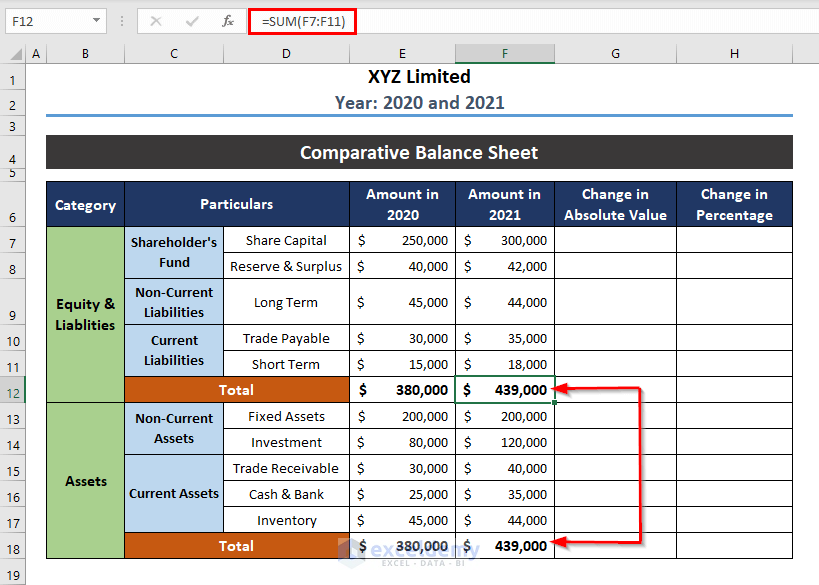
- Paste: Use Ctrl + V (Windows) or Cmd + V (Mac) to paste the copied data. Excel usually formats the data automatically, but you might need to adjust alignment or cell styles.
- Check Data: Ensure the data is correctly pasted without missing or additional columns/rows.
5. Finalize and Format in Excel

- Formatting: Adjust column widths, number formatting, and any other visual aspects to enhance readability.
- Check Totals: Recalculate all totals to ensure they match the original balance sheet.
- Validation: Cross-check each entry with the source for accuracy.
💡 Note: Use Excel’s features like pivot tables, charts, or formulas to analyze the balance sheet data further for insights.
In summary, transferring a balance sheet into Excel involves navigating your financial software, preparing the data, accurately copying it, pasting it into Excel, and then formatting for clarity. This process not only saves time but also leverages Excel's powerful data analysis tools to make financial decisions more informed and strategic.
Can I copy balance sheets from online platforms into Excel?

+
Yes, many online financial software platforms provide export options or allow you to copy data directly to Excel. Always check the platform for these functionalities.
How do I ensure data accuracy when copying to Excel?

+
To maintain accuracy, verify all copied data against the original source, especially focusing on numeric values and account names. Use Excel’s validation features to cross-check numbers.
Is there an automated way to transfer balance sheets to Excel?

+
Some advanced accounting software provides automated export options to Excel. If not available, consider using macros or VBA scripts in Excel to streamline the process.
📌 Note: Always save your Excel file after copying the balance sheet, especially if you’ve made any changes to the data or formatting.