Copy Excel Sheet to Outlook Email Easily
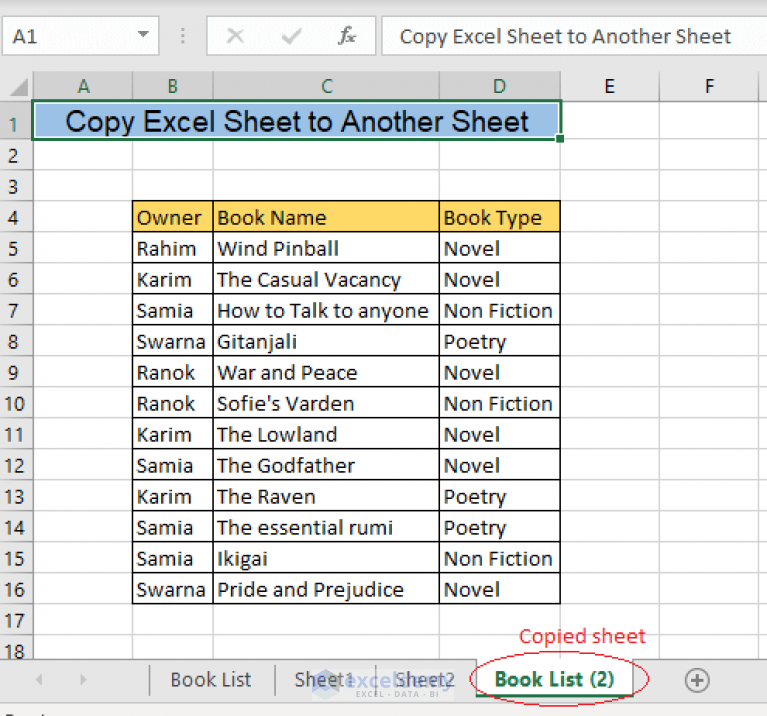
Transferring data from an Excel sheet to an Outlook email can be a task that many individuals and businesses frequently face, especially for things like sending meeting agendas, project updates, or financial reports. This guide will walk you through the steps of seamlessly copying and pasting data from Excel into Outlook to create an effective and visually engaging email.
Why Copy Excel Data into Outlook Email?
Before diving into the "how," let's consider the "why." Here are some key reasons to integrate Excel data into your emails:
- Efficiency: Save time by sharing data directly from your worksheet without the need to reformat or re-type.
- Visual Clarity: Excel tables and charts can be visually appealing, making complex data easier to understand.
- Version Control: You can send data snapshots from Excel, ensuring that all recipients see the same information at a given point in time.
- Collaboration: Sharing data in an email can facilitate better team collaboration and decision-making.
Step-by-Step Guide to Copying Excel Data to Outlook Email
1. Prepare Your Excel Data
First, ensure your Excel data is ready to be copied. Here are some tips:
- Format your data to be visually clear (use headers, borders, conditional formatting).
- Reduce the file size by removing any unnecessary data or sheets.
- If sharing a chart, make sure it’s clearly labeled with a title and legend.
2. Copy Your Excel Data
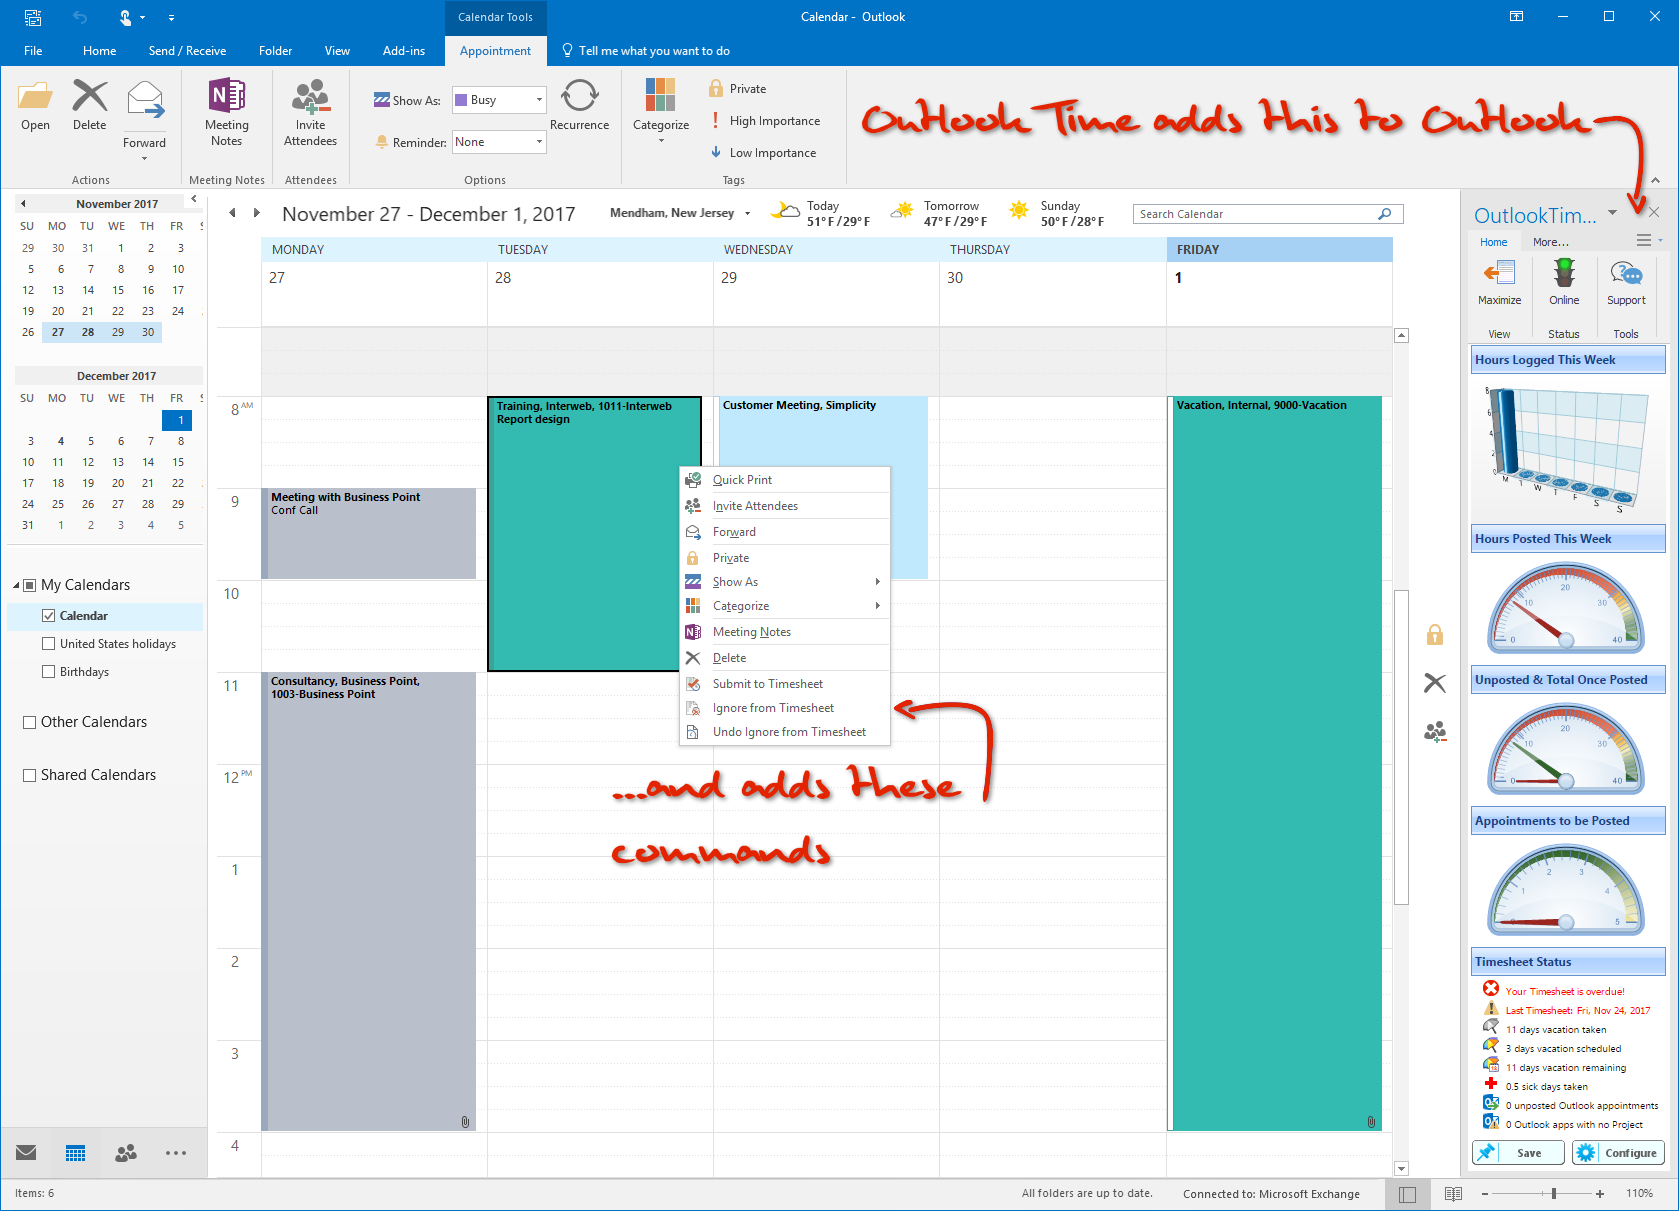
To copy your data, follow these steps:
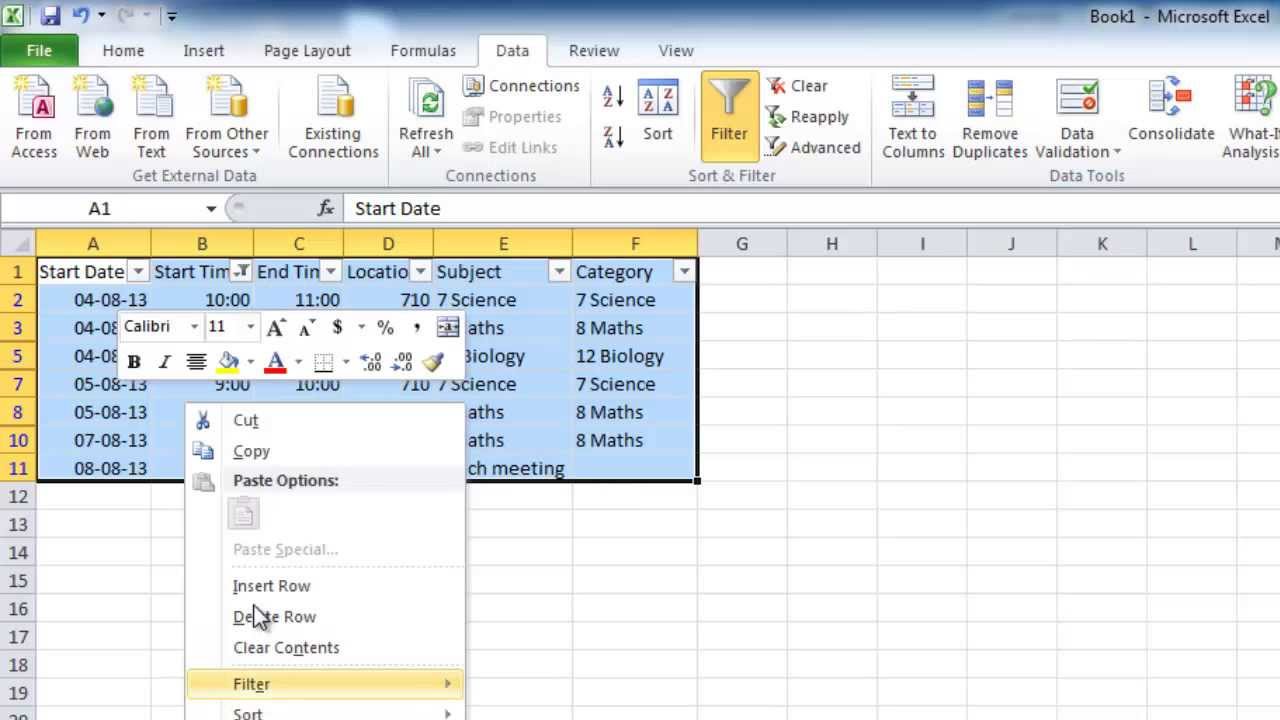
- Select the data range or chart in Excel that you wish to copy. Click and drag your mouse to select, or use the Ctrl+A shortcut to select the entire worksheet.
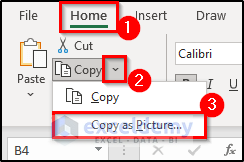
- Right-click and choose ‘Copy’ or use the keyboard shortcut Ctrl+C.
3. Paste Into Outlook Email

Now, let’s bring that data into your email:
- Open Outlook and compose a new email.
- Position your cursor where you want the data to appear.
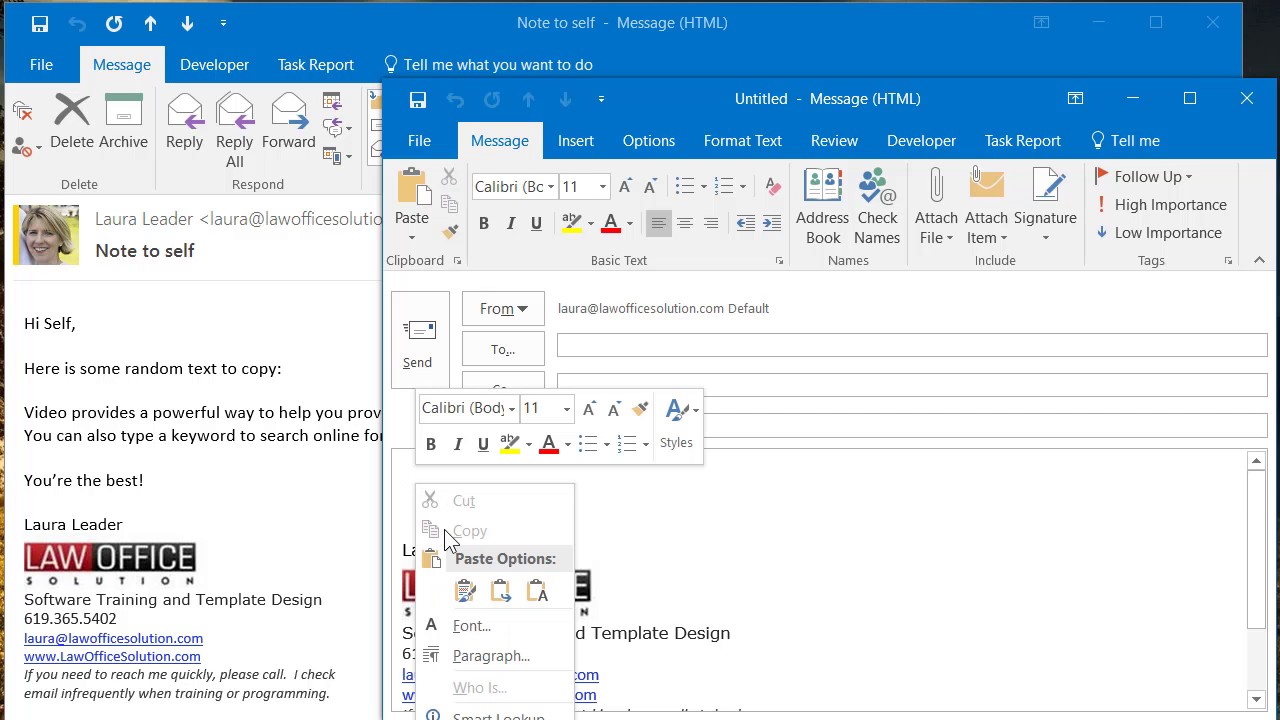
- Right-click and choose ‘Paste’ or use the keyboard shortcut Ctrl+V. You can also click the small arrow under the ‘Paste’ icon on the ‘Message’ tab for paste options.
- Depending on your Excel selection, you might see a small ‘Paste Options’ icon appear. This lets you adjust how the data is pasted (as a picture, table, etc.).
💡 Note: Choosing ‘Keep Source Formatting’ preserves Excel’s styling, while ‘Use Destination Styles’ adopts Outlook’s default look.
4. Format Your Email
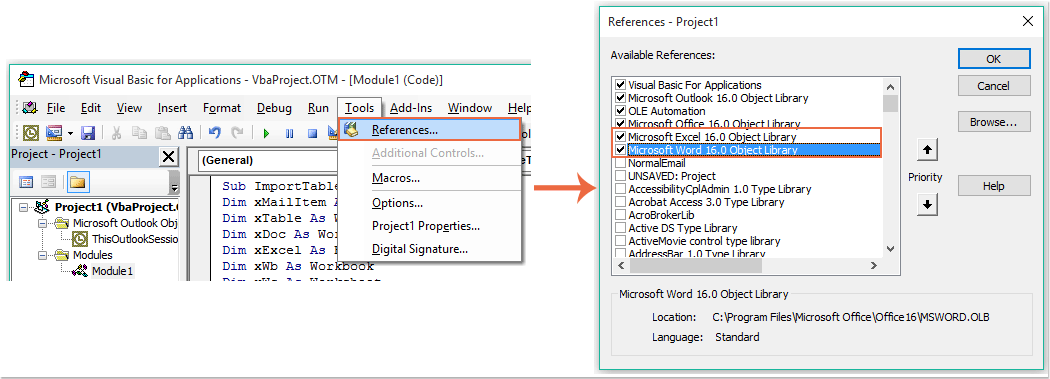
Once your data is pasted into Outlook, you might want to:
- Resize or reposition the data for better readability.
- Add text above, below, or around the pasted data to provide context or explanations.
- Use the ‘Format Text’ tab to apply themes, fonts, or additional styling.
5. Send Your Email
After formatting, review your email for accuracy, add recipients, and hit ‘Send.’
Tips for Effective Data Transfer

- Data Security: Be mindful of the data you’re sharing and ensure it’s appropriate for all recipients.
- Recipient Settings: Some email clients might not display Excel data as intended, so consider sending as a PDF or image if compatibility is a concern.
- Outlook Attachments: If the data is extensive or detailed, consider attaching the Excel file instead or in addition to in-line data.
- Keyboard Shortcuts: Learn common shortcuts for quicker data transfer like Alt+F4 to close Outlook or Ctrl+K to add a hyperlink.
- Automatic Email Creation: Use VBA in Excel to automate email generation with your data.
In summary, copying Excel data to an Outlook email is a powerful way to communicate complex information quickly and clearly. By following these steps and tips, you'll be able to streamline your workflow, enhance visual appeal, and ensure data accuracy when sharing with your team or clients. Whether it's for internal reports or client communications, this skill can significantly boost your productivity.
Can I paste Excel charts into Outlook emails?

+
Yes, you can paste Excel charts directly into Outlook emails. Use the ‘Copy’ function in Excel and paste into your email. You can choose to keep the source formatting or adopt Outlook’s styles.
What if my Excel data loses its formatting when pasting into Outlook?
+
If your data loses formatting, try the ‘Paste Options’ icon to choose ‘Keep Source Formatting’. If that doesn’t work, consider copying the data as a picture or as an Excel object, which preserves formatting.
How can I ensure my email recipients can view my Excel data correctly?

+
To ensure correct viewing, send your email in a format compatible with all clients, like PDF, or include the Excel file as an attachment for detailed viewing.