5 Simple Steps to Convert Excel to Avery 5163 Labels

Converting data from an Excel spreadsheet into label formats like Avery 5163 can save time and reduce errors when printing labels for mass mailings, organizing documents, or any other labeling needs. This comprehensive guide will walk you through the process, ensuring that even those with minimal technical skills can effectively transform their data into professional-looking labels.
Step 1: Prepare Your Data in Excel
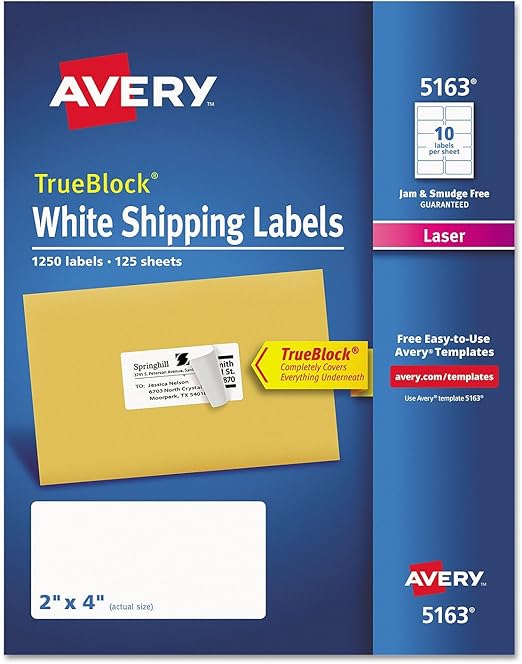
The first step in creating labels from an Excel sheet is to ensure your data is well-organized. Here's how to prepare:
- Structure Your Spreadsheet: Make sure your data columns are clearly defined. For example, if you're mailing out invitations, your columns might be labeled as "First Name," "Last Name," "Address," "City," "State," "Zip Code," etc.
- Use Consistent Formatting: Ensure your data entries are consistent in terms of formatting. This means checking for proper capitalization, correct ZIP codes, and uniform date formats where applicable.
- Remove Any Unnecessary Data: If your Excel file contains data that won't be needed for the labels, either delete it or hide it.
🧑💻 Note: Keep your original Excel file intact for record-keeping, and create a copy for the label conversion process to avoid data corruption.
Step 2: Exporting Your Excel Data to CSV
To ensure your Excel data works well with label creation software, you'll need to export it to CSV (Comma Separated Values) format:
- Open your Excel spreadsheet.
- Go to "File," then "Save As."
- In the "Save as type" dropdown, select "CSV (Comma delimited)" (*.csv).
- Save the file with a meaningful name that reflects its purpose, like "Address_Labels_2023.csv."
Step 3: Select Your Label Printing Software
Choosing the right software is crucial for seamless label printing:
- Microsoft Word: Comes with pre-designed label templates for various Avery label sizes.
- Avery Design & Print: Avery's online tool, tailored specifically for their label products.
- Label Making Software: Other dedicated label printing software like LabelFactory Deluxe or LabelWorks.
Each software has different capabilities and user interfaces, but they all aim to create labels from your CSV data. Choose one that best fits your needs and comfort level.
Step 4: Import and Merge Data into Labels

Once you've selected your software, here's how to proceed:
Using Microsoft Word
- Open a new document in Word.
- Go to the “Mailings” tab, and click “Start Mail Merge,” then “Labels.”
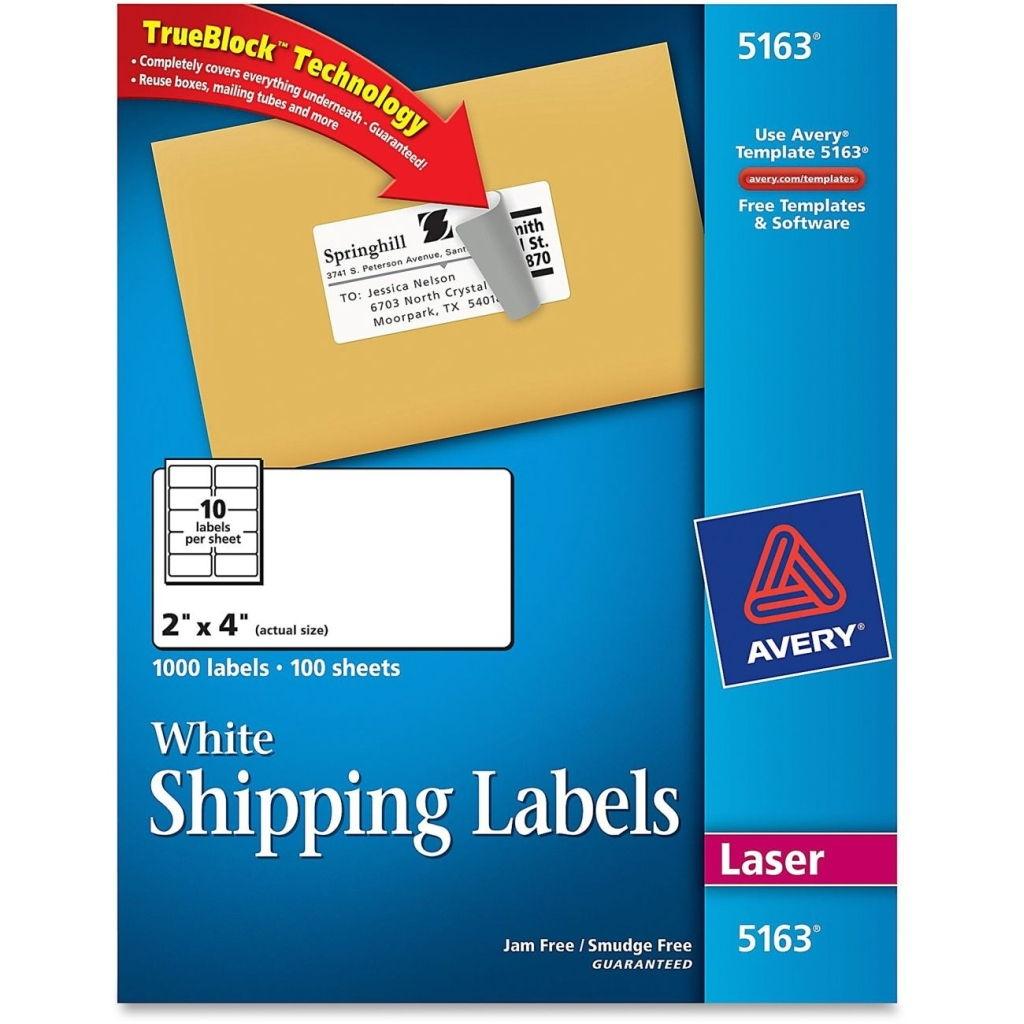
- Choose Avery 5163 under “Label Options.”
- Click “Select Recipients” and choose “Use an Existing List.”
- Navigate to your CSV file and select it.
- Word will set up your label layout. You can now insert merge fields where you want the data to appear by clicking “Insert Merge Field.”
- Preview your labels by clicking “Preview Results.”
- Finally, click “Finish & Merge” to print or save your labels.
Using Avery Design & Print

- Visit the Avery Design & Print online tool.
- Select “Address Labels” and choose the Avery 5163 template.
- Go to the “Import Data” section, and upload your CSV file.
- Map the columns from your CSV to the corresponding label fields.
- Design your labels, adjusting text, fonts, and any additional graphics or logos.
- Preview your labels, make any necessary adjustments, and then proceed to print or save your project.
Step 5: Print Your Labels

With your labels designed and previewed, it's time to print:
- Load the Avery 5163 labels into your printer. Make sure you use the correct label sheet for your printer model (inkjet or laser).
- Check the print settings in your label creation software for the right page size and layout options.
- Perform a test print on a regular sheet of paper first to ensure alignment.
- Once satisfied, print your labels.
⚠️ Note: Align the labels carefully in your printer to prevent any misprints or misalignments that could ruin your labels.
In summary, creating professional labels from an Excel spreadsheet involves preparing your data, exporting it to CSV, selecting the right printing software, integrating your data into labels, and finally printing them out. This process ensures that even complex mass mailing tasks become manageable with ease. Whether for personal use or business purposes, converting Excel data into Avery 5163 labels helps streamline and professionalize your labeling efforts, saving you time and enhancing your presentation.
What is the benefit of using CSV files for label creation?

+
CSV files are universal, meaning most label printing software can read them, allowing for easy data transfer between different systems. They also store data in a plain text format, which reduces the file size and compatibility issues.
Can I use labels other than Avery 5163?

+
Yes, most label printing software includes templates for various sizes and brands of labels. You can choose according to your printer’s specifications and your labeling needs.
What should I do if the labels don’t align correctly?
+
First, check your printer settings to ensure you’re printing on the correct label type. If alignment issues persist, try adjusting the page setup in your label software or manually adjust the margins in your document.