Excel to Table Conversion: Simple Steps for 2023
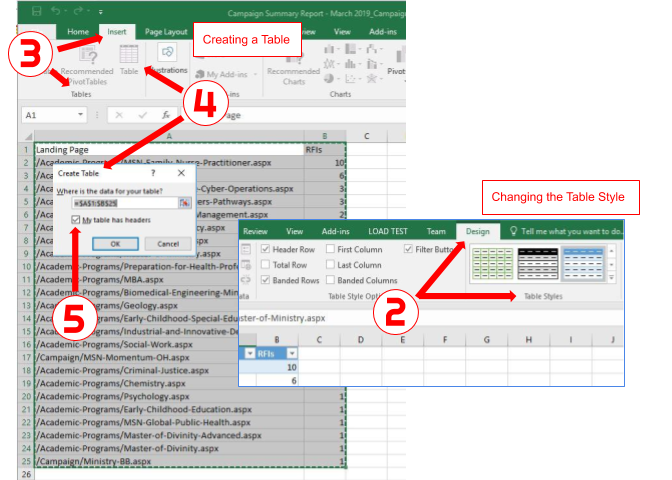
The world is increasingly moving towards digital solutions, and Excel remains one of the most versatile tools for managing data. Converting Excel spreadsheets into HTML tables offers a way to share your data on websites or integrate it into web applications. This guide provides a simple and effective method to convert Excel files to HTML tables in 2023, focusing on best practices, accuracy, and user-friendliness.
Understanding Excel to HTML Conversion

Before diving into the steps, it’s important to understand what Excel to HTML conversion entails:
- Data Accessibility: HTML tables make data accessible through a web browser, increasing its visibility.
- Web Integration: Incorporating Excel data into web pages for dynamic content or reports.
- SEO Benefits: Properly formatted HTML tables can enhance SEO efforts by improving structured data presentation.

Step-by-Step Conversion Process

Follow these steps to convert your Excel spreadsheet into an HTML table:
1. Open Your Excel File

- Launch Microsoft Excel or any compatible software like LibreOffice Calc.
- Ensure your spreadsheet data is formatted correctly, with headers in the first row.
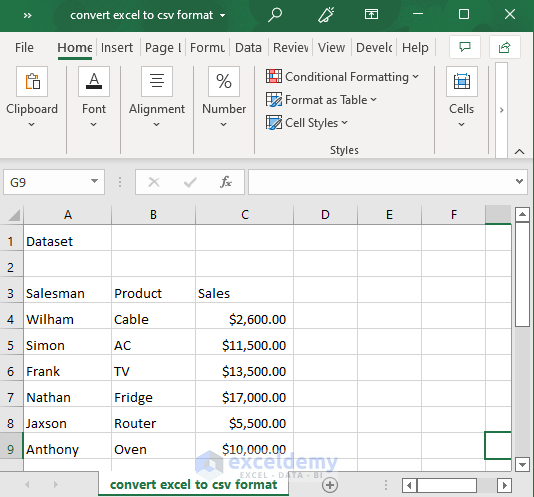
2. Export Data to CSV

- Select the worksheet you want to export.
- Go to File > Save As or File > Export.
- Choose CSV (Comma Delimited) format and save the file.
⚠️ Note: Exporting to CSV retains only the data, not the Excel formatting or formulas. Keep this in mind if your spreadsheet uses complex formulas or formatting.
3. Online Conversion Tools
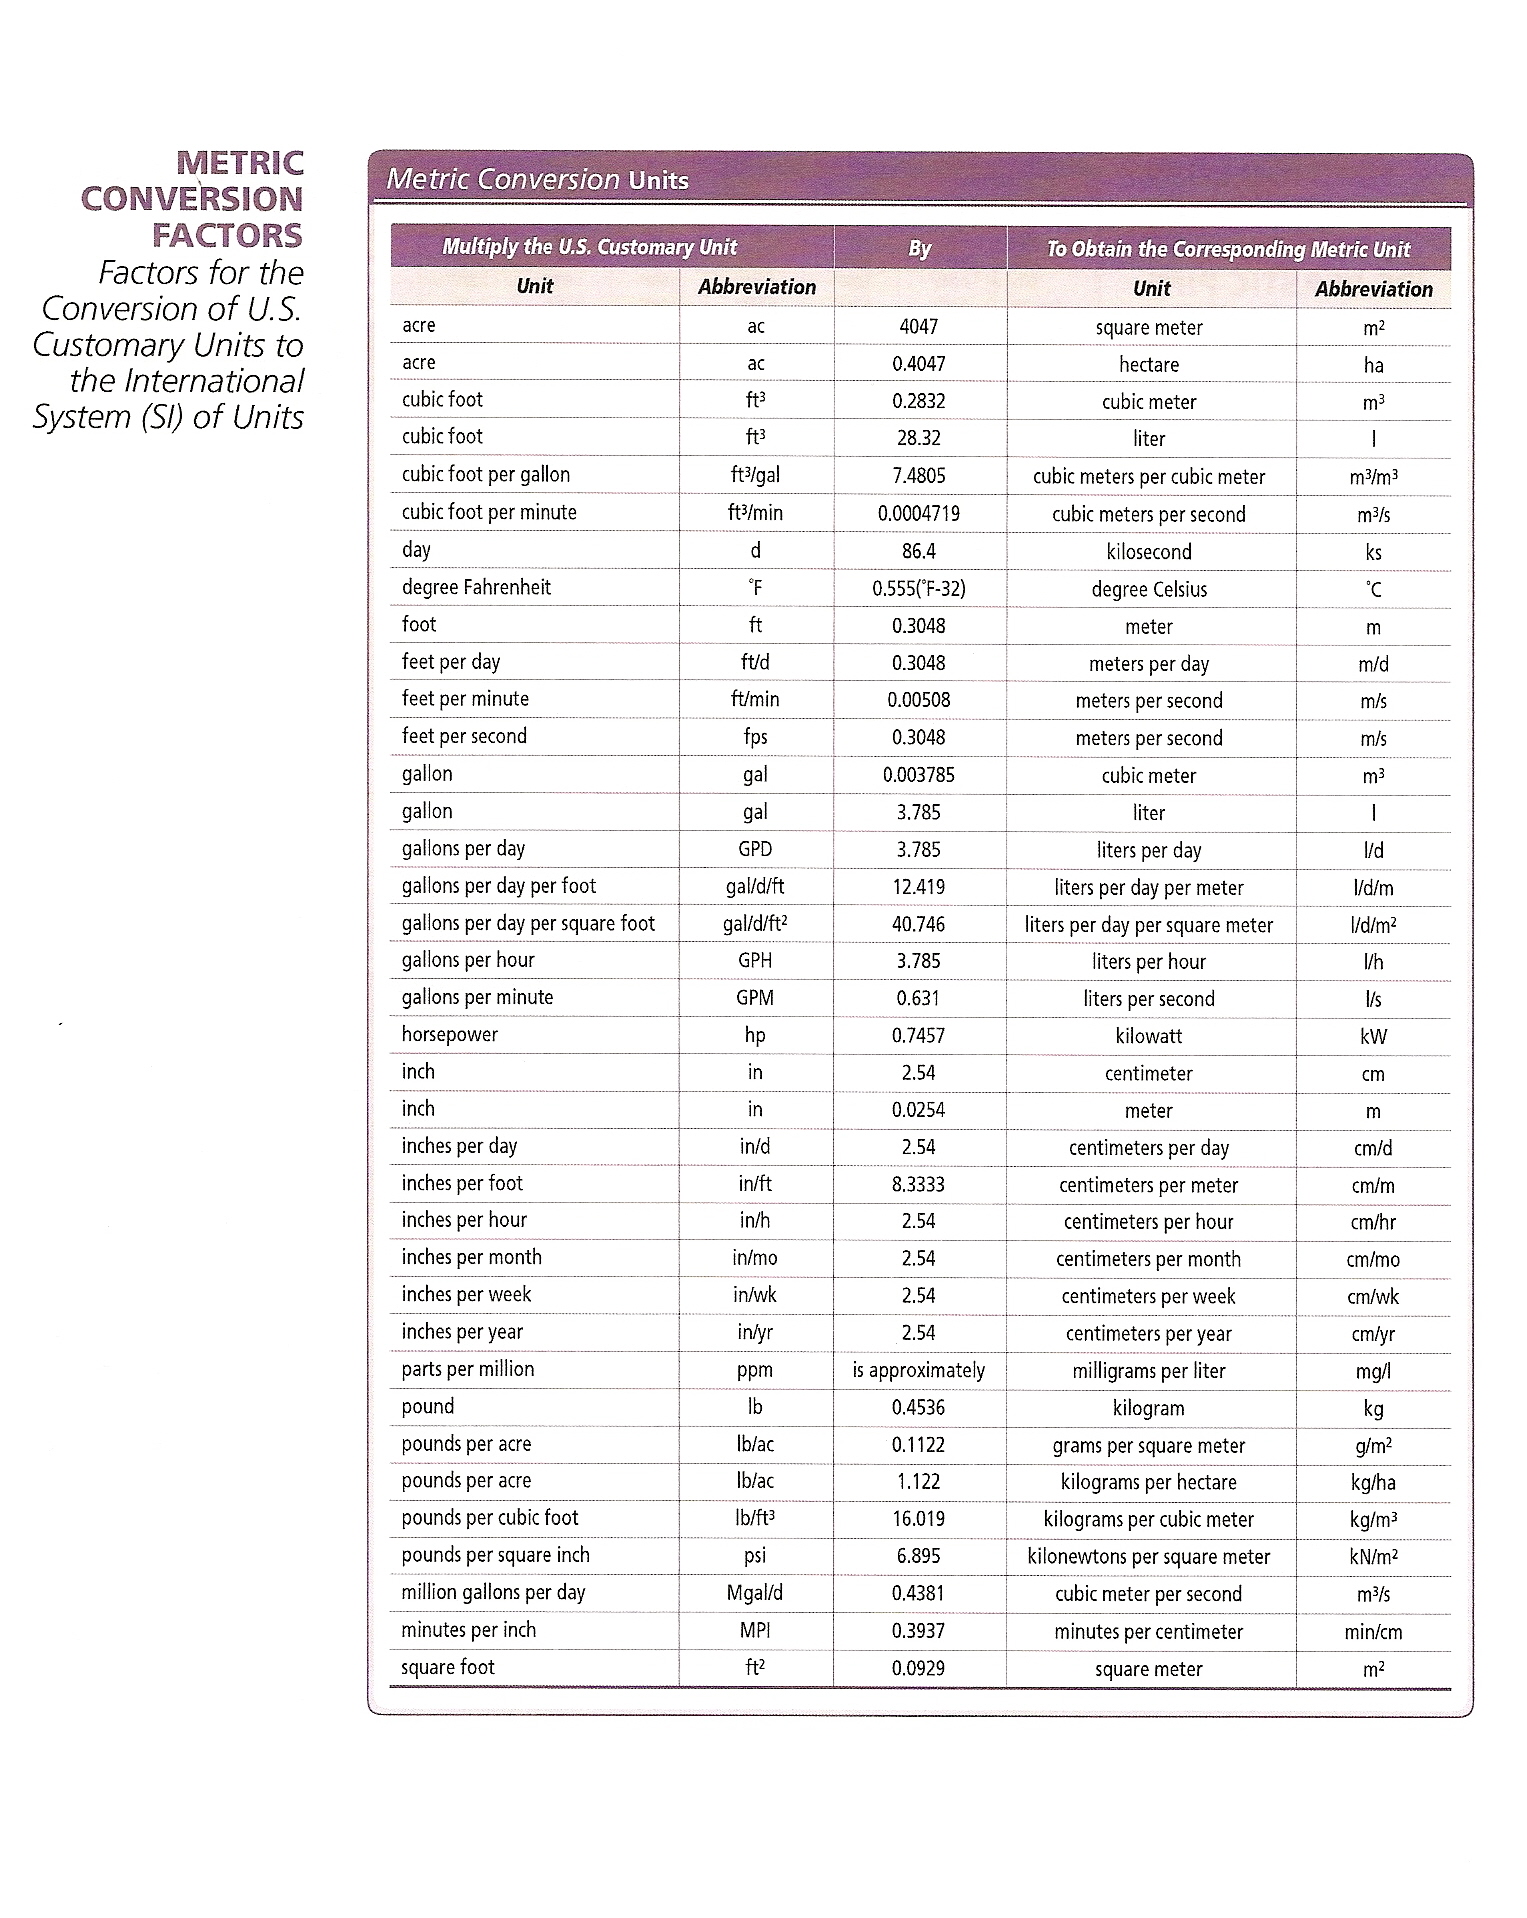
- Navigate to an online HTML table generator website like Mr. Data Converter or Tablesgenerator.com.
- Upload or paste your CSV file into the tool.
- Select HTML table as the output format and configure any additional settings like table attributes.
- Click on the ‘Generate’ or ‘Convert’ button.

4. Copy or Save the HTML Table
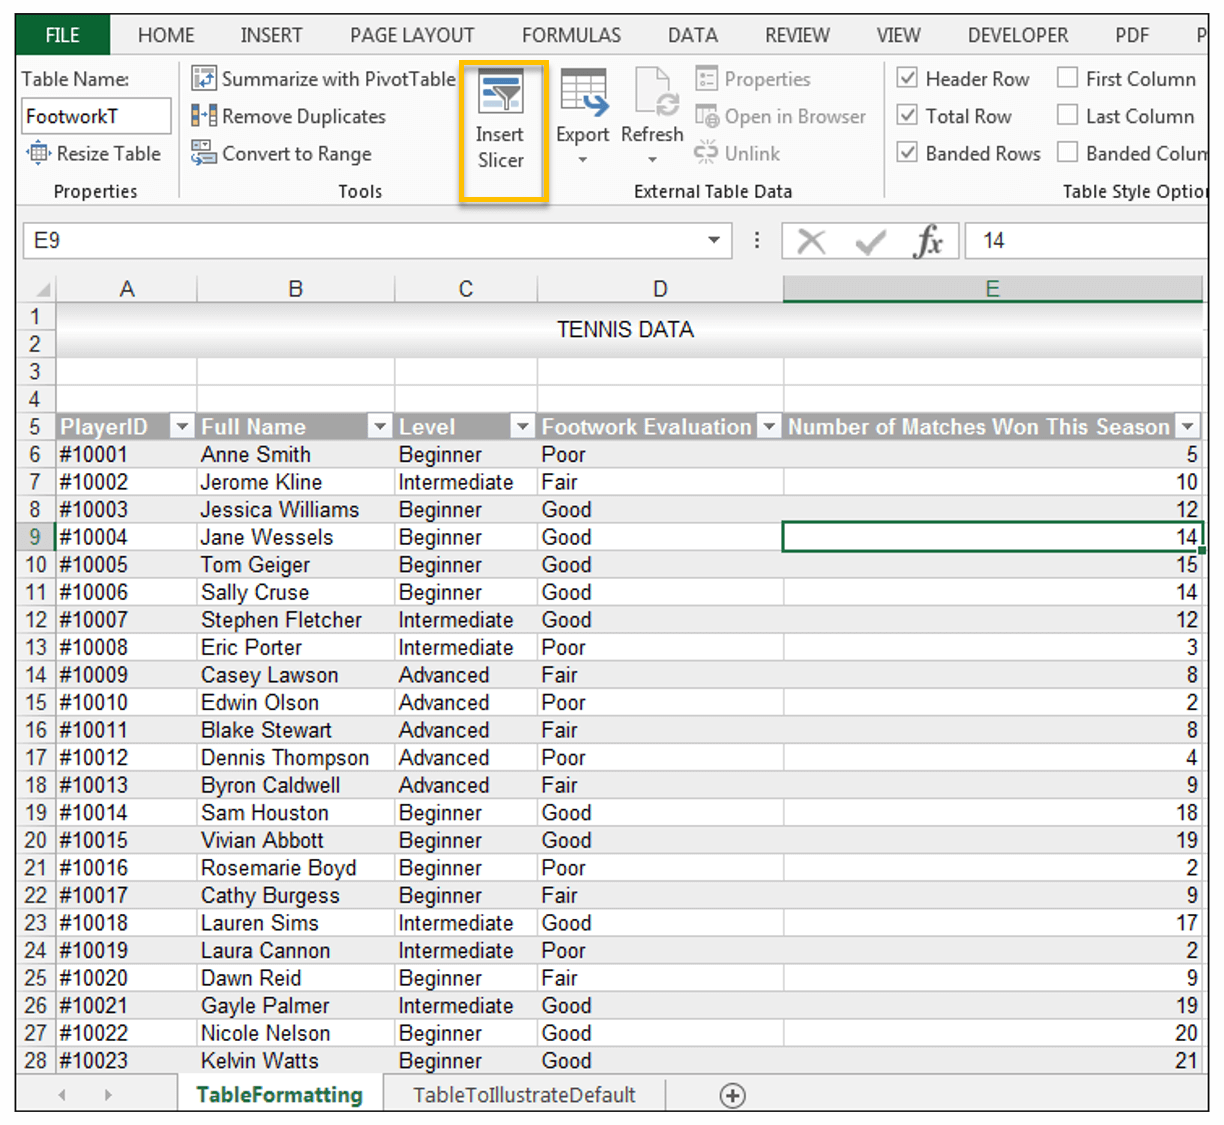
- Once the conversion is complete, you can either:
- Copy the HTML code directly from the result.
- Download the generated HTML file, if available.
5. Customize Your Table
After conversion, you might need to customize your HTML table:
- Add table headers using the
tag. - Apply styling with CSS or inline styles for better visual appeal.
- Check for correct data formatting, especially dates or numeric values.
💡 Note: Consider making your table responsive to ensure it displays well on different devices.
6. Integrate the Table into Your Webpage
- Open your HTML file in an editor.
- Insert the table code where you want it to appear within your page structure.
- Test the page in different browsers to ensure compatibility.
7. Final Check
- Review the HTML for any missed data or formatting issues.
- Validate the HTML using online tools like W3C Markup Validation Service for any syntax errors.
In summary, converting an Excel file to an HTML table in 2023 is a straightforward process that enhances data sharing and integration on the web. By following these steps, you can ensure that your data is well-presented, accessible, and SEO-optimized. This transformation not only preserves the original data but also allows for further customization to fit your web design needs, thereby making your information more dynamic and engaging to your audience.
Why should I convert Excel files to HTML tables?
+
Converting Excel files to HTML tables makes your data accessible on the web, increases its visibility, and allows for integration into web applications, which can improve user interaction and data management.
Can I include all Excel features in HTML?

+
No, many Excel features like formulas, charts, and pivot tables are not directly translatable to HTML. You’ll need to manually recreate complex functionality or use JavaScript for dynamic features.
How can I ensure my HTML table is responsive?
+
Use CSS to make your HTML table responsive. Techniques include setting widths in percentages, using media queries, and considering frameworks like Bootstrap or custom JavaScript for complex layouts.
Is it necessary to validate the HTML after conversion?
+
Yes, validating your HTML ensures that it follows web standards, which can prevent display issues and improve SEO. Use tools like the W3C Markup Validation Service for this purpose.