Compare Excel Sheets Easily with OpenOffice Guide

In today's data-driven world, the ability to compare large datasets in spreadsheet applications is crucial for business analysts, financial experts, and even students working on projects. Microsoft Excel has been the go-to software for these purposes, but it's not the only tool available. OpenOffice Calc, the free alternative, provides robust features that can match or even exceed some of Excel's functionalities, particularly when it comes to comparing sheets from different workbooks. This blog post will guide you through the process of comparing Excel sheets using OpenOffice Calc, offering a step-by-step approach to make this task straightforward and efficient.
Understanding the Basics of OpenOffice Calc

Before diving into the comparison process, let's understand the basics:
- OpenOffice Calc: It is a spreadsheet application that is part of the OpenOffice suite. It's free, open-source, and can be used on various operating systems.
- Compatibility: OpenOffice can read and write Excel files (.xls, .xlsx), ensuring seamless integration with Excel sheets.
- Spreadsheet Management: Calc supports multiple sheets within a single workbook, just like Excel.
Comparing Excel Sheets in OpenOffice Calc

Step 1: Preparing Your Files

To start:
- Download and install OpenOffice if you haven't already.
- Open Calc and load your Excel files by selecting
File > Open. - Ensure that the sheets you wish to compare are in the same format (.xls, .xlsx, etc.).
📌 Note: If the files are not in compatible formats, use the 'Save As' option to convert them into the OpenDocument Spreadsheet (.ods) or one of the Excel formats.
Step 2: Aligning Data for Comparison

Aligning the data before comparison can greatly simplify the process:
- Data Structure: Ensure that columns in both sheets correspond to each other.
- Sorting: Use
Data > Sortto sort the data in both sheets by key columns. - Headers: Confirm headers are identical across sheets if possible.
Step 3: Visual Comparison

A visual comparison can often reveal differences quickly:
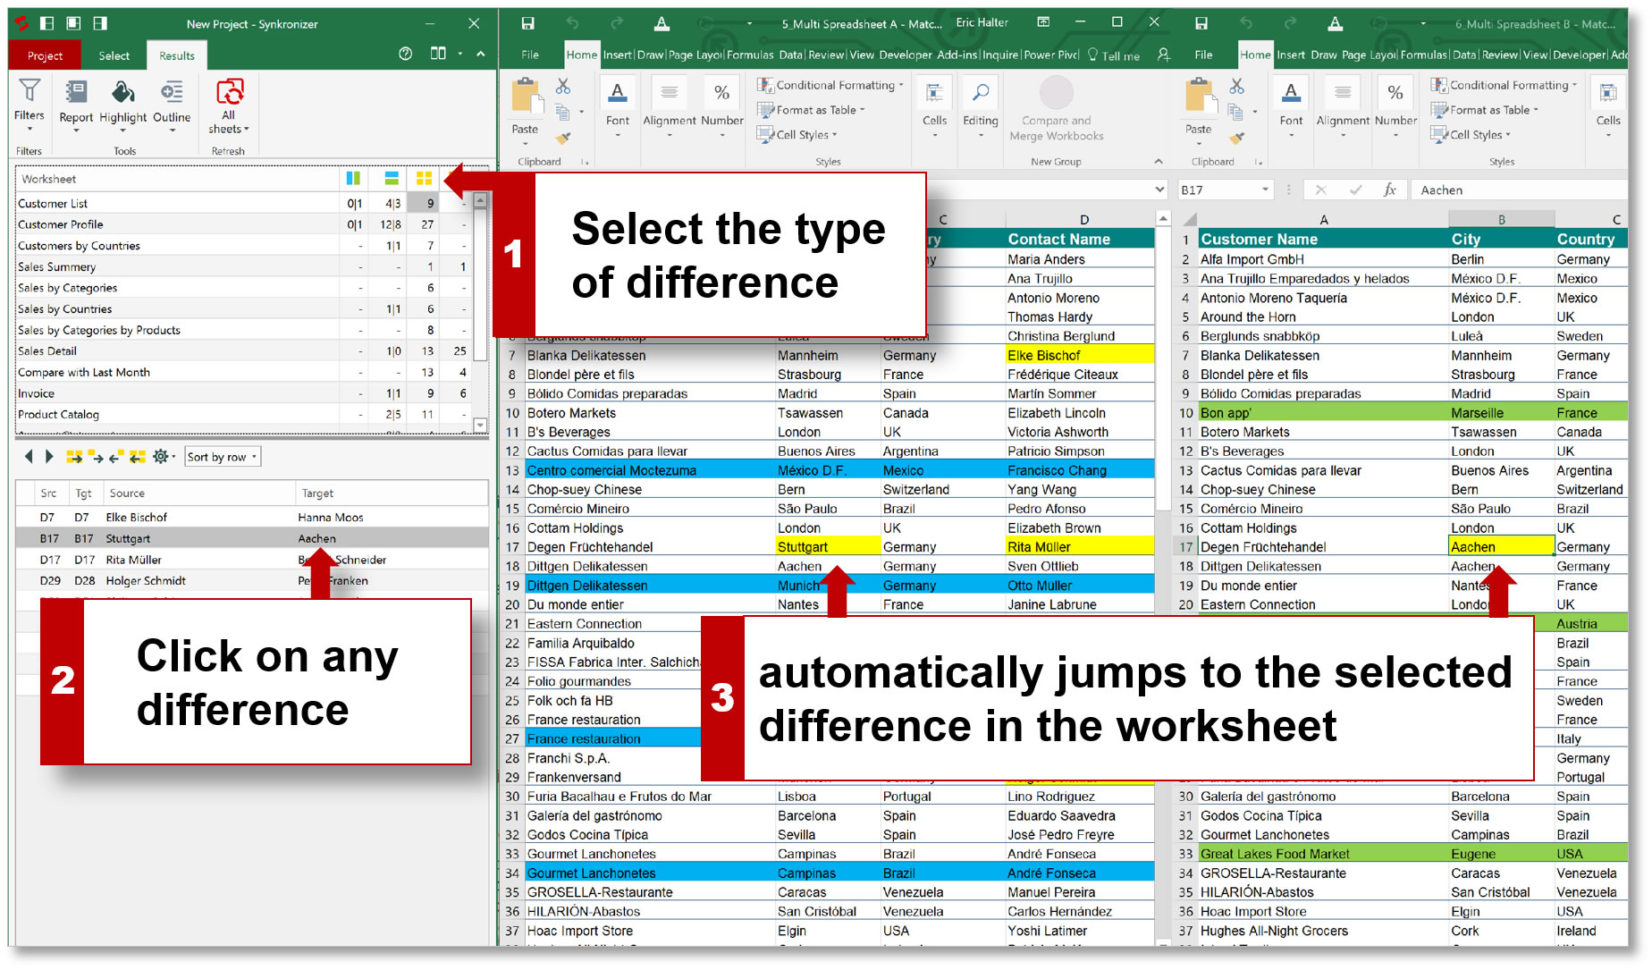
- Open the sheets side by side by using
Window > New Windowfor each file. - Use
Window > Tile VerticallyorHorizontallyto position the windows for easy comparison.
Step 4: Conditional Formatting for Highlighting Differences

Conditional formatting can highlight differences automatically:
- Select the cells or range in one sheet that you wish to compare.
- Go to
Format > Conditional Formatting > Condition. - Set a condition like "Formula Is" and use a formula like
=A1<>Sheet2.A1where A1 is the cell you're comparing, and Sheet2 is the reference sheet's name. - Apply your preferred format (like cell background color) to highlight differences.
Here's how you can quickly set this up:
| Field | Value |
|---|---|
| Condition | Formula Is |
| Formula | =A1<>Sheet2.A1 |
| Apply | Light Red Fill |

Step 5: Using Formulas for Deep Comparison

For more in-depth comparisons:
- Create a new sheet or use an existing one to list differences.
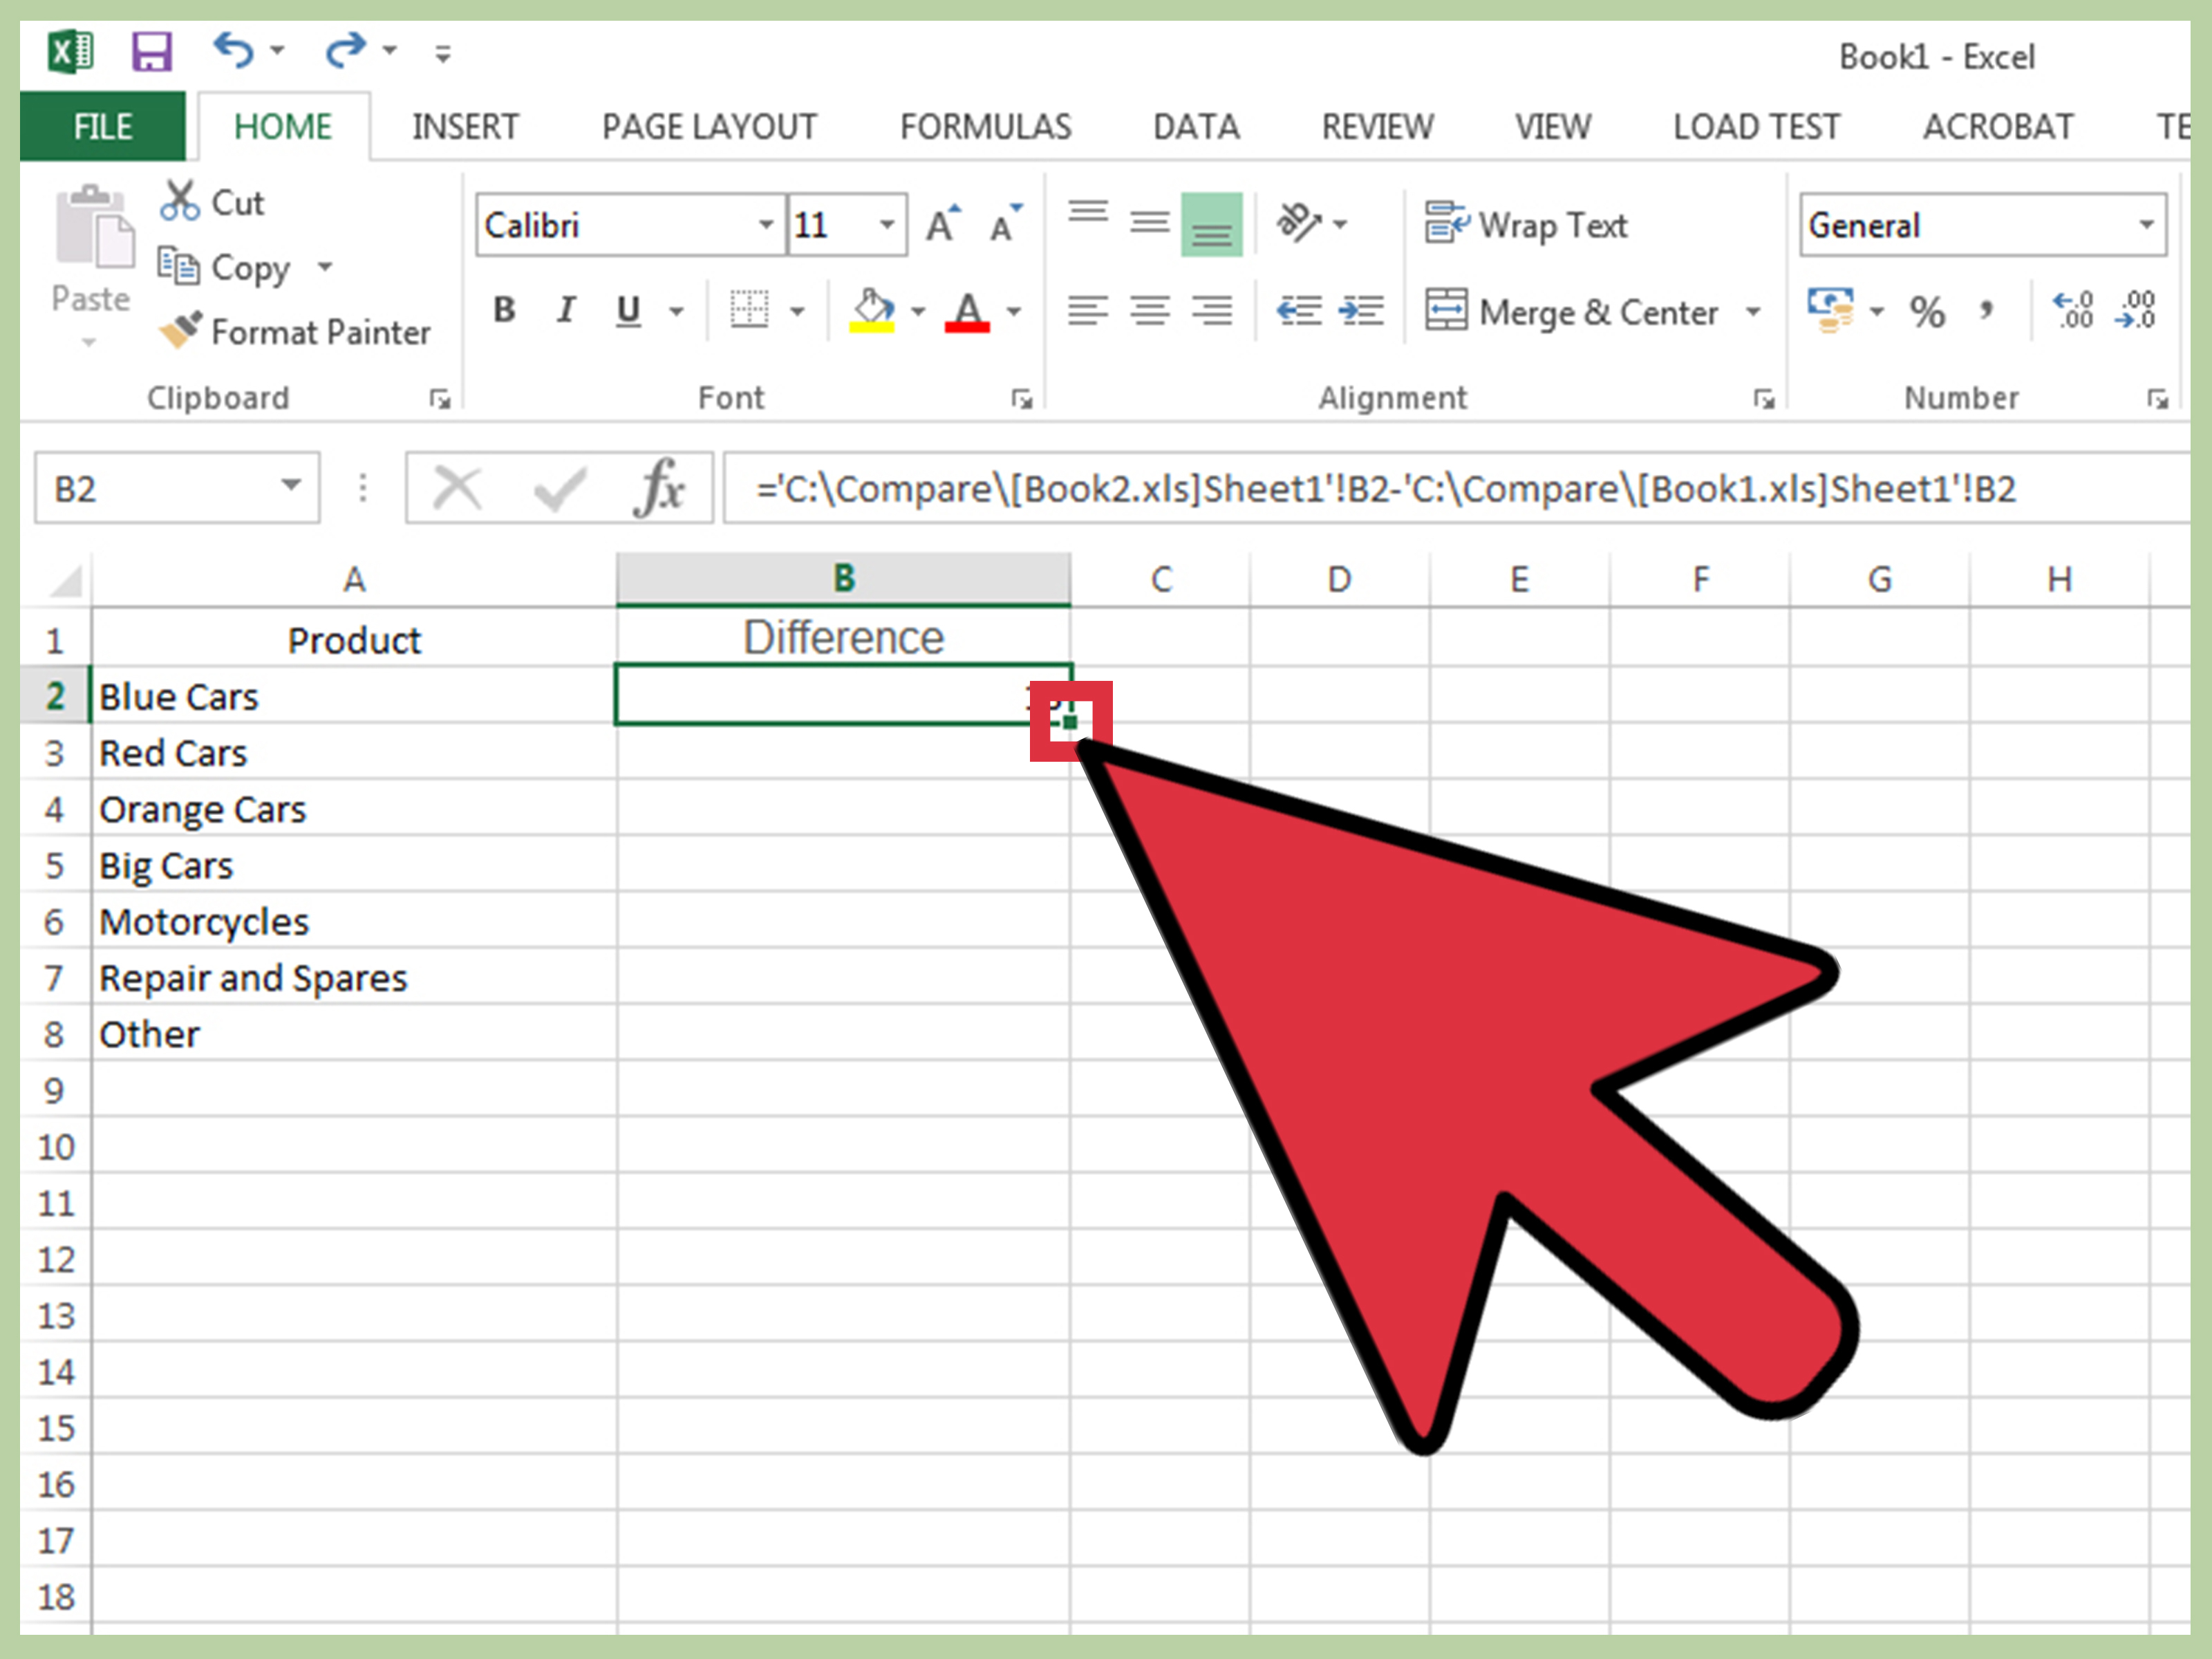
- Use formulas like
=IF(A1=Sheet2.A1,"Same",A1 & " - " & Sheet2.A1)to compare cell by cell.
🌟 Note: Formulas can be complex for large datasets. Consider breaking down into multiple steps or using helper columns for clarity.
Step 6: Leveraging Add-ons and Macros

For automating the comparison:
- OpenOffice Calc supports extensions; some can simplify comparisons.
- Create a macro to run a comparison script:
- Go to
Tools > Macros > Record Macroto record a comparison process. - Edit the macro in
Tools > Macros > Edit Macrosfor more detailed control.
- Go to
Here's a basic example of a macro:
```python def compare_sheets(): sheet1 = ThisComponent.Sheets(0) sheet2 = ThisComponent.Sheets(1) for row in range(0, sheet1.Rows.Count): for col in range(0, sheet1.Columns.Count): cell1 = sheet1.getCellByPosition(col, row).String cell2 = sheet2.getCellByPosition(col, row).String if cell1 != cell2: print(f"Difference at Row {row+1}, Column {col+1}") ```Additional Tips

- Data Validation: Ensure data types match when comparing to avoid unexpected results.
- Backups: Always make backups of your original data before making changes.
- Documentation: Document your comparison steps, formulas, and any macros for future reference.
Final Thoughts

Comparing Excel sheets in OpenOffice Calc provides a robust alternative to Excel's comparison tools, offering similar functionality at no cost. Whether you're a professional handling vast datasets or a student looking to streamline your project work, mastering these techniques can significantly improve your efficiency. Remember to align your data, use visual and conditional formatting, and explore automated methods like macros to save time. With these tools at your disposal, you're well-equipped to tackle even the most complex spreadsheet comparisons with ease.
How do I ensure data accuracy when comparing sheets?

+
Ensure data types match and use data validation rules in OpenOffice Calc to maintain consistency across sheets.
Can I compare sheets from different file formats?

+
Yes, OpenOffice Calc supports various formats like .ods, .xls, and .xlsx. You can compare sheets by opening and converting them within Calc.
What if I find discrepancies in the data?

+
Identify, analyze, and document discrepancies. Use visual cues or custom formulas to highlight and understand differences for better decision-making.
How do I automate repeated comparisons?

+
Record and edit macros in OpenOffice Calc to automate the comparison process, especially for large datasets or frequent updates.