Clean Excel Sheets for Smooth Importing: Easy Steps
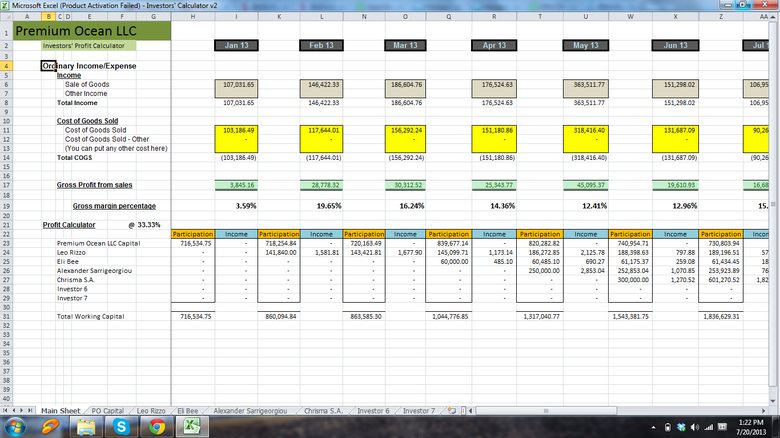
Excel is a powerful tool for organizing, analyzing, and presenting data. However, its full potential can be hindered by cluttered or improperly formatted spreadsheets. This guide will walk you through essential steps to clean and prepare your Excel sheets for importing into various databases or software systems.
Why Data Cleaning Matters in Excel
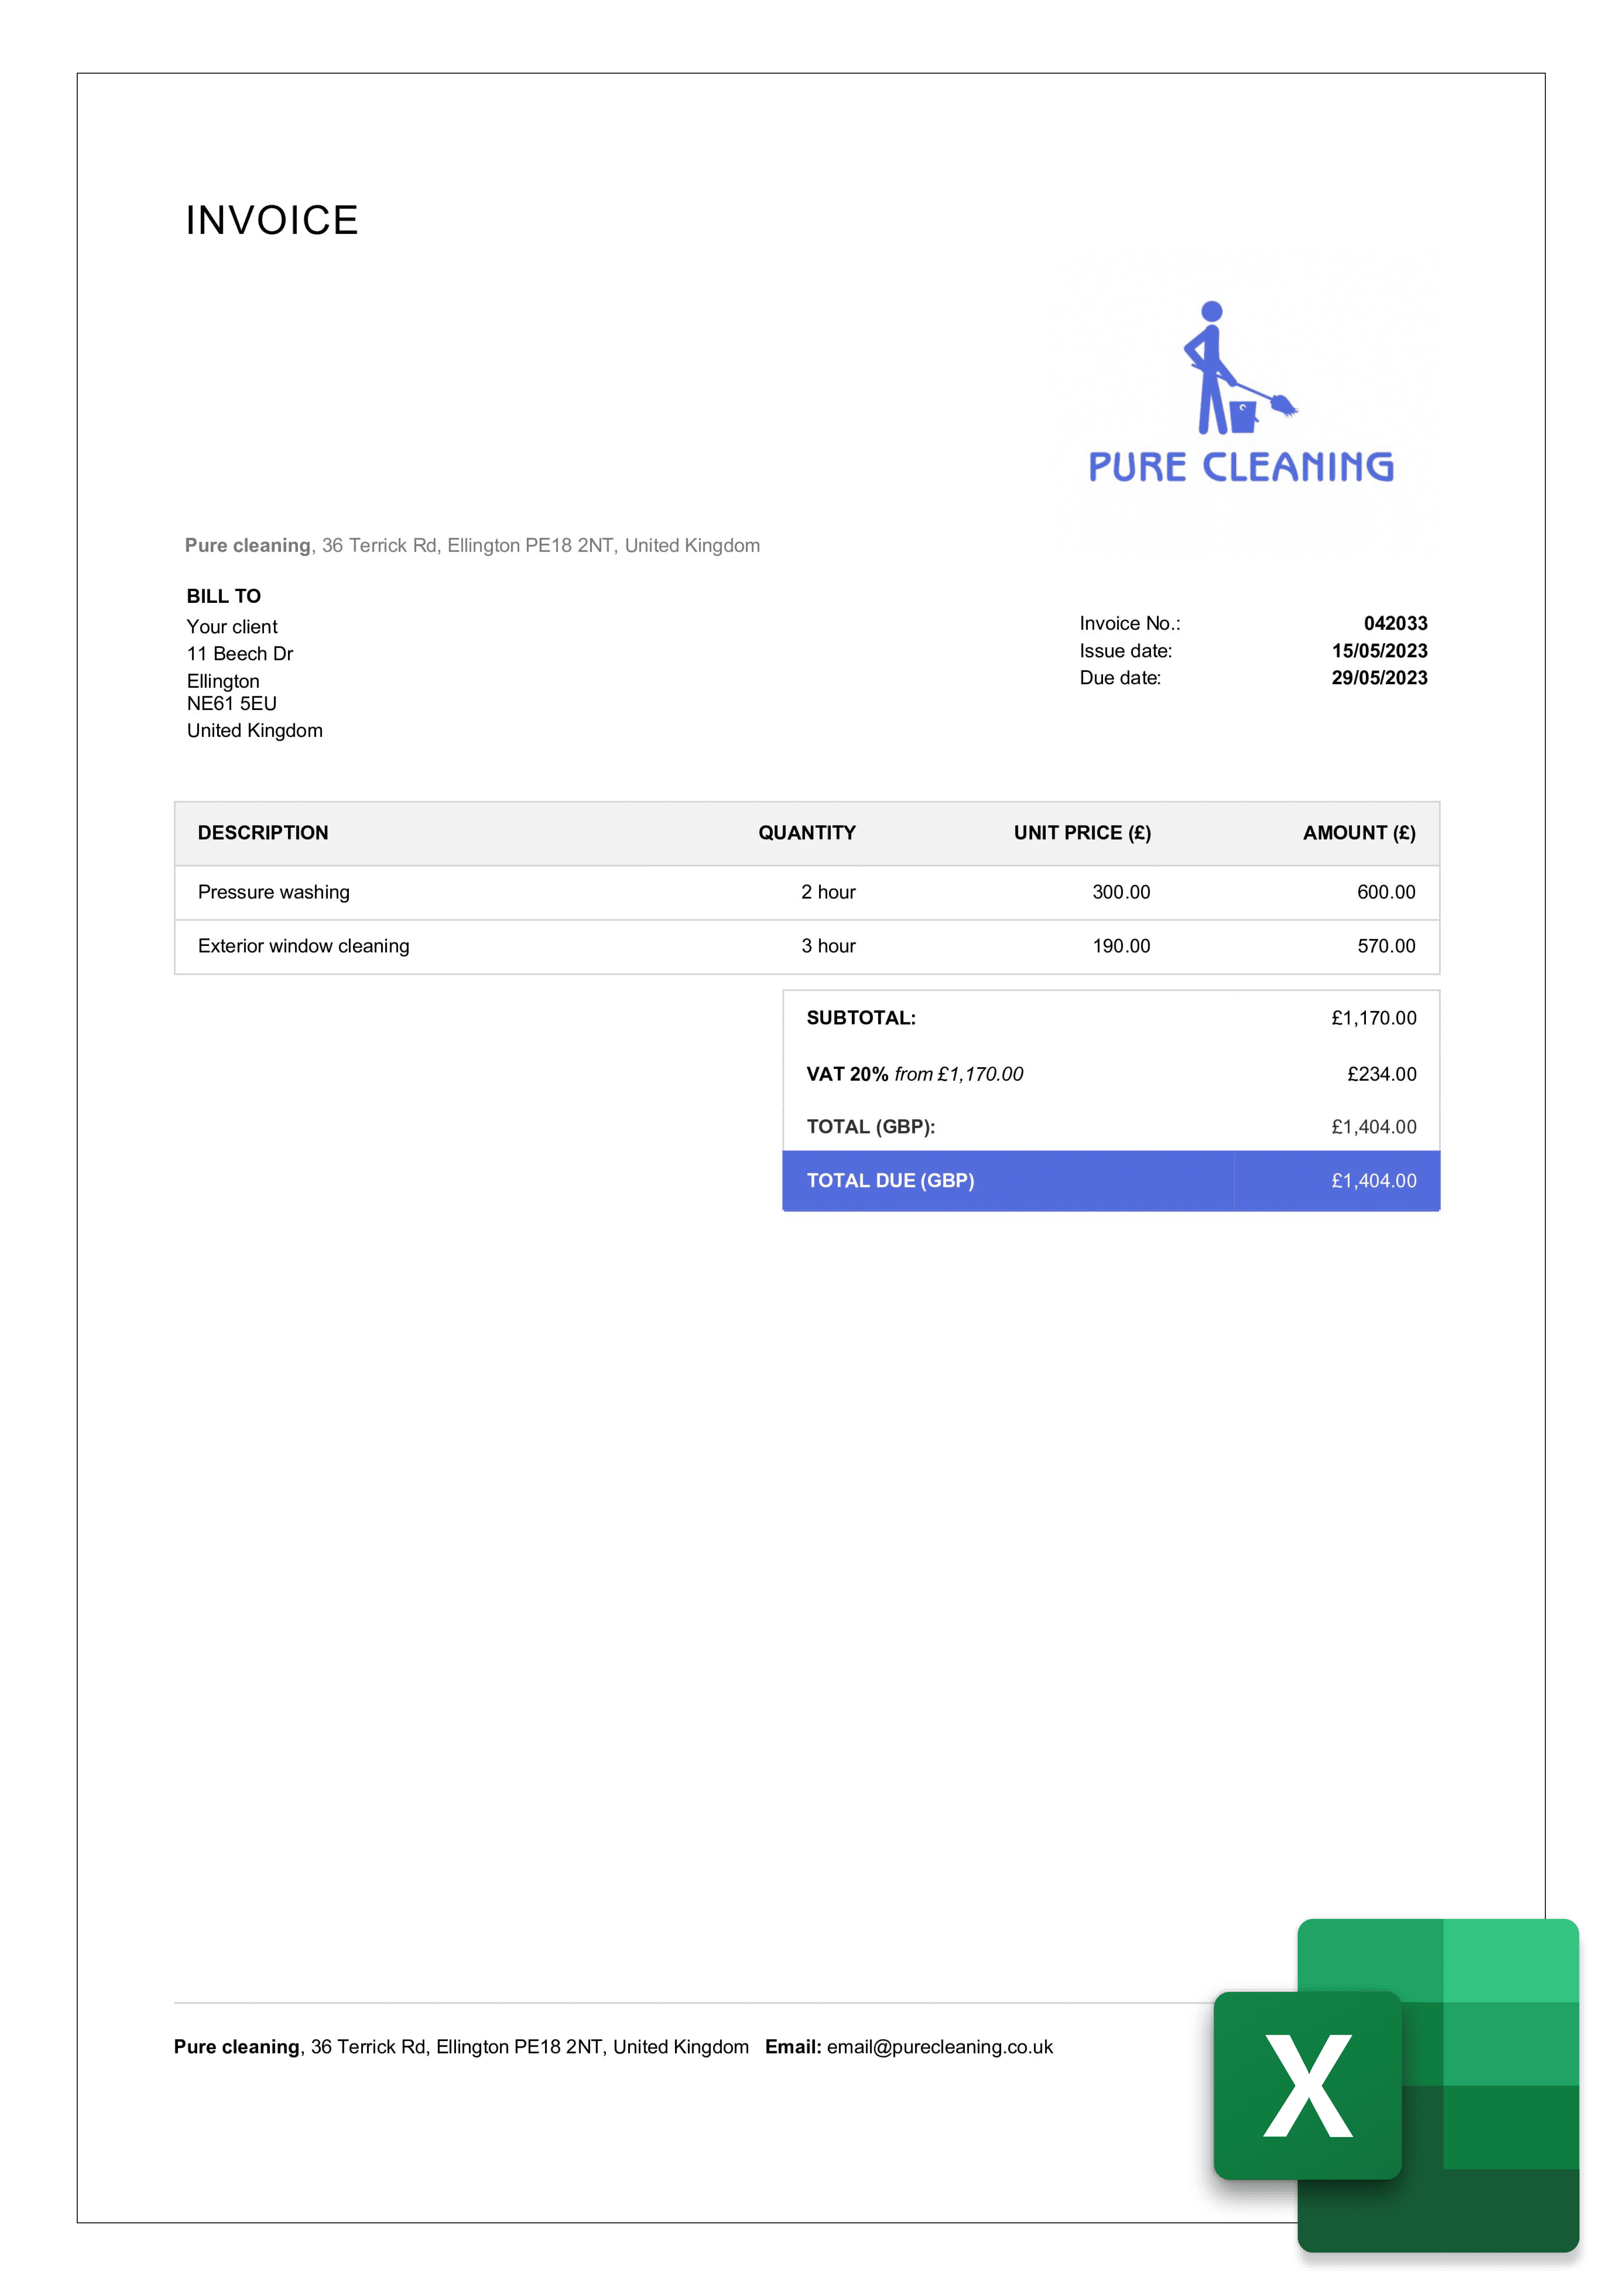
Before diving into the nitty-gritty of Excel cleaning, it’s important to understand why clean data is crucial:
- Accuracy: Clean data ensures the accuracy of your analysis, reporting, and subsequent data manipulation.
- Efficiency: A clean dataset reduces the risk of errors and processing time during import or analysis.
- Compatibility: Proper formatting makes your data universally compatible, ensuring smooth importing to different platforms.
Step 1: Remove Duplicate Data

Start by identifying and removing duplicate rows or entries in your Excel sheet:
- Select the data range or entire sheet.
- Go to the ‘Data’ tab, then ‘Remove Duplicates’.
- Select the columns you want to check for duplicates.
- Press ‘OK’ to remove any repeated data.
Step 2: Standardize Text Format

Ensuring that text data follows a consistent format can significantly reduce errors:
- Convert all text to lowercase or uppercase using Excel formulas:
=LOWER(A1)or=UPPER(A1) - Use the ‘Text to Columns’ feature to split names or addresses into their respective components.
- Employ the ‘Flash Fill’ feature to correct and standardize entries automatically.
💡 Note: Use ‘Text to Columns’ when dealing with consistently formatted data for ease of processing.
Step 3: Check for Incomplete or Erroneous Data

Invalid or missing data can lead to significant issues:
- Use conditional formatting to highlight cells with missing or erroneous entries.
- Employ the ‘Filter’ function to sort out incomplete entries for manual review.
- Consider using Excel’s ‘Data Validation’ to prevent future errors.
Step 4: Validate Data Types

Ensure that the data in each column matches its intended type:
- Change text-formatted dates or numbers to the correct format.
- Use ‘Find and Replace’ to remove any non-numeric characters from number fields.
- Employ data validation rules to enforce correct data entry.
Step 5: Handle Special Characters
Special characters can interfere with data import, so:
- Employ ‘Text to Columns’ to remove unwanted special characters.
- Use Excel functions like
=SUBSTITUTE(A1, “char”, “”)to replace or remove characters. - Create a custom macro or use ‘Find and Replace’ for bulk changes.
Step 6: Organize Columns and Headers
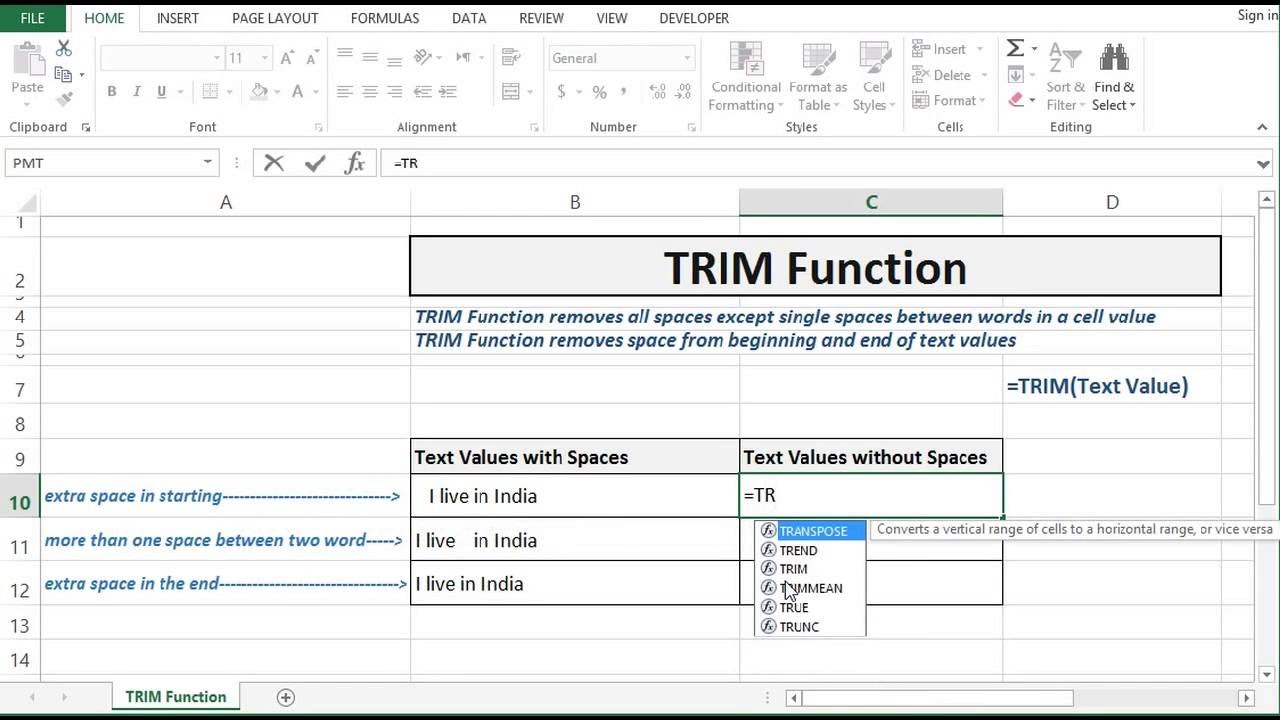
Ensure columns are in a logical order and headers are clear and descriptive:
- Reorder columns as necessary using drag and drop.
- Use descriptive headers, ideally avoiding special characters and spaces, or replace spaces with underscores.
- Freeze panes for easier navigation in large spreadsheets.
Step 7: Automate and Speed Up with Macros and Add-ins

Utilize macros or Excel add-ins for efficiency:
- Record a macro for repetitive cleaning tasks.
- Use add-ins like Power Query to transform and clean data more efficiently.
- Automate data validation and format checking with VBA (Visual Basic for Applications).
⚠️ Note: Macros and add-ins should be thoroughly tested before use on production data to avoid unintended data changes.
Recap
Cleaning your Excel sheets for importing not only ensures data integrity but also facilitates efficient data processing. Here’s a quick recap:
- Remove duplicates to avoid redundancy.
- Standardize text for uniformity.
- Check for and correct incomplete or erroneous data.
- Ensure data types are correct.
- Handle special characters for clean importing.
- Organize your columns and headers for clarity.
- Leverage automation for time-consuming tasks.
By following these steps, you ensure your Excel data is clean, which leads to more accurate analyses, smoother integrations with other systems, and ultimately, better decision-making based on reliable data.
How can I ensure my data remains clean after import?

+
Implement data validation rules in the destination system, and periodically run checks or use tools like Power Query to clean data post-import.
What if Excel won’t allow me to delete a duplicate row?
+
Ensure no cells within the row are protected or the entire row isn’t locked. Try manual deletion or adjust Excel settings to allow for row deletions.
Can I automate all cleaning processes?

+
Many cleaning tasks can be automated using macros or add-ins. However, manual review is still necessary for complex or unpredictable data sets.