Condense Excel Sheets Easily for Printing: A Quick Guide

Handling extensive datasets in Excel can be daunting, especially when you need to print only a digestible chunk of information. Whether it's for a client meeting, a presentation, or simply for your own reference, knowing how to condense Excel sheets effectively is an invaluable skill. This guide will walk you through various methods to ensure your printed sheets are neat, clear, and contain only the necessary data.
Why Condensing Sheets is Important

Before we dive into the specifics, let's understand why condensing sheets for printing can be advantageous:
- Clarity and Focus: By removing unnecessary data, you emphasize critical information, making your sheets more readable and visually appealing.
- Space Conservation: Condensed sheets use less paper, save ink, and help in keeping your work organized.
- Professional Appearance: A well-condensed sheet looks professional and conveys your message more effectively to your audience.
Steps to Condense Excel Sheets

1. Filter Out Unwanted Data

Excel offers robust filtering capabilities that allow you to show only the data you need:
- Select the column header you want to filter by.
- Go to Data > Filter to display the filter dropdown in each column header.
- Click the dropdown arrow, then select or unselect the criteria to filter your data.
🔍 Note: Filters are dynamic; any changes in your data will automatically reflect in your filtered view.
2. Hide Unnecessary Rows and Columns

If certain rows or columns contain irrelevant data, hide them:
- To hide a column or row, right-click on the header and choose Hide.
- To show them again, right-click on the adjacent headers and select Unhide.
3. Freeze Panes for Better Navigation

When condensing a large dataset, freezing rows or columns can help in navigation:
- Select the row or column below or to the right of where you want to freeze.
- Go to View > Freeze Panes and choose the appropriate option.
📝 Note: Frozen panes remain in view when scrolling through large sheets, providing context to your data.
4. Use Excel’s Page Layout Features

Excel’s page layout tools help in preparing your sheet for printing:
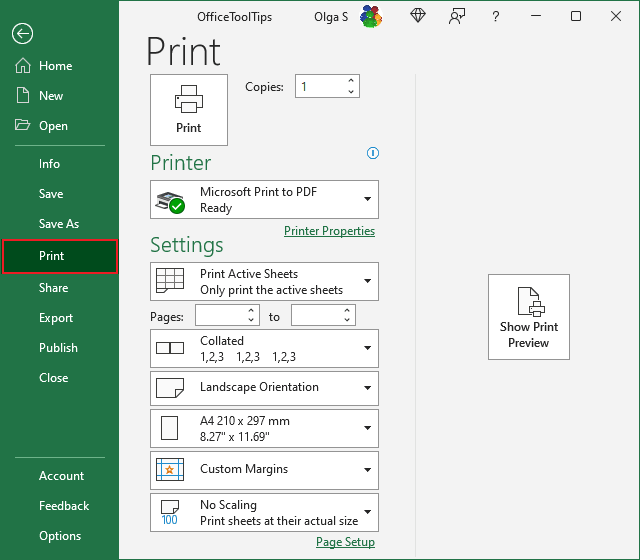
- Set Page Layout > Page Setup to adjust margins, paper size, and orientation.
- Use Print Area under Page Layout to specify which sections of your worksheet you want to print.
- Choose Print Titles if you need to repeat row or column headings on each page.
5. Employ Data Consolidation

Consolidate data from multiple ranges or sheets to create a summary sheet:
- Go to Data > Consolidate and select your function (e.g., Sum, Average).
- Choose your ranges and link them using the “Add” button. Ensure all references are correct.
6. AutoSum and Subtotals

Use Excel’s AutoSum feature or the Subtotals tool for quick summaries:
- Click AutoSum on the Home tab for quick totals or use Data > Subtotal for detailed breakdowns.
Condensing Multiple Sheets

Sometimes, you might need to condense data from multiple Excel sheets into one:
- Open each sheet and select data.
- Use Copy and Paste or Excel’s Consolidate tool to compile data.
- Consider using Get & Transform Data if dealing with large datasets from multiple sources.
Final Tips for a Professional Output

- Clean Up: Remove blank rows, columns, or any unnecessary formatting.
- Format: Use consistent formatting across your data to enhance readability.
- Test Print: Always do a test print to ensure everything looks as expected.
In summary, condensing Excel sheets for printing involves strategic data filtering, hiding, consolidation, and utilizing page layout features. By following these methods, you ensure your printed sheets are both informative and professional, tailored specifically for the purpose at hand. Whether it’s for internal meetings, presentations, or personal records, these techniques streamline the process of managing large datasets effectively.
Can I undo filtering in Excel?

+
Yes, to undo filtering, simply go to Data > Clear, and all filters will be removed.
What happens if I print without adjusting the print area?

+
If you print without setting a print area, Excel will print the entire active sheet, which might include unnecessary data.
How can I make Excel print my sheet on one page?

+
Go to Page Layout > Scale to Fit and adjust the ‘Width’ and ‘Height’ to fit the content on a single page.


