5 Ways to Autofill in Excel Quickly
In today's fast-paced business environment, mastering time-saving techniques in popular software like Microsoft Excel can significantly boost productivity. Autofilling data in Excel is a powerful feature that can automate repetitive tasks, reducing manual entry errors and saving time. Here are five effective ways to autofill in Excel quickly, ensuring you make the most out of this versatile tool.
1. Using the Fill Handle
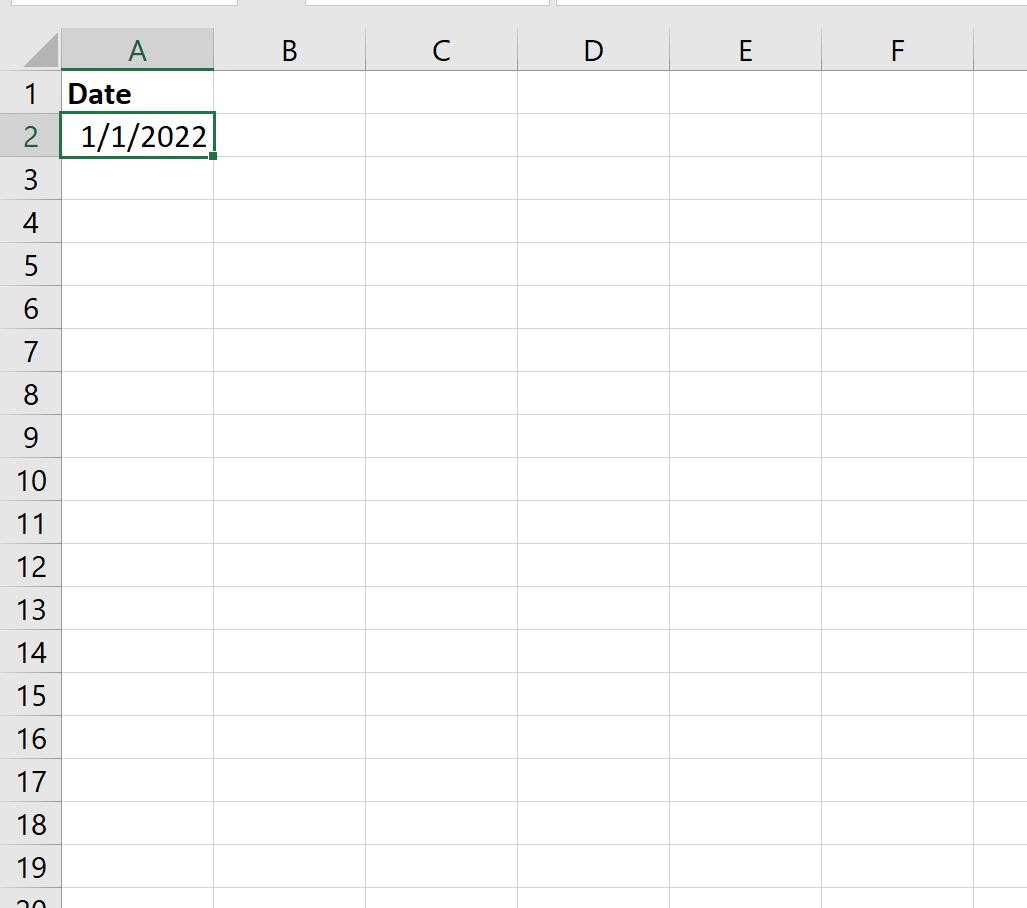
The fill handle is perhaps the most straightforward method for autofilling in Excel. Here's how you can use it:
- Select the Cell: Click on the cell containing the data you want to autofill.
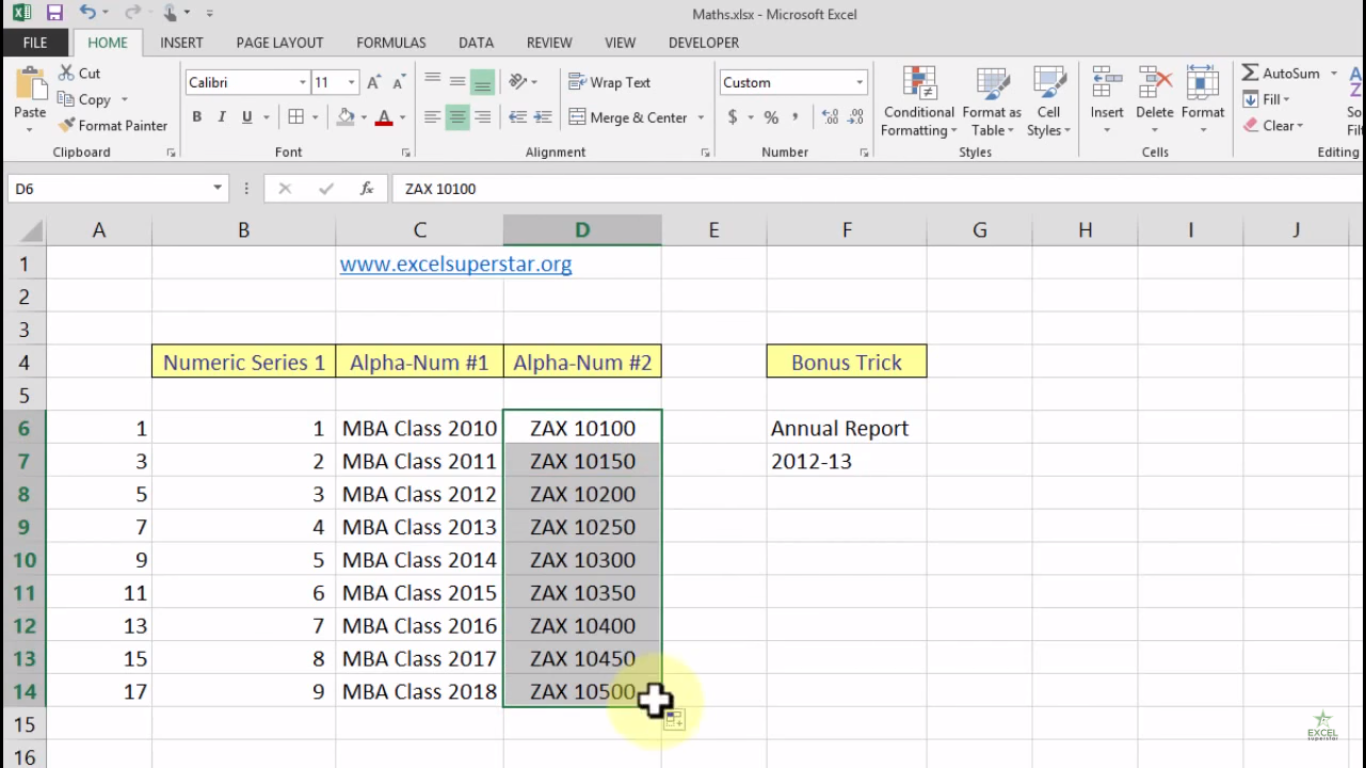
- Drag the Fill Handle: Notice the small square at the bottom-right corner of the cell, known as the fill handle. Drag this handle in the direction you want to fill.
- Release the Mouse: Once you've dragged to cover the desired range, release the mouse to autofill.
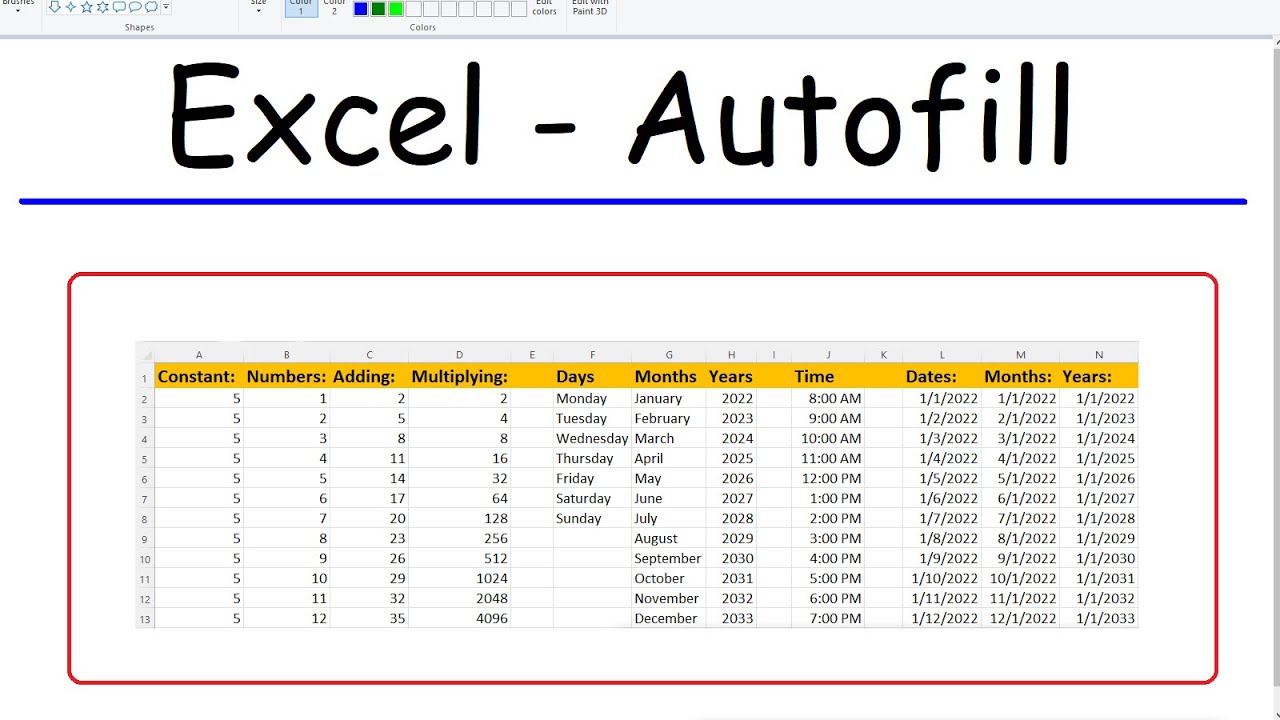
This method is particularly effective for sequential data like dates, numbers, or any series where Excel can recognize a pattern.
🔍 Note: If the autofill does not produce the expected results, right-click before releasing the mouse and select the autofill options from the menu that appears.
2. Flash Fill
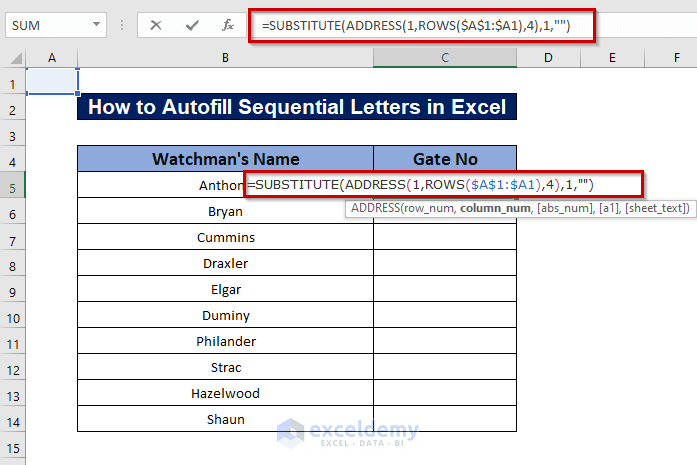
Flash Fill in Excel can intelligently guess patterns based on adjacent data or by observing the pattern of your input. Here's how to use Flash Fill:
- Enter the First Example: Type the first entry of what you want to fill in the adjacent cell.
- Begin Typing: Start entering the next example in the cell directly below.
- Trigger Flash Fill: Excel will suggest the autofill pattern; press Enter or Ctrl+E to accept and apply it to the selected range.
This feature is excellent for splitting or combining data based on examples.
🔍 Note: Flash Fill works best when there is a clear pattern. If Excel does not guess correctly, refine the pattern in more entries.
3. Using Formulas

Formulas are the backbone of data manipulation in Excel. Here's how you can use them for autofilling:
- Write the Formula: In the cell where you want the calculation to start, type the formula.
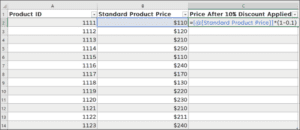
- Copy the Formula: Use the fill handle or Copy-Paste to replicate the formula across other cells.
Excel formulas can autofill dynamic data, making your spreadsheets more powerful and versatile:
- Auto sum data with =SUM(A1:A10).
- Use =A1+B1 to perform calculations based on relative cell references.
Excel recognizes the pattern and adjusts references accordingly.
🔍 Note: Relative cell references change when you copy a formula, while absolute references remain constant with $ signs, like =A$1+B$1.
4. Creating Custom Lists

Excel allows you to create custom lists for autofilling specific data series. Here’s how:
- Open Excel Options: Go to File > Options > Advanced.
- Edit Custom Lists: Under General, select Edit Custom Lists.
- Create Your List: Enter the list items in the right-hand box, and then click Add.
- Use the List: Type one of the list items in a cell and drag the fill handle to autofill.
This method is perfect for recurring data entries like departments, product names, or any list that you use frequently.
🔍 Note: Excel's custom lists can be imported from other lists or files, making them reusable across different spreadsheets.
5. Utilizing Excel's Keyboard Shortcuts

For quick autofill operations, consider these keyboard shortcuts:
- Double Click Fill Handle: Double-click the fill handle of a cell, and Excel will autofill down to the end of adjacent data.
- Ctrl+Down/Up Arrows: Select cells to be filled by holding Ctrl and pressing Up or Down arrows.
- Ctrl+D: Fill the formula or value in the cell above to the cells below.
- Ctrl+R: Fill the formula or value to the right.
These shortcuts can save you time when you need to autofill large datasets quickly.
🔍 Note: For accurate autofilling with keyboard shortcuts, ensure there are no blank cells in the column or row that could interrupt the autofill pattern.
Autofilling in Excel is an art of efficiency. By mastering these five methods, you not only streamline your workflow but also enhance the accuracy of your data entries. Whether it’s through the simple drag of the fill handle, leveraging Flash Fill for pattern recognition, employing powerful Excel formulas, creating custom lists, or using time-saving keyboard shortcuts, the key is to adapt these techniques to your specific needs, ensuring you work smarter, not harder, in your daily tasks. Remember, practice makes perfect, so take the time to experiment with these methods to find which ones best suit your work style.
What is the fill handle in Excel?

+
The fill handle is a small square in the bottom-right corner of a selected cell in Excel. It’s used to autofill adjacent cells with the same data or a pattern.
How can Flash Fill help with data manipulation?
+
Flash Fill recognizes patterns based on your input or adjacent data, allowing for quick autofilling of data like splitting names or combining text from different columns.
Can I autofill dates automatically?

+
Yes, you can. Just enter the starting date and use the fill handle to drag down. Excel will automatically fill in sequential dates.
Why isn’t my custom list working for autofill?
+
Ensure that the list was correctly added through Excel’s options. Additionally, check if you’ve accidentally added it to another user’s profile or if the cell you’re starting from doesn’t match the list’s beginning.
What are the limitations of autofill with formulas?
+
Autofill with formulas works well for relative references, but absolute references ($) might not adjust as expected. Also, complex formulas might require manual adjustments after autofilling.