5 Ways to Auto Populate Cells in Excel
Auto-populating cells in Excel can significantly streamline your work, saving you both time and effort. Whether you're dealing with data entry, financial modeling, or any other spreadsheet task, understanding how to automate can be a game-changer. In this post, we'll explore five different methods to auto-populate cells, each suited for different scenarios and levels of Excel proficiency. From the basic formula-based approaches to the more advanced Excel features, there's something here for everyone.
1. Using Formulas for Auto Population
Formulas are the backbone of Excel's automation capabilities. Here's how you can use them to auto-populate cells:
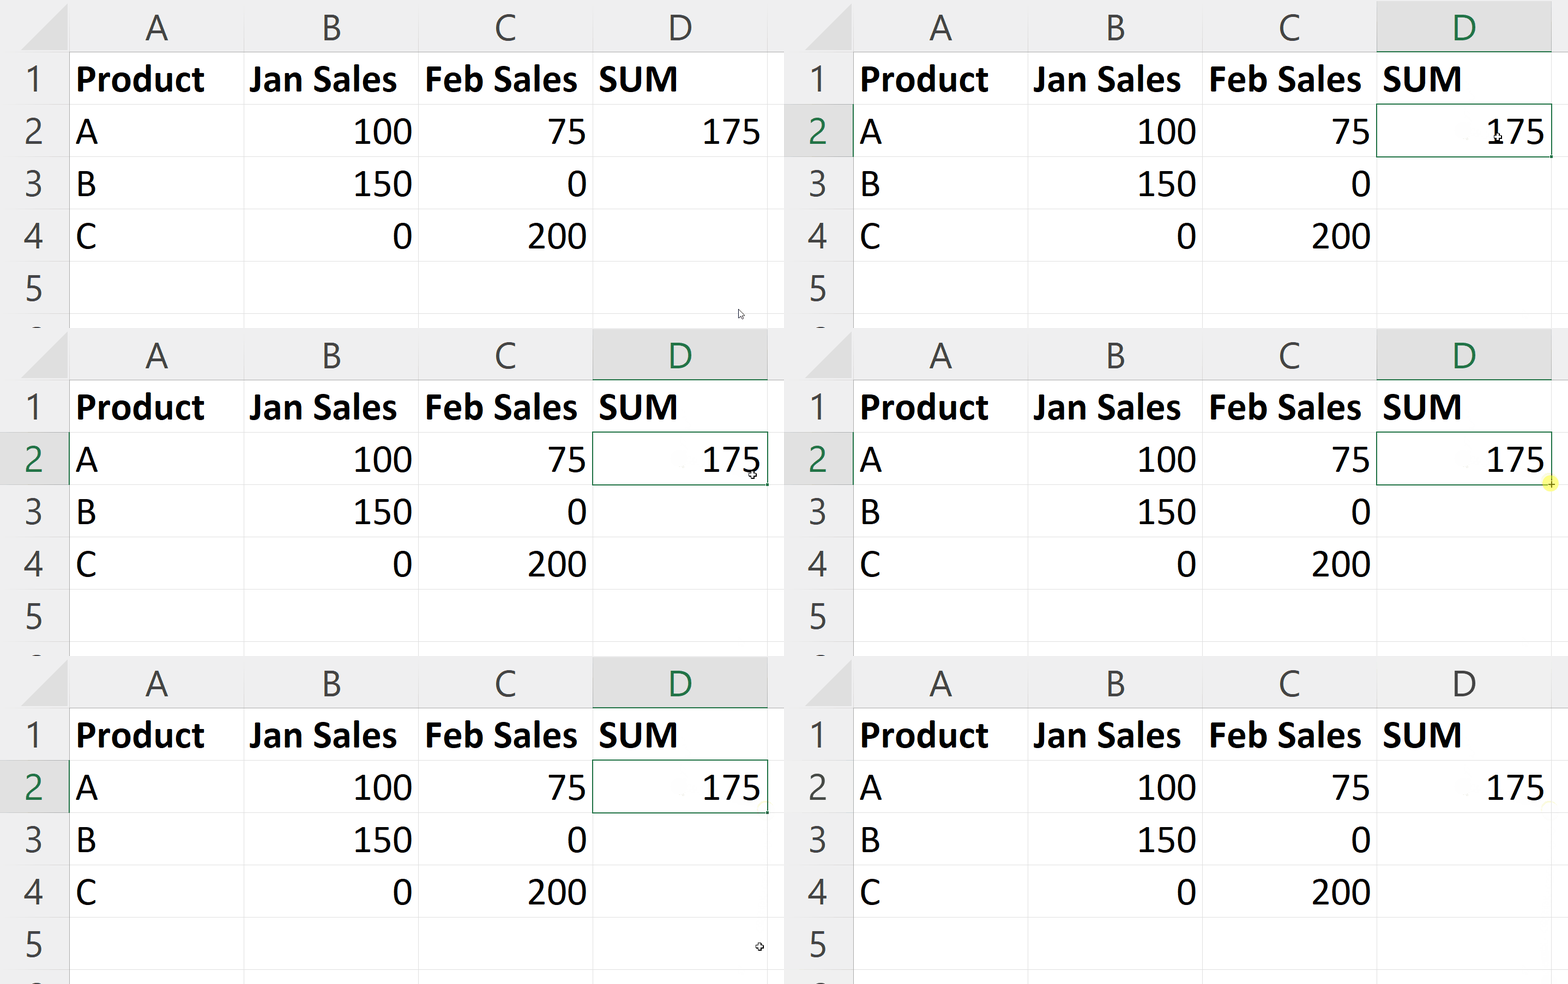
- AUTOFILL: This feature allows you to apply the same formula to multiple cells quickly. For example, if you want to fill a column with a formula:
- Enter the formula in the first cell.
- Place the cursor at the bottom-right corner of the cell until you see the fill handle (a small square).
- Click and drag it down to cover the range where you want the formula to replicate.
- Excel will auto-adjust the cell references relative to their new positions.
💡 Note: If you drag the fill handle horizontally, Excel will adjust the columns in the formula accordingly.
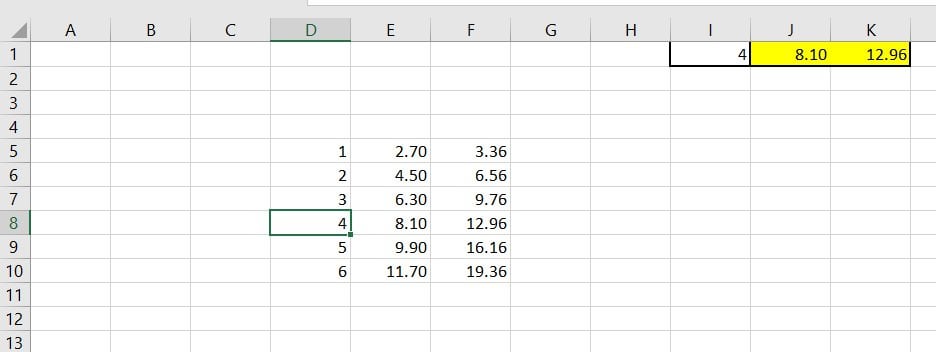
- VLOOKUP/HLOOKUP: These functions can help you fetch data from one table and auto-populate another. Here's a simple scenario:
=VLOOKUP(lookup_value, table_array, col_index_num, [range_lookup])
where:
- lookup_value is the value you want to find.
- table_array is the range of cells that contains the data you want to match.
- col_index_num is the column number in the table_array from which to retrieve the value.
- range_lookup is a logical value to specify whether you want an exact match or approximate match.
By setting up the VLOOKUP formula in one cell, you can drag or copy it to other cells to auto-populate data.
2. Conditional Formatting for Auto Population
Conditional Formatting isn't just for making cells look different; it can help you auto-populate cells based on conditions:
- Select the range where you want to apply this feature.
- Go to Home > Conditional Formatting > New Rule.
- Choose 'Use a formula to determine which cells to format'.
- Enter your formula, for example,
=A1>50, and set formatting options (e.g., change the cell color or insert a value).
This method can automatically highlight or change the content of cells when specific criteria are met, which can be especially useful for visual data analysis and dashboard creation.
3. Advanced Excel Features for Auto Population
Excel offers more sophisticated ways to auto-populate cells using features like:
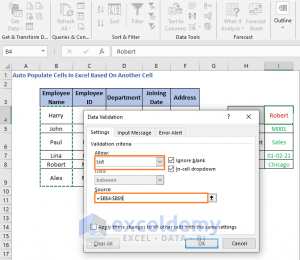
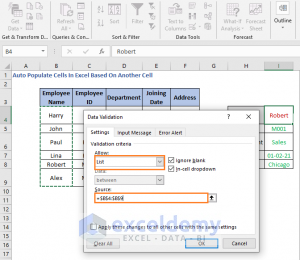
- Data Validation: By setting up Data Validation rules, you can automatically fill in related cells based on a drop-down selection:
- Select the cells where you want the drop-down list to appear.
- Go to Data > Data Validation.
- Set the Allow field to List, and enter the source data for the list.
- Use a formula or a custom VBA (Visual Basic for Applications) macro to automatically update other cells based on this selection.
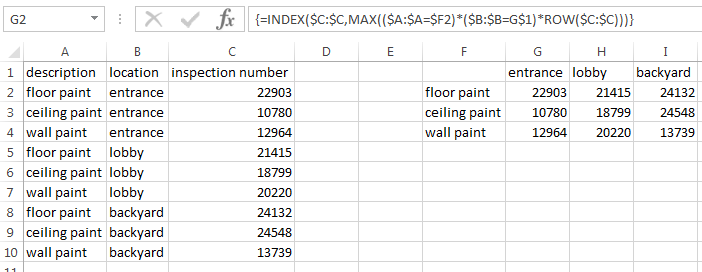
- PivotTables: PivotTables can auto-populate summary data in cells. You can:
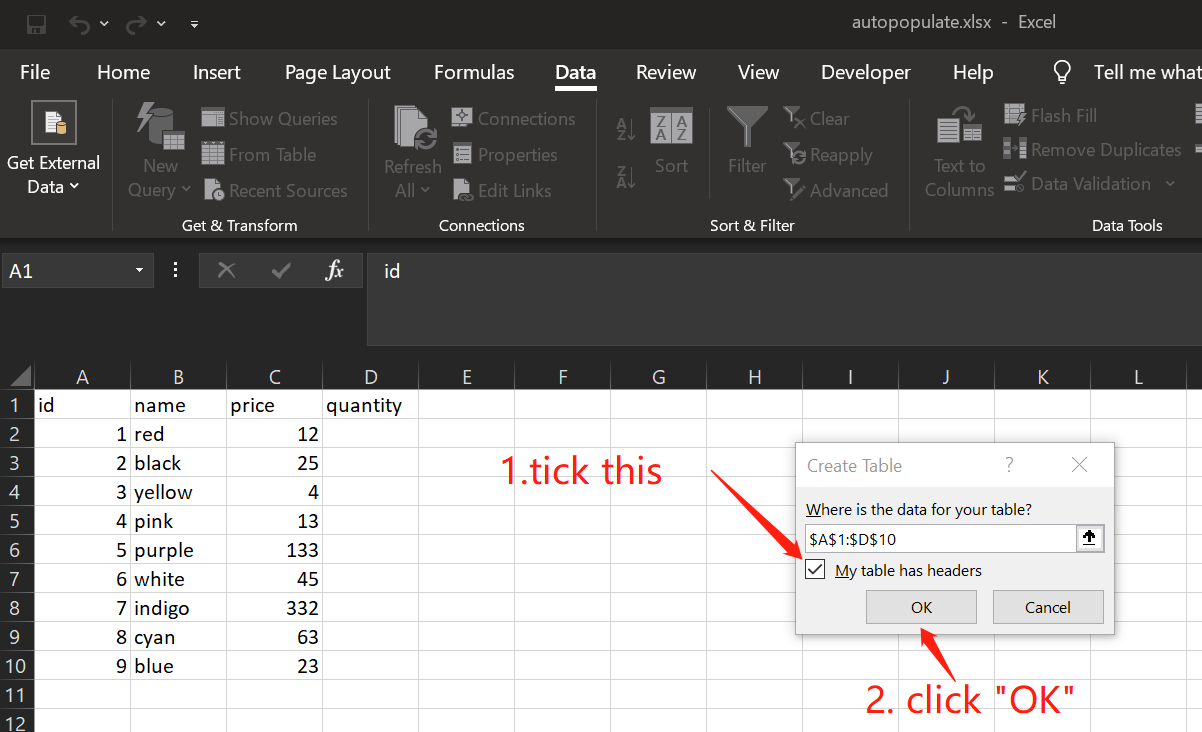
- Create a PivotTable from your data.
- Drag fields to the Row, Column, and Values areas to summarize data automatically.
- Use slicers to dynamically change the data being displayed.
4. Excel Macros (VBA)
For those who are comfortable with coding, macros can automate repetitive tasks and auto-populate cells with VBA:
- Create a simple macro to input or modify cell values based on certain conditions or user actions:
Sub AutoPopulate()
    Dim i As Integer
    For i = 1 To 10
        Cells(i, 2).Value = Cells(i, 1).Value * 2
    Next i
End Sub
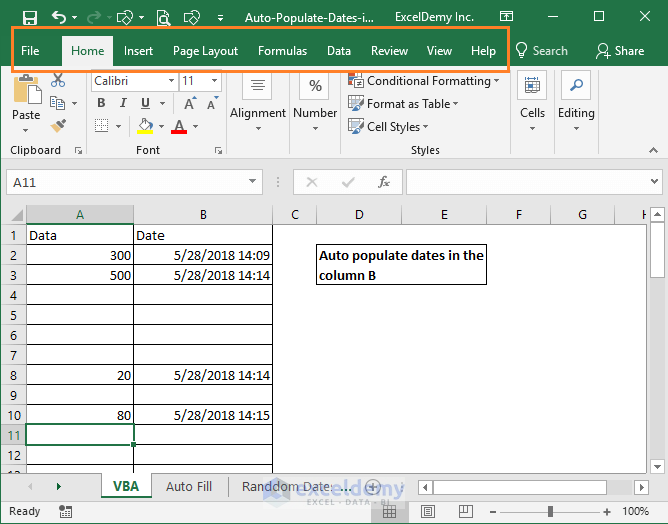
This macro will automatically populate column B with values from column A multiplied by two. Here's how to run it:
- Open the Visual Basic Editor (press Alt + F11).
- Insert a new module and paste in your macro.
- Run the macro by pressing F5 or assigning it to a button.
🛠️ Note: Macros can be complex but offer unparalleled flexibility in automating Excel tasks.
5. Power Query for Automatic Data Population

Power Query, part of Excel's business intelligence tools, can extract, transform, and load data from multiple sources:
- Transform and combine data from different sources (databases, web, etc.).
- Set up queries to run automatically on workbook opening or refresh, populating cells with the latest data.
Here's a basic example of how you might use Power Query:
- Go to Data > New Query > From Other Sources > From Web.
- Enter the URL of your data source.
- Configure the Query to extract the data you need.
- Set the query to refresh automatically to keep your workbook up to date.
In the end, these techniques provide you with the tools to automate various aspects of data manipulation in Excel. Whether you’re filling in values, formatting cells, or handling complex datasets, Excel’s diverse capabilities enable you to work more efficiently. Remember, the key to mastering these methods is practice. Start with what seems simplest for your current task, and as your comfort level with Excel grows, explore more advanced automation features. Excel not only helps you analyze and visualize data but can also automate many of your daily tasks, making you a more productive data handler.
What is the easiest method for beginners to auto-populate cells in Excel?
+
The simplest method for beginners is to use Autofill. By dragging the fill handle down a column or across a row, you can quickly replicate formulas or sequences in other cells.
Can I use Excel to auto-populate cells based on user input?
+
Yes, with Data Validation, you can create drop-down lists that automatically trigger cell population based on the user’s selection. This can be enhanced with VBA for more complex interactions.
Is it possible to automate the update of Excel data from external sources?
+
Power Query allows you to set up connections to external data sources like databases, web pages, or other files, and automatically refresh your Excel data when the workbook is opened or when you manually refresh it.