Auto Populate Excel Cells from Another Sheet Easily

Managing large datasets in Excel can be a daunting task, especially when you need to autopopulate cells across multiple sheets. Fortunately, Excel offers several methods to make this process simpler and more efficient. Whether you're handling monthly sales data, project updates, or inventory management, automating data entry can save hours of manual work.
Why Autopopulate Cells?

Autopopulating cells from one sheet to another isn’t just about saving time; it’s about:
- Increasing accuracy: Reducing human errors in data entry.
- Ensuring consistency: Keeping data uniform across sheets, which is crucial for analysis.
- Boosting productivity: Allowing for more focus on analysis rather than data transfer.
Methods to Autopopulate Cells

Using VLOOKUP

VLOOKUP is a popular function for transferring data based on specific criteria:
- Select the cell where you want the autopopulated data to appear.
- Enter the VLOOKUP formula:
=VLOOKUP(A2, Sheet2!A:B, 2, FALSE)Where:A2is the lookup value in your current sheet.Sheet2!A:Bis the range where Excel will look for this value (in the other sheet).2tells Excel which column to return from (the second column in this case).FALSEensures an exact match.
- Drag the formula down to populate the other cells.
🔍 Note: Make sure your lookup value is unique to prevent mispopulated data.
INDEX MATCH

For more flexibility or when dealing with arrays:
- Select your target cell.
- Type the INDEX MATCH formula:
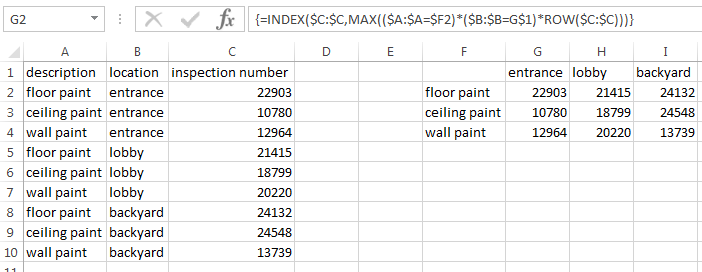
=INDEX(Sheet2!B:B,MATCH(A2,Sheet2!A:A,0)) - Drag to populate adjacent cells.
Named Ranges

If you often refer to the same data:
- Navigate to
Formulas > Define Namein Excel. - Name your range from the other sheet.
- Use this name in formulas like:
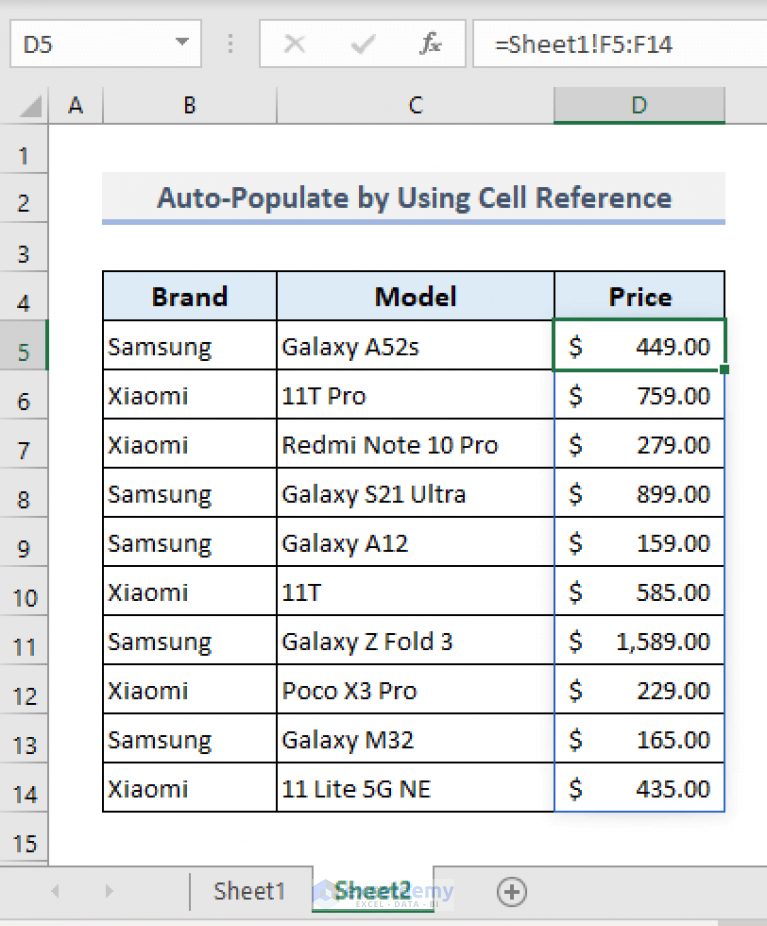
=SheetName!MyRange
| Method | Best For |
|---|---|
| VLOOKUP | Simple lookups, where data isn't often reorganized. |
| INDEX MATCH | More flexibility with array formulas or when columns are added/removed. |
| Named Ranges | Regular references to the same range of data across different sheets. |

Data Validation

To prevent errors:
- Define your data validation rules.
- Select
Data > Data Validationand set up rules or custom formulas.
Dynamic Named Ranges

For data that changes size:
- Define your range with a formula like:
=OFFSET(Sheet1!A2,0,0,COUNTA(Sheet1!A:A)-1,1) - Reference this dynamic range in your formulas.
In closing, automating data transfer in Excel can significantly streamline your workflow. The methods discussed, from simple VLOOKUP to dynamic named ranges, offer a range of options tailored to different scenarios. By employing these techniques, you can enhance data accuracy, ensure data consistency, and increase productivity. Remember, while these methods save time, it’s crucial to keep your data organized and verified to avoid any data mismatches.
What if my data often changes?

+
Dynamic named ranges are an excellent solution for data that frequently changes in size. They adjust automatically to fit the changing dataset.
Can I use these methods with Excel Online?

+
Yes, Excel Online supports all these functions, though some advanced features might require the desktop version.
How do I ensure data integrity while autopopulating?

+
Regular data validation checks and error handling within your formulas will help maintain data integrity.
Can these techniques be applied to Google Sheets?

+
Yes, although the functions might have slightly different names or syntax, the principles of VLOOKUP, INDEX MATCH, and named ranges are similar in Google Sheets.
Are there any limitations to autopopulating cells?

+
Larger datasets might slow down Excel, and circular references can cause issues if not managed properly.