5 Easy Steps to Alphabetize Your Excel Sheet
Getting Started with Excel

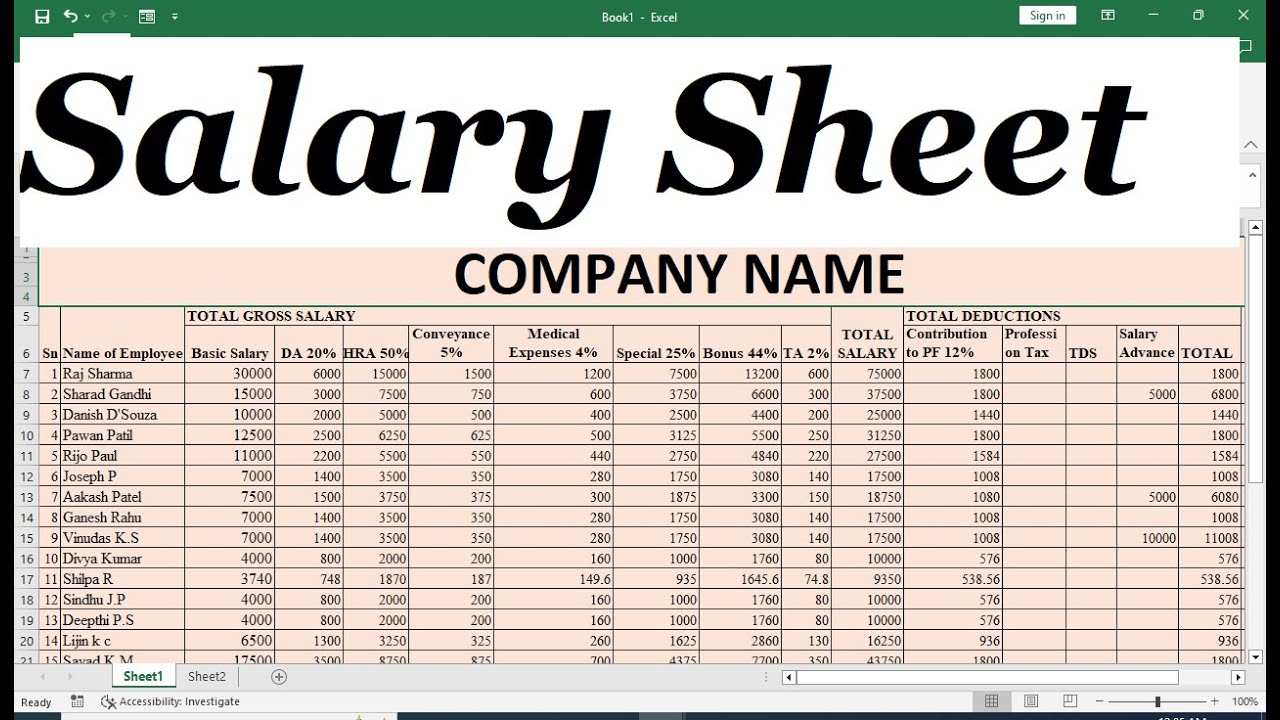
Before we dive into the steps of alphabetizing your Excel sheet, let’s ensure you have a basic understanding of Excel. Microsoft Excel is a powerful tool for data management and analysis. For this tutorial, we will be focusing on sorting data alphabetically, a common yet essential task for data organization.
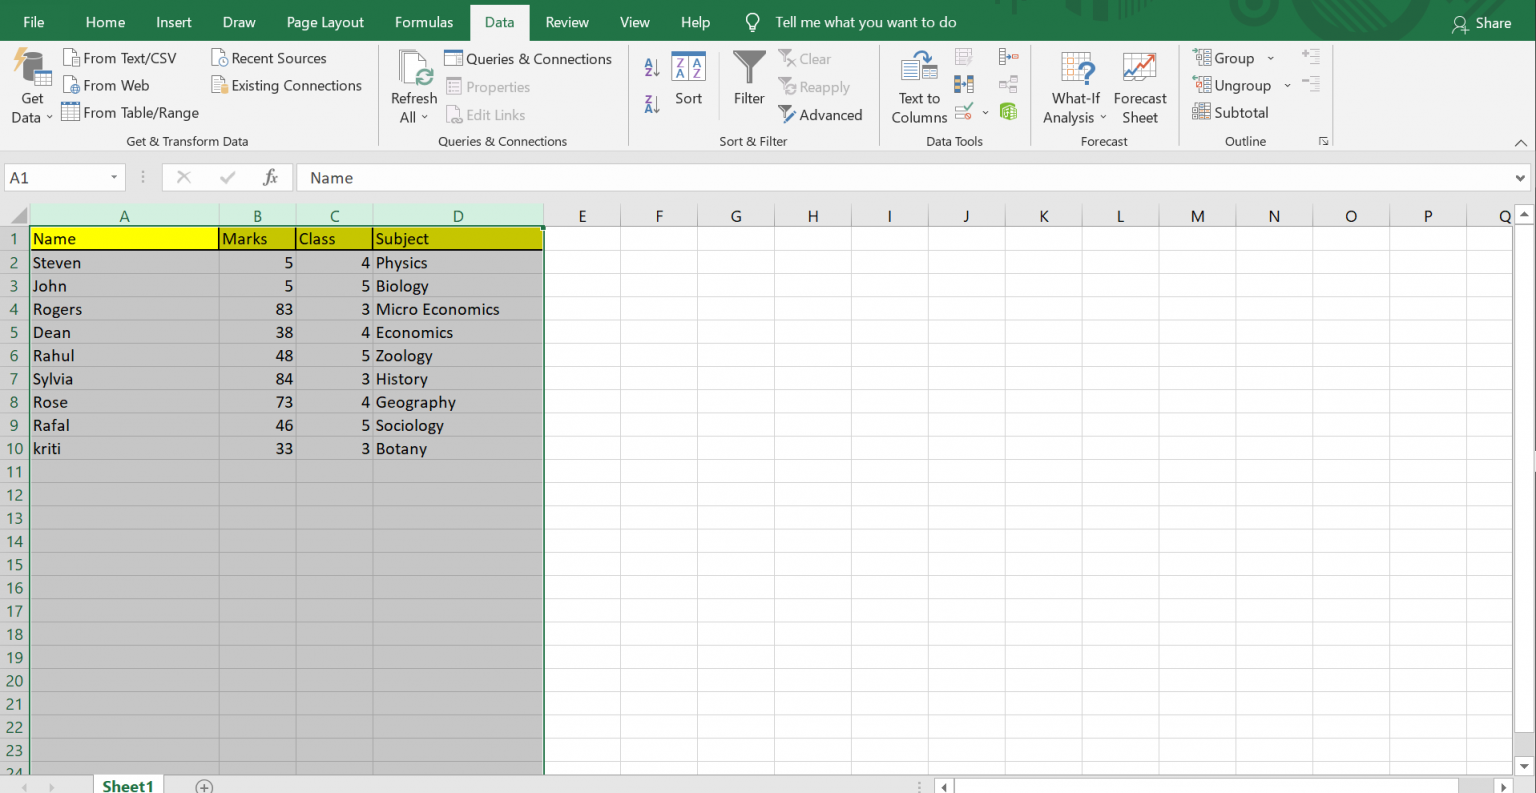
Step 1: Selecting Your Data
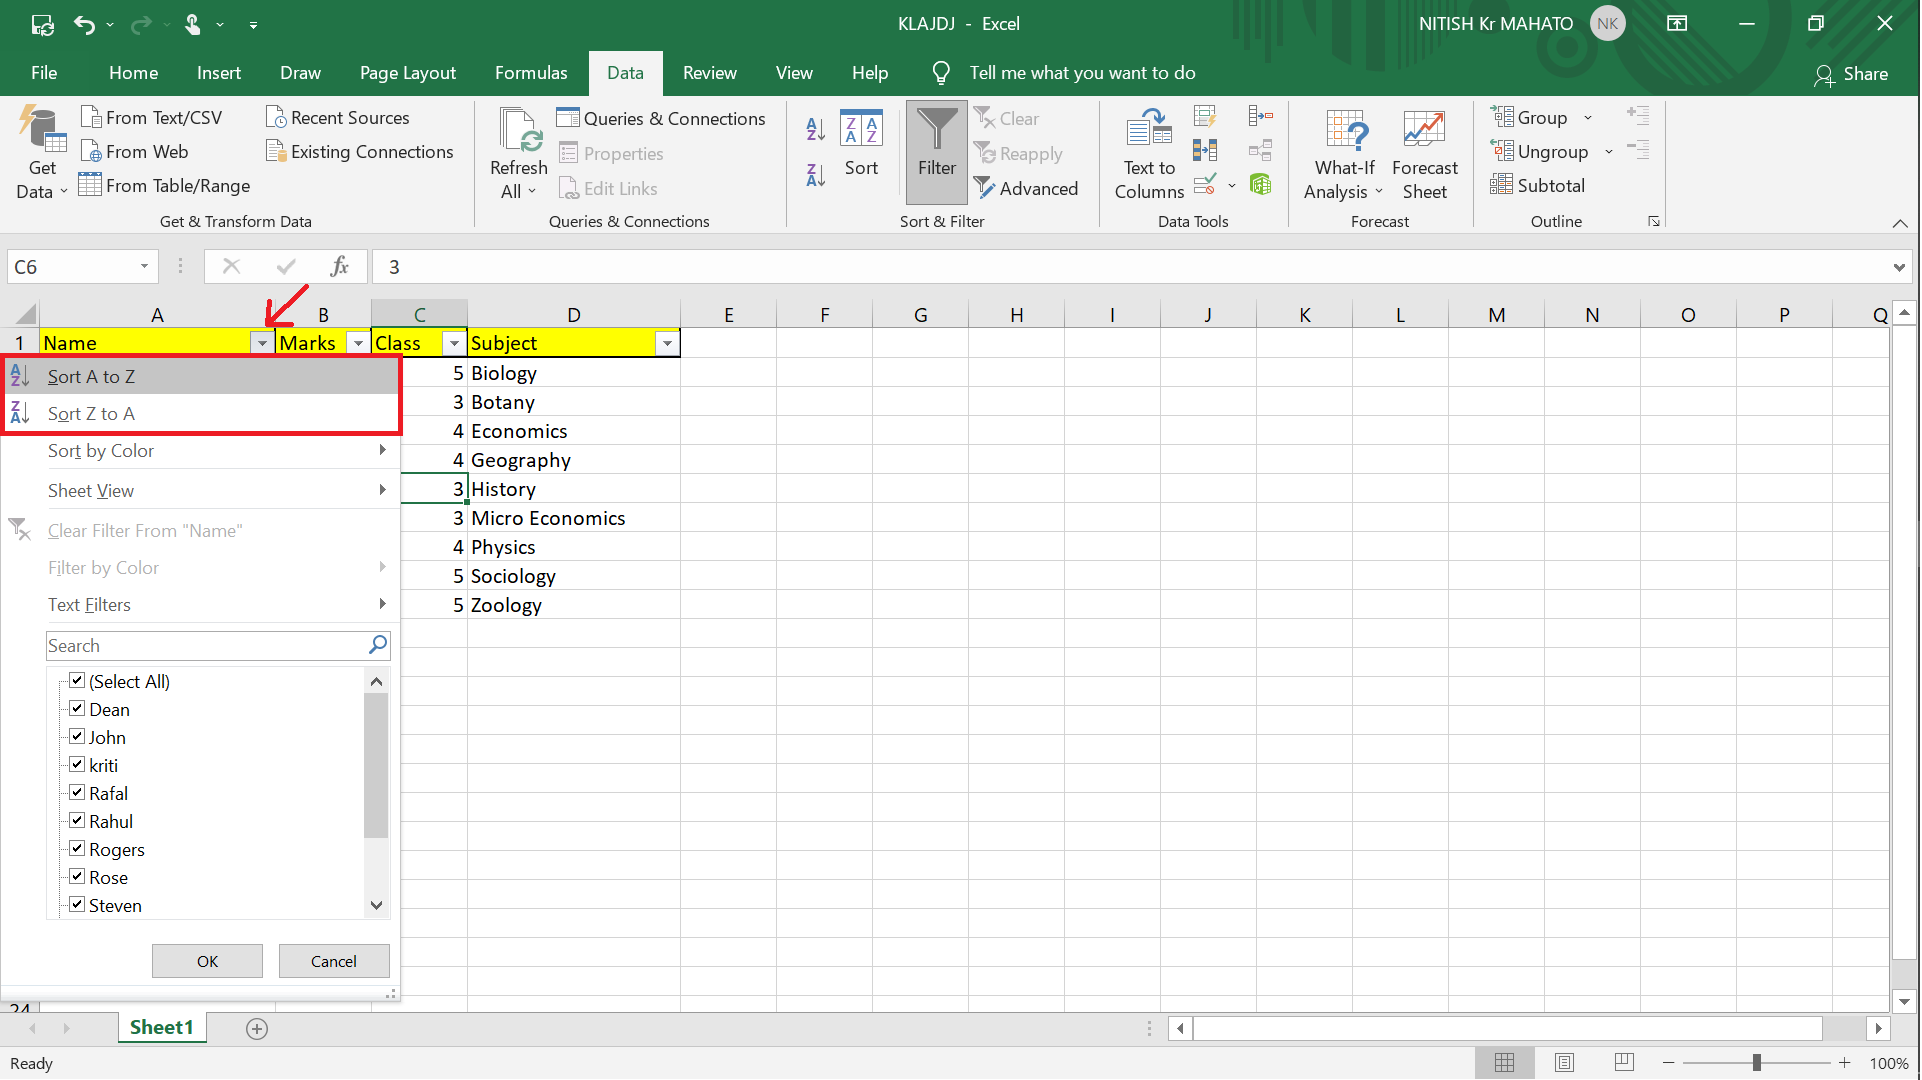
The first step in organizing your Excel sheet alphabetically involves selecting the data you want to sort:
- Click on the first cell in your dataset.
- Drag your cursor to the last cell or press
Ctrl+Shift+Down Arrowto select the entire column if your data is in a continuous range.
If your data extends across multiple columns:
- Select the range of cells or the whole table.
- Use
Ctrl+Ato select the entire dataset if it includes headers.
📌 Note: Ensure all data you want sorted is selected, otherwise, only the selected cells will be alphabetized.
Step 2: Opening the Sort Dialogue Box
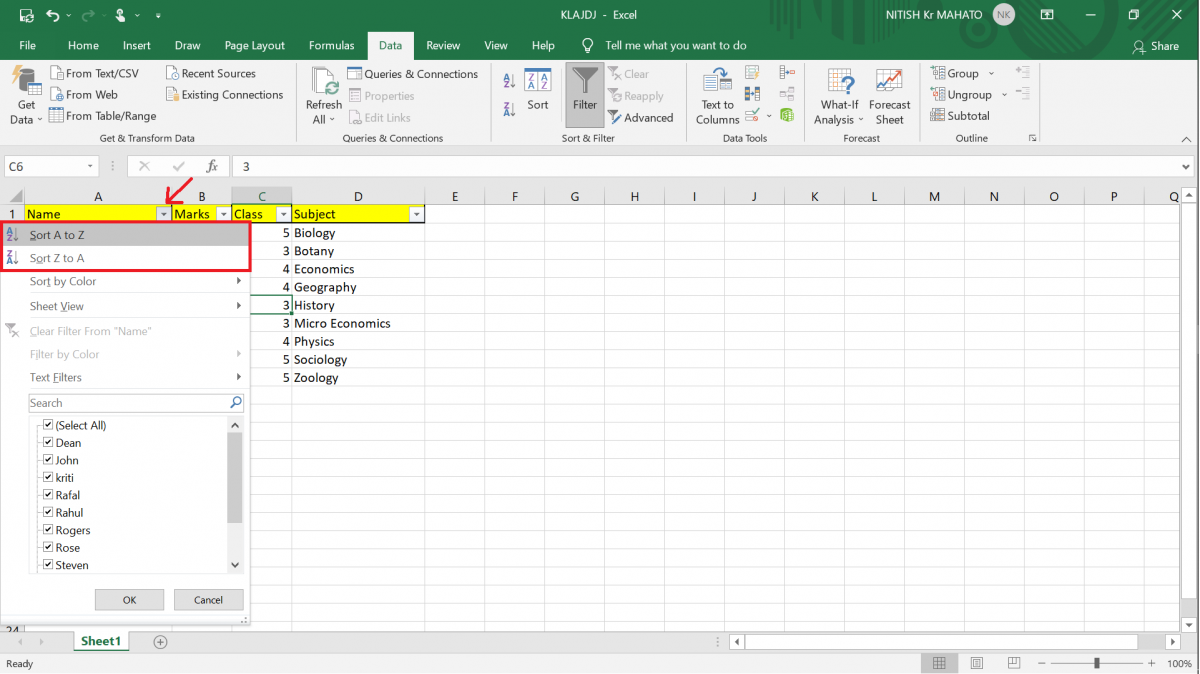
After selecting your data:
- Go to the ‘Data’ tab on the Excel Ribbon.
- Click on ‘Sort & Filter’, then ‘Sort’. This will open the Sort dialogue box where you can specify your sorting preferences.
Step 3: Setting Sorting Options
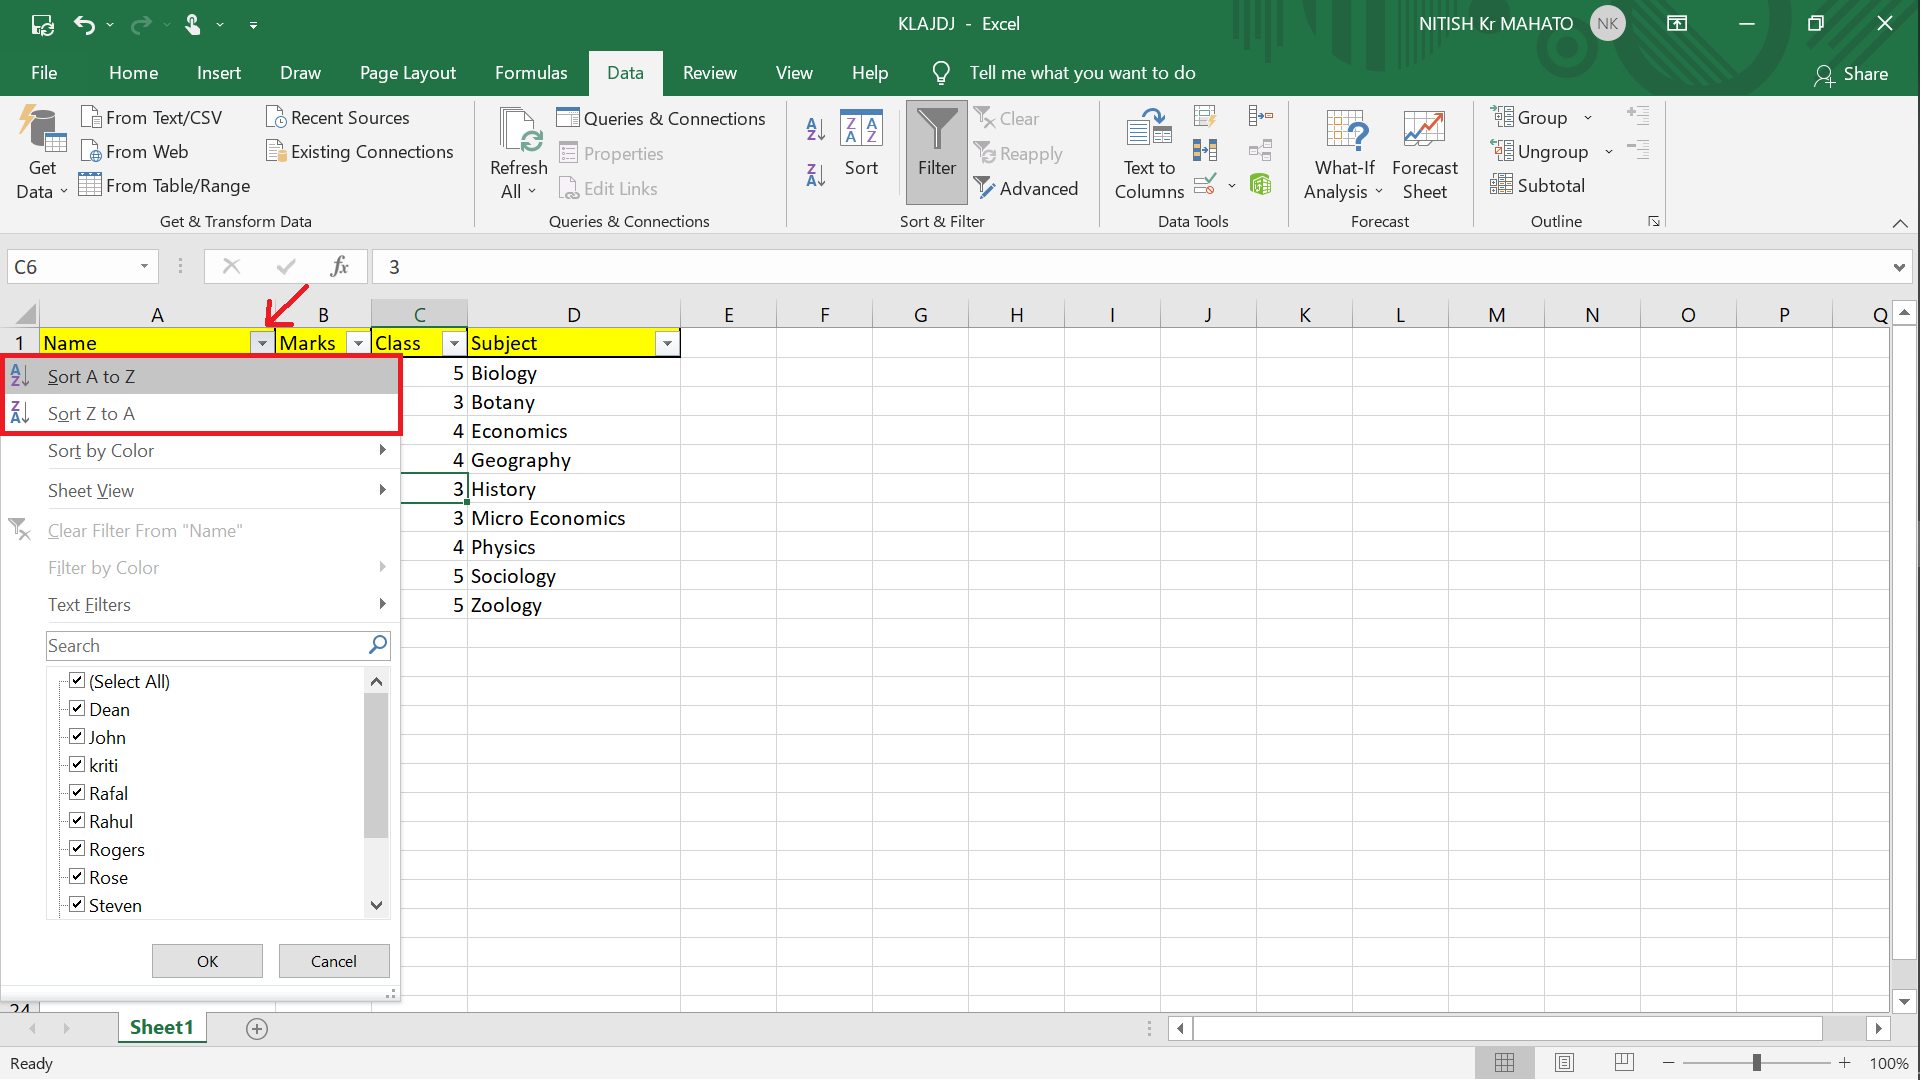
Now, let’s configure the sorting options:
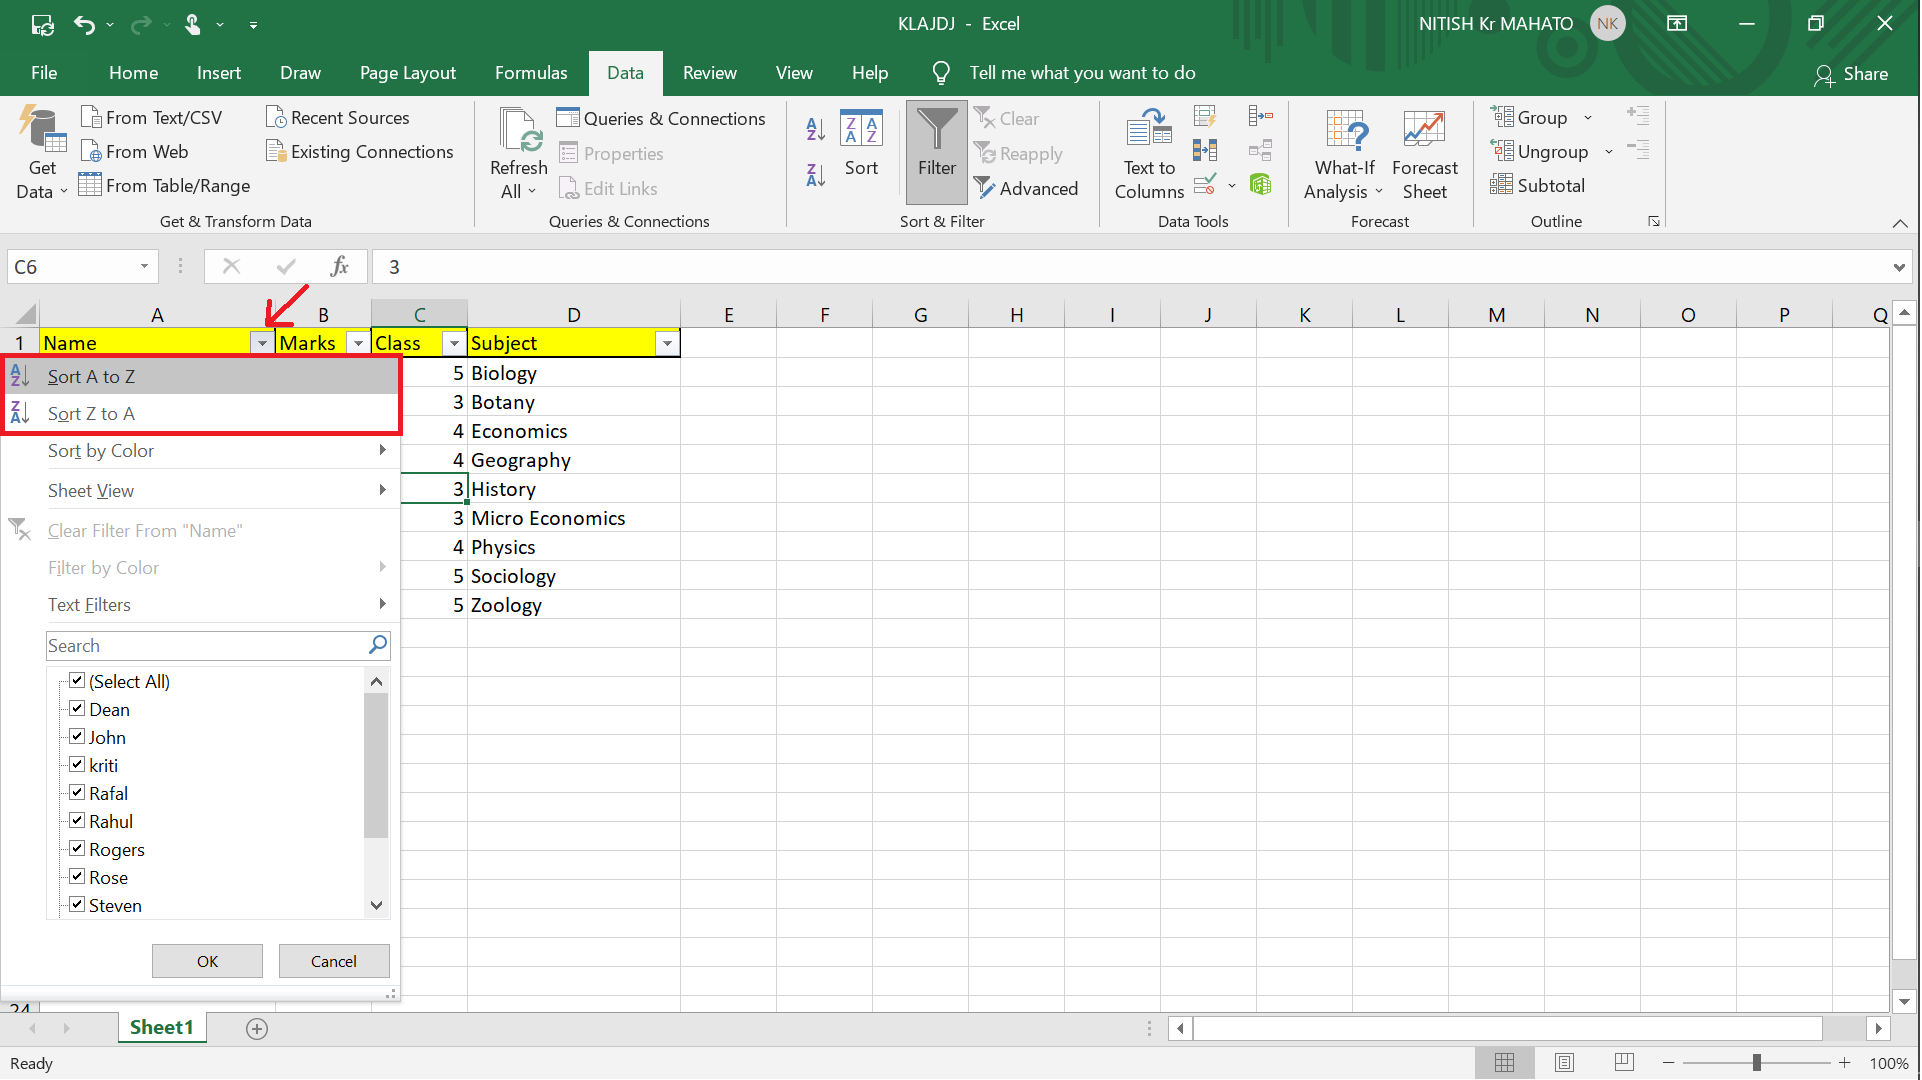
- Column: From the ‘Sort by’ dropdown, choose the column containing the data you want to sort alphabetically.
- Order: Select ‘A to Z’ to sort the column in ascending alphabetical order or ‘Z to A’ for descending order.
- If your data has headers, make sure the ‘My data has headers’ checkbox is ticked to prevent sorting your header row.
Step 4: Applying Additional Sorting Criteria

Should your data require a more complex sort:
- You can add levels by clicking the ‘Add Level’ button. This is useful when you need to sort by multiple columns or need a secondary sort based on another column.
- For each level, specify the column, sorting order, and whether to sort by values or custom lists.
Step 5: Executing the Sort
Once you have set all sorting criteria:
- Press ‘OK’ to apply the sort.
- Excel will rearrange your data according to the settings you’ve chosen.
Your data is now alphabetically organized!
As you work on alphabetizing data in Excel, here are a few pointers to keep in mind:
📝 Note: After sorting, it’s a good idea to double-check your data for accuracy, especially if it includes complex formats or formulas.
Excel’s sorting capabilities extend beyond simple alphabetizing. Here are some additional sorting options to explore:
- Sorting by cell color or font color
- Sorting by custom lists for non-alphabetic ordering
- Using macros to automate repetitive sorting tasks
Now that we’ve covered how to sort your Excel data alphabetically, let’s consider some best practices for maintaining data organization in Excel:
In conclusion, sorting your Excel data alphabetically can significantly improve readability and make data analysis more efficient. By following these steps, you can quickly arrange your data to meet your needs, whether it’s for creating reports, managing inventory, or organizing any other type of data set. Remember, while Excel provides numerous sorting options, understanding and properly applying the basic sorting features is essential for managing your data effectively.
Can I sort only part of an Excel sheet?

+
Yes, you can sort a specific range of cells. Simply select the cells you want to sort before opening the Sort dialogue box. Remember to check if your sorting will disrupt related data elsewhere in your sheet.
What happens if I sort a sheet with formulas?
+
If you sort data that includes formulas, the formula references might change. To maintain formula integrity, it’s often best to copy and paste values before sorting or ensure your formulas use absolute references.
Can I undo a sort operation in Excel?

+
Yes, you can immediately undo a sort using Ctrl+Z or by clicking the ‘Undo’ button on the Quick Access Toolbar. However, be cautious as this can reset any other changes made after sorting.