Excel Text Alignment Tips for Every User

When working with Microsoft Excel, one of the most critical aspects of creating clear and professional spreadsheets is understanding and implementing text alignment. Proper text alignment can significantly enhance the readability and overall appearance of your data. Whether you're a beginner or an advanced user, these tips will help you master text alignment in Excel for better presentation and functionality.
Understanding Text Alignment in Excel
Text alignment in Excel refers to how text is positioned within a cell or range of cells. By default, Excel aligns text to the bottom-left of a cell, while numbers are aligned to the bottom-right. However, you can change this default alignment to:
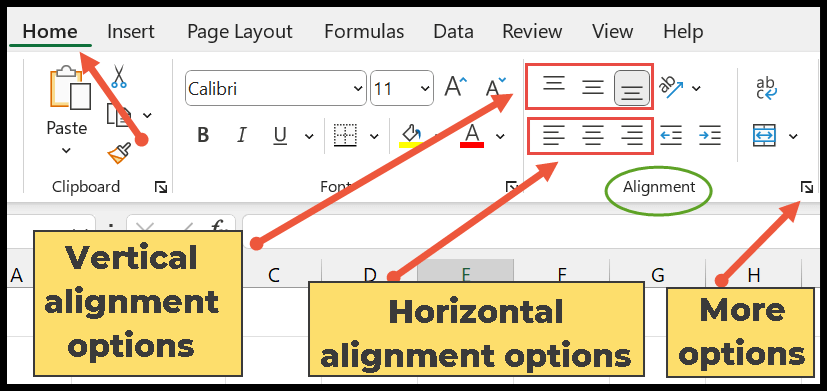
- Horizontal Alignment: Left, Center, Right, Fill, Justify, Center Across Selection, or Distributed
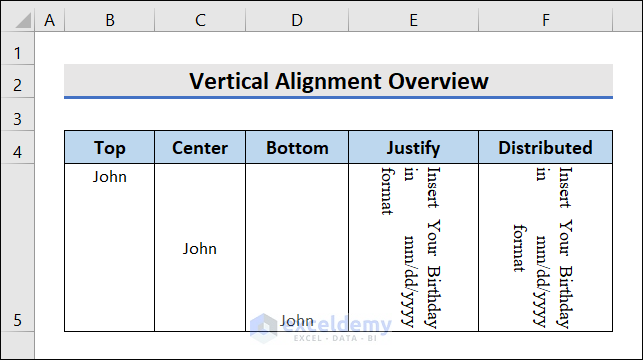
- Vertical Alignment: Top, Middle, Bottom, Justify, or Distributed
Basic Alignment Techniques

Here are some basic techniques for aligning text:
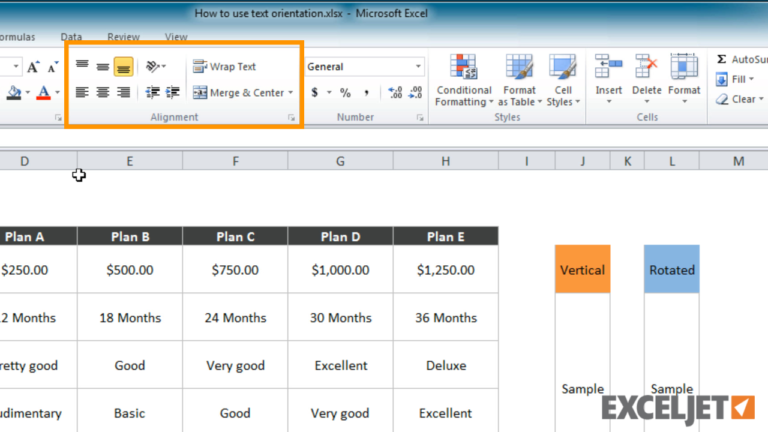
- To align text, select the cells you want to change, go to the Home tab, and choose your alignment from the Alignment group.
- Use Wrap Text to adjust text to fit within a cell, especially useful for long text.
- The Merge & Center tool can center text across multiple cells, though use it sparingly to avoid data loss.
Advanced Text Formatting Options
For those who need more control:
- Indent Text: Useful for creating nested lists or outlining structures.
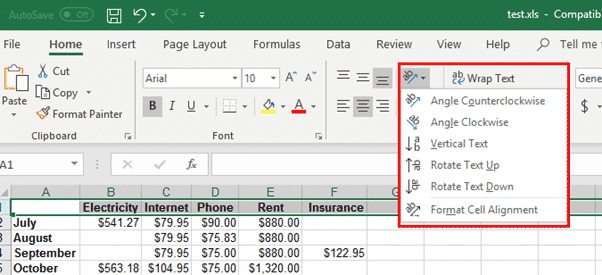
- Text Orientation: Rotate text for space-saving or unique designs.
- Shrink to Fit: Automatically reduces text size to fit within a cell.
Customizing Text for Different Purposes

Customization of text alignment depends on your data:
- Reports: For clarity, center headers and left-align body text. Use bold for titles and shading for important sections.
- Forms: Use right-aligned text in input fields to enhance readability and ease of data entry.
- Charts: Proper alignment in legends and titles can make charts more professional.
Using Keyboard Shortcuts
Keyboard shortcuts can significantly speed up your workflow:
| Shortcut | Function |
|---|---|
| Ctrl + 1 | Opens Format Cells dialog |
| Alt + H, A, L | Aligns text to the left |
| Alt + H, A, C | Centers text |
| Alt + H, A, R | Aligns text to the right |

💡 Note: Remember that Excel's shortcuts can vary slightly depending on your version of Excel and system settings.
Enhancing Readability with Formatting

To boost the visual appeal:
- Use font styles like bold, italic, or underline for emphasis.
- Apply conditional formatting to highlight important data based on specific conditions.
- Adjust row height and column width to ensure all text is visible.
- Align decimal points with custom number formats for better numerical data presentation.
As we've explored, effective text alignment in Excel goes beyond aesthetics; it's about making your data accessible and comprehensible. From basic alignment changes to advanced formatting, these tips will elevate your spreadsheets. Mastery in this area not only improves the user experience but also underscores your proficiency in data management.
What is the difference between ‘Merge & Center’ and ‘Center Across Selection’?
+
‘Merge & Center’ physically merges the selected cells into one, losing individual cell functionality. ‘Center Across Selection’, on the other hand, visually centers text across multiple cells without merging them, allowing you to retain cell autonomy for data manipulation.
Can I align text diagonally?
+
Yes, you can align text diagonally by using the ‘Format Cells’ dialog. Go to ‘Alignment’, choose ‘Orientation’, and drag the red marker to your desired angle.
How do I make multiple lines in a single cell?
+
To create multiple lines, use Alt+Enter after typing your text. Additionally, enable ‘Wrap Text’ for automatic line breaks within a cell.