5 Steps to Merge Excel Sheets and Find Discrepancies
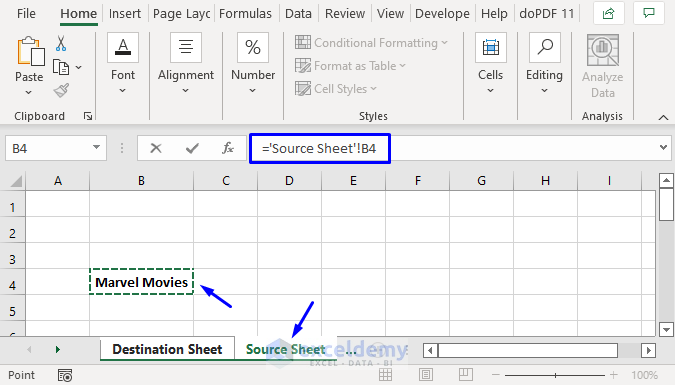
When working with large datasets across multiple Excel sheets, one common task is to merge these sheets and identify any discrepancies between them. This could be critical in scenarios such as financial audits, data analysis for business decisions, or consolidating employee records. Here, we will guide you through a systematic process to merge Excel sheets and find any discrepancies, ensuring accuracy and efficiency in your data management.
Step 1: Prepare Your Data
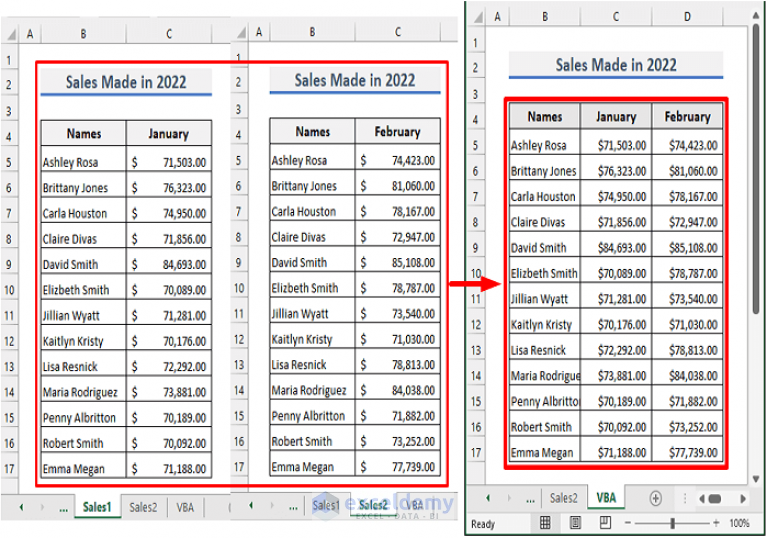
Before merging, ensure that:
- All Excel sheets have the same structure. This means headers should be identical across sheets.
- Check for any formatting issues that might cause discrepancies, like date formats or different number formats.
- Identify and clean any duplicated entries or blank rows to avoid future confusion.
⚠️ Note: Consistent formatting across all sheets is vital for a smooth merging process.
Step 2: Combine the Sheets

Follow these steps to merge your Excel sheets:
- Open a new Excel workbook or a fresh sheet in your existing workbook.
- Use the Consolidate feature under the Data tab:
- Select the range in your new sheet where you want the data to appear.
- Click on Data > Consolidate.
- Choose the function (Sum, Average, etc.) and select your source sheets one by one.
- Make sure to tick ‘Top row’ and ‘Left column’ if your data has headers and labels.
- Click OK.
📝 Note: For a large number of sheets, consider using VBA or Power Query for a more automated merge.
Step 3: Identify Discrepancies

After merging:
- Use conditional formatting to highlight differences:
- Go to Home > Conditional Formatting > New Rule.
- Select ‘Use a formula to determine which cells to format’.
- Enter a formula like
=A1<>B1to compare values in two columns. - Choose a color to highlight differences.
- Or, create a discrepancies table:
| Sheet1 | Sheet2 | Difference |
|---|---|---|
| 10 | 15 | -5 |
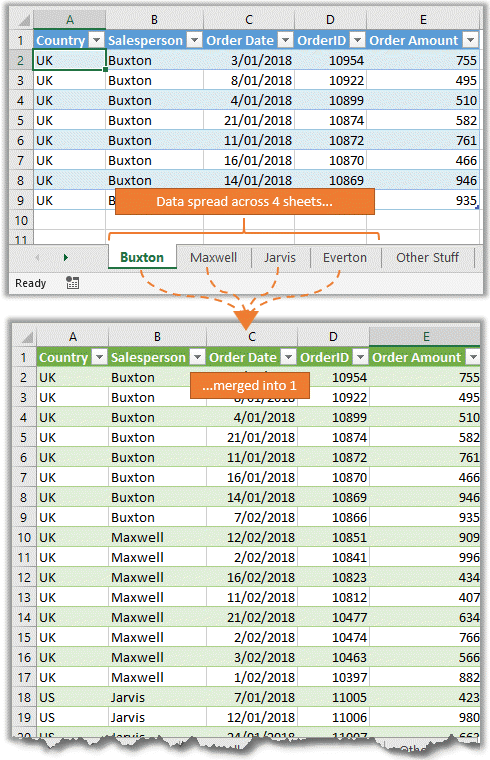
📚 Note: If discrepancies are frequent or pattern-based, consider scripting a custom solution.
Step 4: Analyze and Resolve Discrepancies
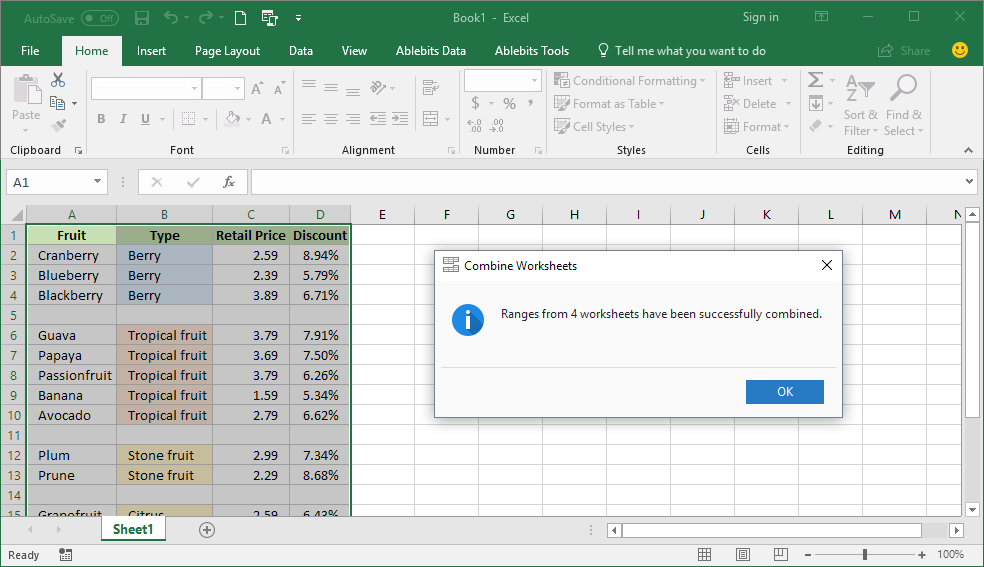
Here’s how you can manage any discrepancies found:
- Examine the context: Understand why the discrepancy exists (e.g., data entry error, different source, etc.)
- Confirm Accuracy: Verify the correct data through original sources or other records.
- Take Action: Update or reconcile the differences in your dataset.
Step 5: Automate for Future Use

For ongoing needs:
- Record a macro of your steps for quick replication.
- Explore Power Query or VBA to automate repetitive tasks like merging and discrepancy checks.
🔁 Note: Automating these steps can significantly reduce manual labor and the chance of human error.
By following these steps, you ensure a thorough analysis of your data, making it easier to spot, understand, and correct any discrepancies. This methodical approach to merging and analyzing Excel sheets will not only save time but also enhance the integrity of your data, leading to better decision-making.
How do I merge Excel sheets if they have different headers?
+
To merge sheets with different headers, you might need to manually align the headers before using functions like Consolidate or use VBA to automate the process of mapping columns with different names.
What if the discrepancy check function doesn’t work?

+
Ensure that the cells being compared are formatted the same (e.g., both numeric, text). Also, check for any leading or trailing spaces. If the problem persists, consider using a formula like =IF(A1=B1, “Match”, “Mismatch”) for a more detailed comparison.
Can I use these methods for very large datasets?

+
For extremely large datasets, Excel’s performance might degrade. Consider using Power Query for handling big data or breaking the dataset into smaller chunks to process.


