Excel Dropdowns Made Easy: Simple Steps to Add One

When it comes to organizing data in Microsoft Excel, dropdowns are an invaluable tool. They streamline data entry, minimize errors, and ensure consistency across datasets. Whether you're managing an inventory list, a schedule, or any other spreadsheet, adding a dropdown can significantly enhance your efficiency. Here's how you can easily create one in just a few simple steps:
Understanding Excel Dropdowns

Before we dive into the practical steps, let’s clarify what an Excel dropdown is:
- It’s a list where you can select from predefined options.
- Dropdowns reduce errors by limiting data entry to specific choices.
- They are created using Excel’s Data Validation feature.
Steps to Add a Dropdown in Excel

Step 1: Prepare Your List

First, ensure that your list of options is ready:
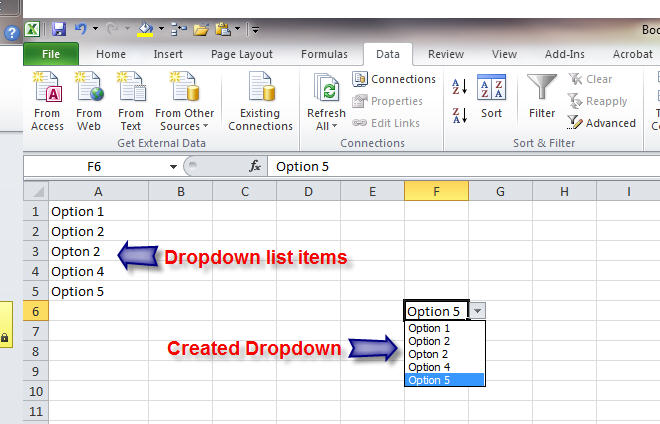
- Enter your list items in cells, either horizontally or vertically.
- For example, if you’re creating a dropdown for months, list them in consecutive cells like A1 to A12.
Step 2: Access the Data Validation Tool

After setting up your list, navigate to where you want the dropdown:
- Select the cell or cells where you want the dropdown to appear.
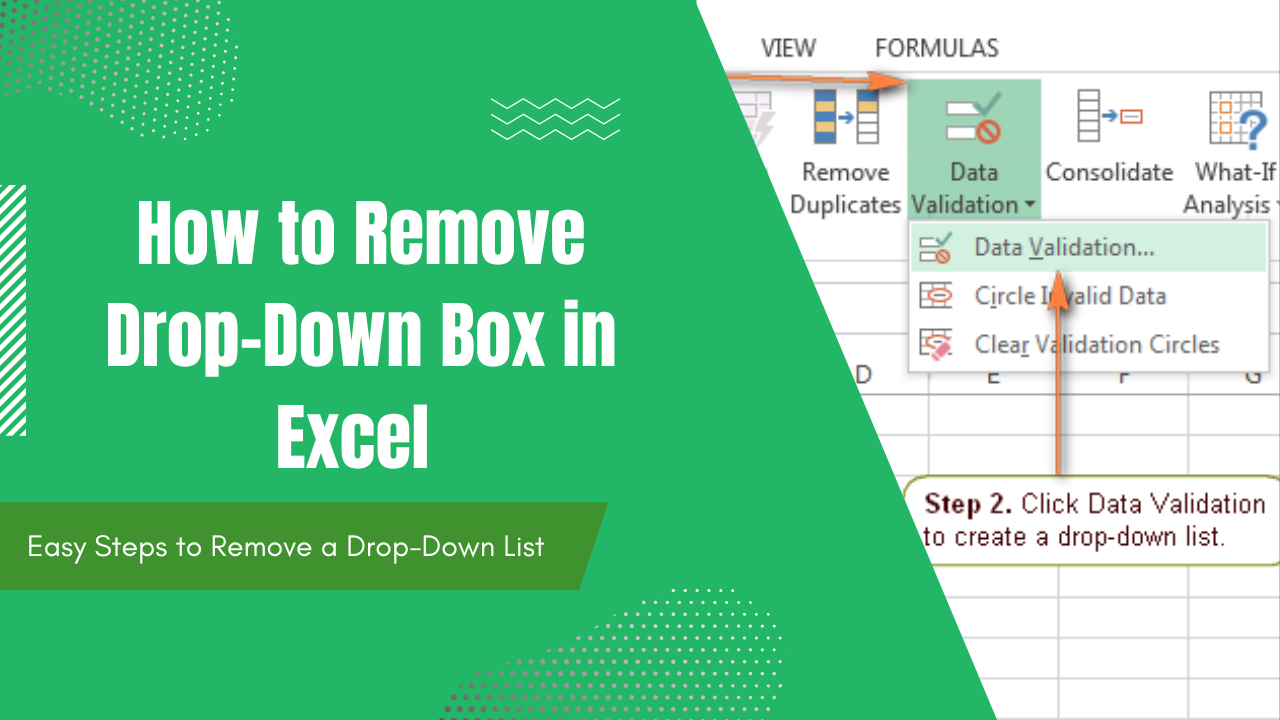
- Go to the ‘Data’ tab on the ribbon.
- Click on ‘Data Validation’ in the ‘Data Tools’ group.

Step 3: Set Up Your Dropdown

In the Data Validation dialog:
- Under the ‘Settings’ tab, choose ‘List’ from the ‘Allow’ dropdown.
- Click in the ‘Source’ box and either type your list items or select the range containing your list. For example, type “=A1:A12” if your list is in cells A1 to A12.
Step 4: Customize Your Dropdown

While still in the Data Validation dialog:
- You can add an Input Message under the ‘Input Message’ tab, which provides guidance to users when they select the dropdown cell.
- Set an Error Alert under the ‘Error Alert’ tab to guide users if they try to enter invalid data.
⚠️ Note: Customizing the error alert and input message makes your spreadsheet more user-friendly by offering real-time feedback and guidance.
Step 5: Apply and Test

Once you’ve set everything up:
- Click ‘OK’ to create your dropdown.
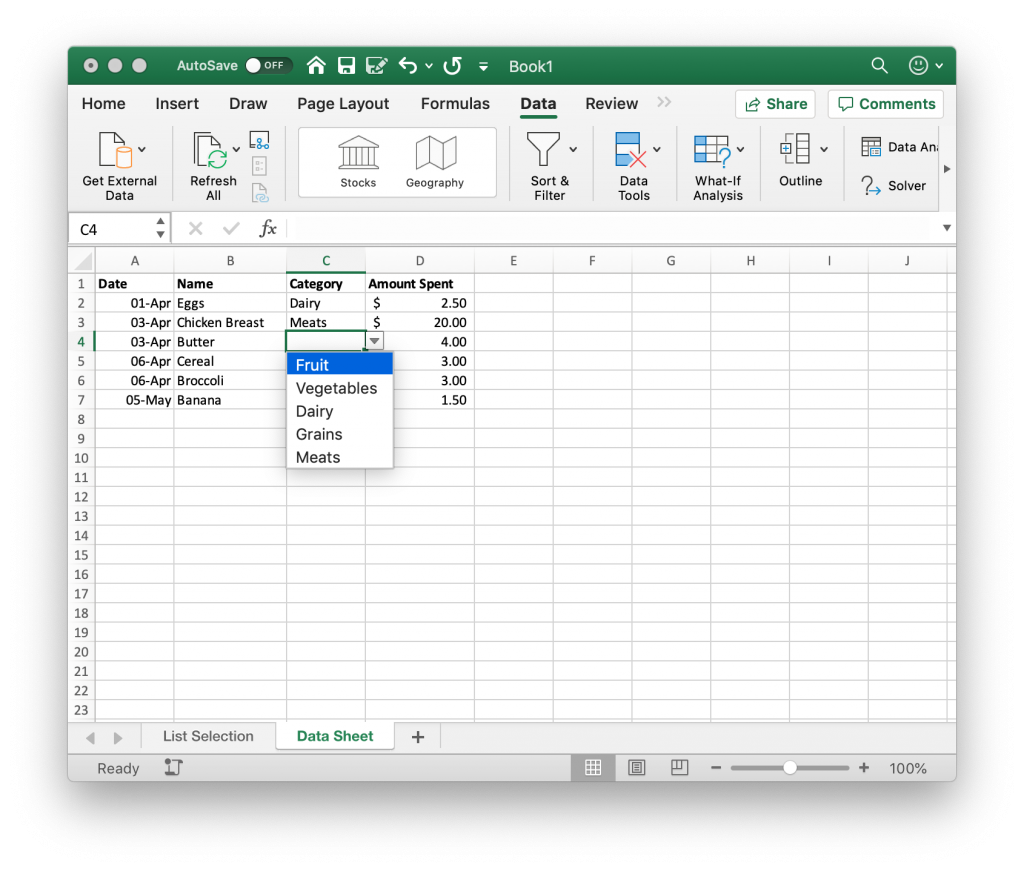
- Select the cell where you placed the dropdown, and you should see the dropdown arrow. Click it to test your options.
Advantages of Using Dropdowns in Excel

Here are some benefits of using dropdowns:
- Consistency: Ensures uniformity in data entry.
- Efficiency: Speeds up the data entry process.
- Data Integrity: Reduces the chance of errors by limiting choices.
- User Guidance: Provides users with clear options to choose from.
Going Beyond Basic Dropdowns

Excel offers further customization:
- Named Ranges: Use named ranges to simplify list management and reuse.
- Dynamic Dropdowns: Create dropdowns that change based on other data in your sheet.
- Dependent Dropdowns: One dropdown selection determines the options in another.
In wrapping up, the integration of dropdowns into your Excel spreadsheets can markedly enhance your productivity. By following these easy steps, you ensure data consistency, reduce entry errors, and streamline the overall workflow. As you become more adept with Excel’s data validation features, you’ll find even more ways to customize and automate your data management tasks.
Can I link dropdown choices to other cells?

+
Yes, you can use Excel formulas or VBA to automatically populate data based on dropdown selections. For example, if you choose “January” from a dropdown, you could make other cells display relevant information like days in January or quarterly data.
How do I update my dropdown list?

+
Go to the cell with the dropdown, access Data Validation again, and update the source range in the ‘Source’ box to reflect new additions or deletions from your list.
Can dropdowns be styled?

+
Excel does not natively allow dropdown styling, but you can apply conditional formatting based on dropdown selections to change the cell’s appearance.