How To Add Date On Excel Sheet

Understanding Excel Date Formats

Before we dive into the steps of adding dates to an Excel sheet, it’s worth understanding how Excel manages date and time. Excel stores dates as sequential serial numbers to make calculations easier. Here’s a brief rundown:
- January 1, 1900: Excel uses this as its starting point, where this date is serial number 1.
- Date as Numbers: Each subsequent date is incremented by one. For example, January 2, 1900, is serial number 2.
This means that Excel essentially treats dates like numbers, which is why you can perform arithmetic with dates:
- Formatting Dates: You can format the numeric values as various date styles using the "Format Cells" dialog box or the Date & Time section in the Home tab.
Adding Dates Manually

One of the simplest ways to add a date to an Excel sheet is by manually entering the date into a cell. Here’s how you do it:
- Select the cell where you want to input the date.
- Type in the date in a recognized format like MM/DD/YYYY, DD/MM/YYYY, or other locales (for example, 12/31/2023 or 31/12/2023).
To ensure Excel recognizes your input as a date:
- After typing, press Enter. Excel should automatically adjust the cell to display a date.
- If you see a series of numbers instead, you might need to:
- Right-click the cell, choose "Format Cells," go to the Number tab, and select a Date format.
- Use keyboard shortcut CTRL + 1 to open Format Cells and select Date.
👉 Note: Excel might interpret the date as text if you type in non-standard formats or use too many words. Be consistent with the format to avoid confusion.
Using Excel's Date Functions

Excel offers several functions to help with date management:
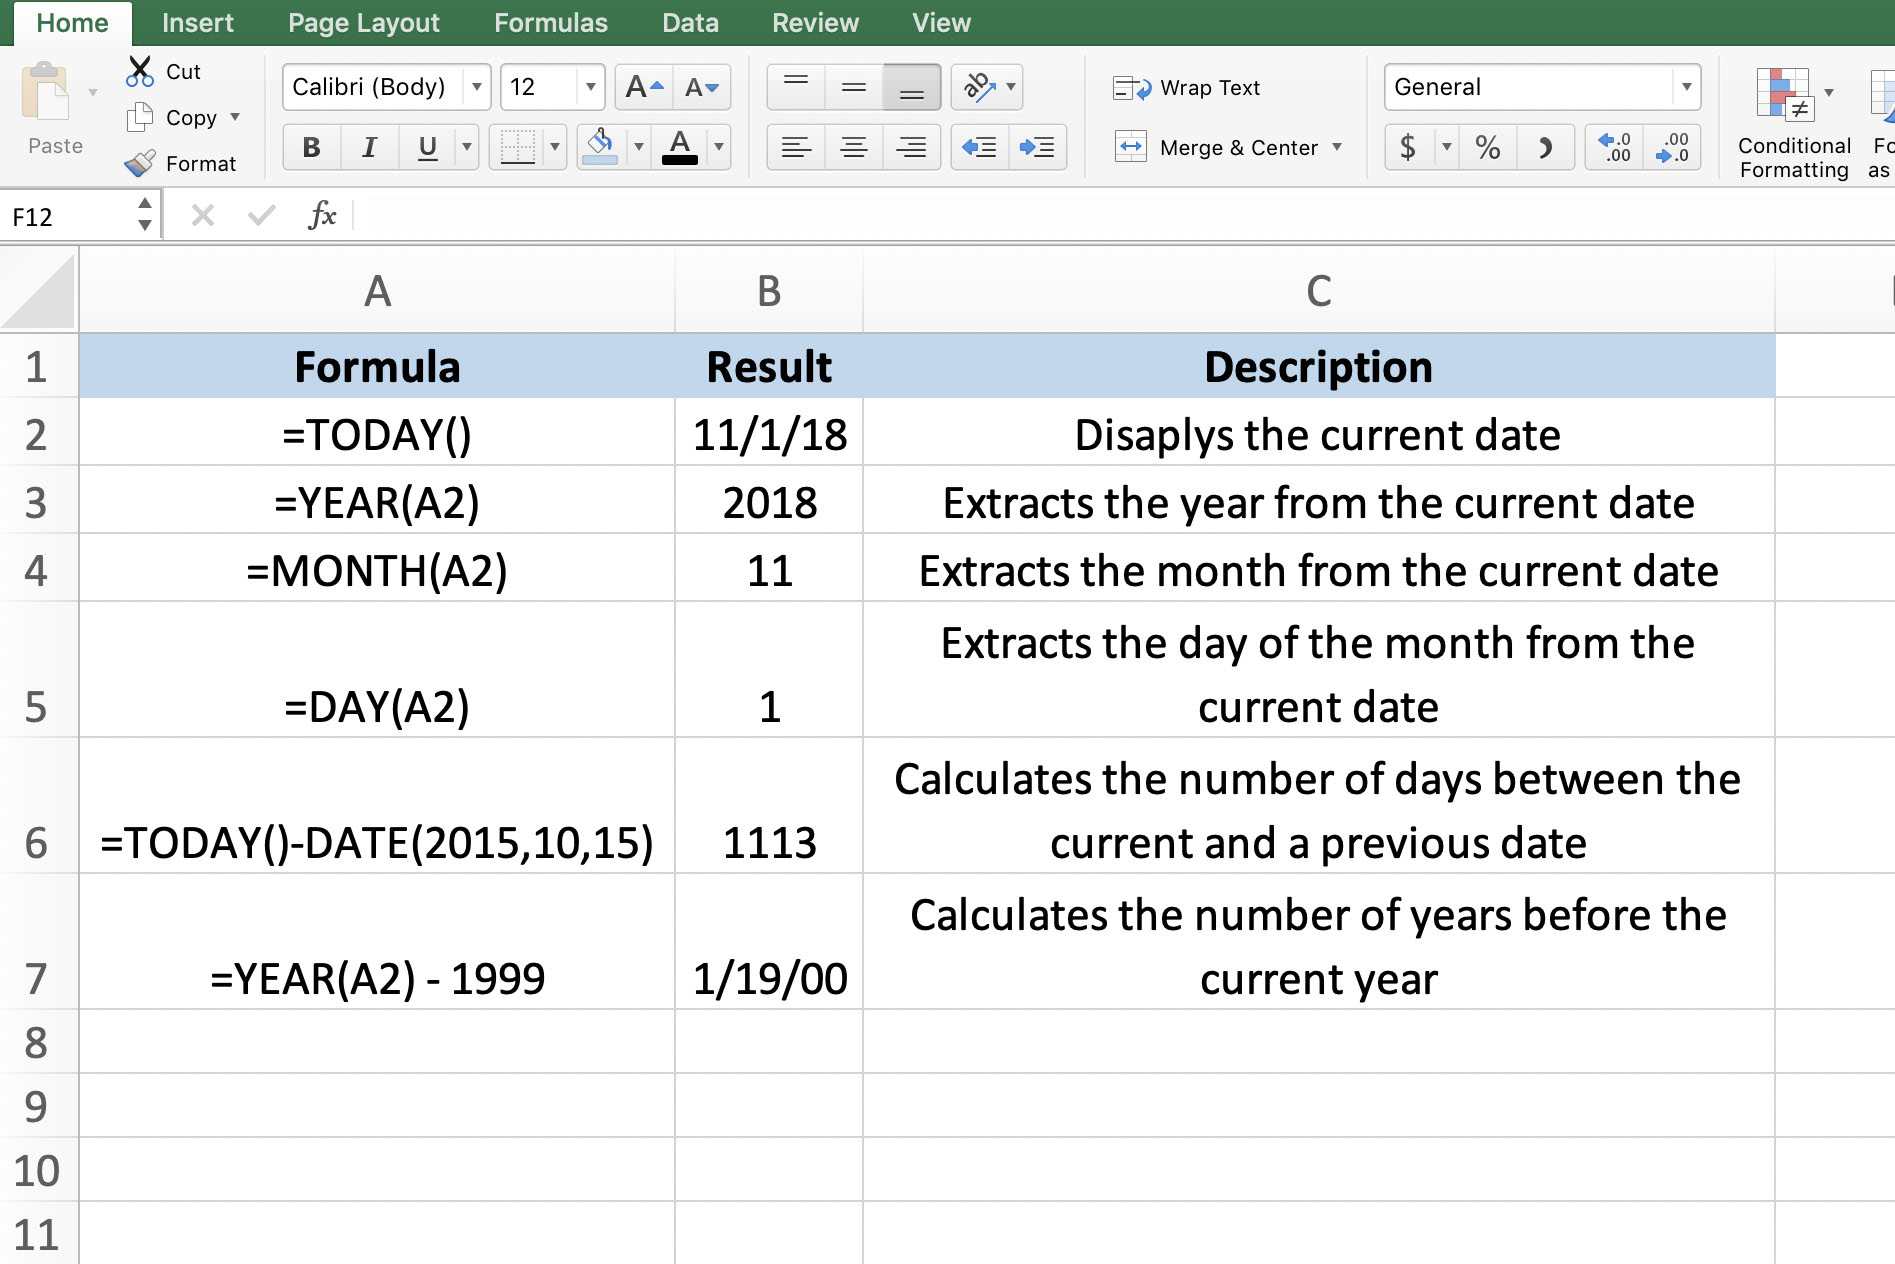
- TODAY(): Automatically inserts the current date into a cell.
- NOW(): Provides the current date and time.
Here’s how to use these:
Using TODAY()
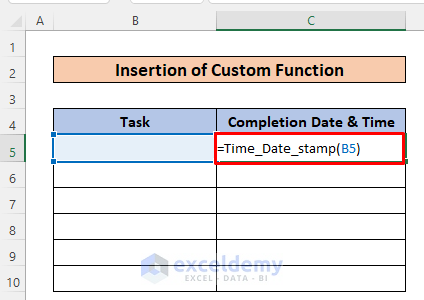
- Click on the cell where you want the current date to appear.
- Type in "=TODAY()" and press Enter. The cell will now show the current date.
👉 Note: The TODAY() function updates automatically whenever the workbook is opened or recalculated.
Using NOW()

- Select a cell.
- Type "=NOW()" and press Enter. The cell will display the current date and time.
👉 Note: NOW() function also updates automatically to reflect the current time.
Auto-filling Dates
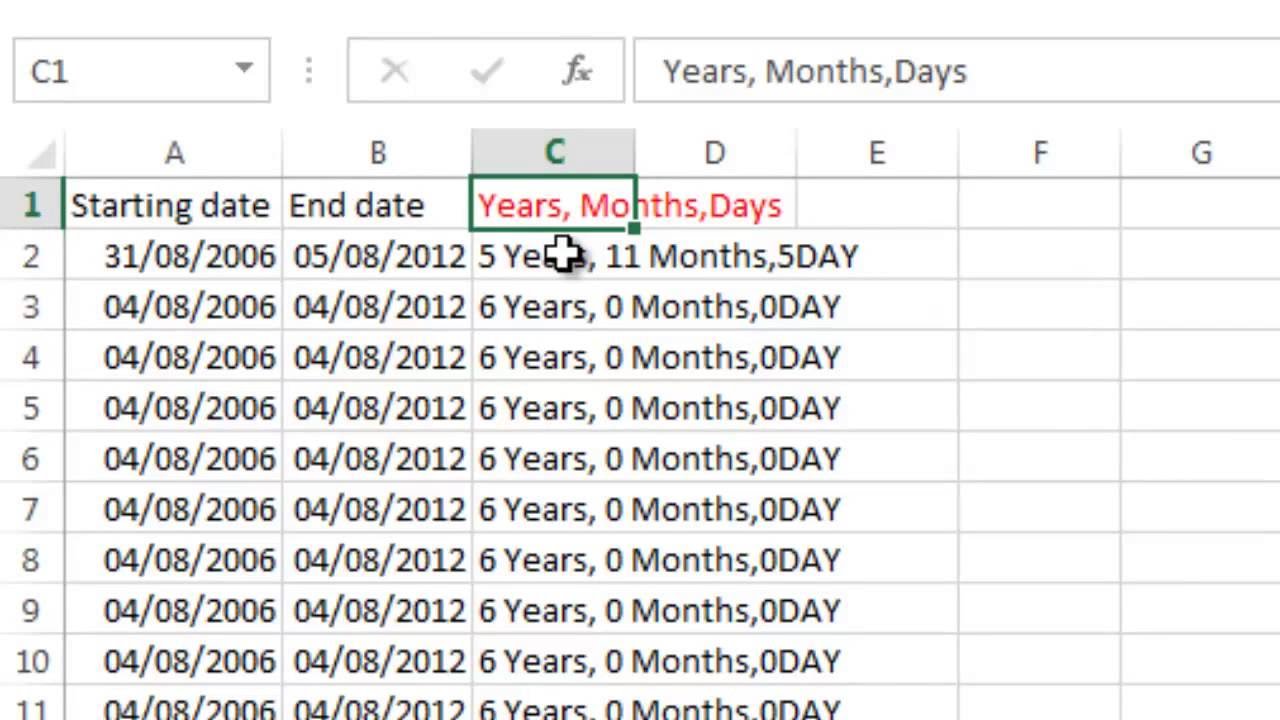
Excel can autofill a range of dates, which is useful for creating calendars or time-based reports. Here’s how to do it:
Auto-filling a Single Date Series

- Enter a date in a cell.
- Select the cell and drag the fill handle (the small square in the bottom-right corner) down or to the side to auto-fill a series of dates.
👉 Note: By default, dragging downwards or to the right fills consecutive dates.
Filling with Date and Time

You can also fill a series with both date and time:
- Enter a date and time in the first cell (e.g., 1/1/2023 10:00 AM).
- Drag the fill handle to autofill dates and increment time.
Advanced Date Addition with Formulas

Excel also allows for more complex date manipulations using formulas:
Adding or Subtracting Days

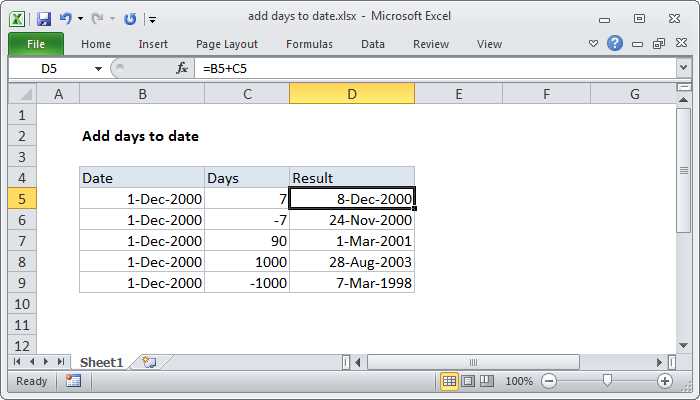
You can add or subtract days from a date:
- For adding days:
=A1 + 5where A1 contains a date - For subtracting days:
=A1 - 5
Calculating Future or Past Dates
You can use the EDATE function for monthly adjustments:
- Future date:
=EDATE(A1,6)(A1 date 6 months ahead) - Past date:
=EDATE(A1,-6)(A1 date 6 months ago)
Custom Date Sequences
If you need a custom sequence (e.g., the first day of each month):
- Enter the first date in a recognized format.
- Use the AutoFill handle with the following format:
01/01/2023, 02/01/2023, ... - Select the range, and Excel will predict the sequence if typed consistently.
By following these steps, you can manage and manipulate dates in Excel with ease. Whether it’s for tracking deadlines, creating Gantt charts, or performing date-based calculations, Excel provides the tools necessary to work efficiently with dates.
As we come to the end of this guide, remember that dates in Excel are not just time points; they can be a powerful tool for data analysis, project planning, and much more. Excel’s versatility with date handling can transform your raw data into insightful, actionable information.
How can I change the default date format in Excel?
+
You can change the default date format by going to File > Options > Advanced > Edit Custom Lists. However, for cell-by-cell control, use “Format Cells” to choose a date format that suits your needs.
Can I use dates for calculations in Excel?
+
Absolutely! Excel treats dates as numbers, making date arithmetic straightforward. Use functions like DATE, DATEDIF, YEARFRAC, or perform direct calculations to add, subtract, or compare dates.
What should I do if Excel recognizes my date as text?

+
If Excel doesn’t recognize your input as a date, try the following: - Ensure your input follows a recognized date format (like MM/DD/YYYY). - Use the Text to Columns wizard to convert text to date format. - Use the VALUE function to convert text dates into date numbers.