5 Easy Steps to Insert Excel Sheet into Word Document

Why Insert Excel into Word?


Before delving into the steps, let’s understand why you might want to insert an Excel sheet into a Word document. By embedding an Excel worksheet within your Word document, you achieve several benefits:
- Data Presentation: Visualizing numerical data in a tabular format within your document enhances readability and impact.
- Dynamic Updates: Linking your Excel sheet to Word means any changes in the Excel file will be reflected in your document automatically.
- Data Analysis: Word users can quickly analyze data without needing Excel, offering a seamless experience.
- Document Consolidation: Including critical data directly in the document reduces the need for multiple file transfers.
Steps to Insert Excel into Word

Follow these easy steps to effortlessly insert an Excel sheet into your Word document:
Step 1: Launch Word and Excel

Begin by opening your Microsoft Word document where you want to insert the Excel sheet. Also, open the Excel file containing the worksheet you wish to add:
- Launch Microsoft Word and open or create your document.
- Open your Excel file containing the worksheet of interest.
Step 2: Copy or Link the Excel Data

Now, decide whether you want to:
- Copy Data: If you only need a one-time insertion, use this method.
- Link Data: For dynamic updating, choose to link your data.
To copy:
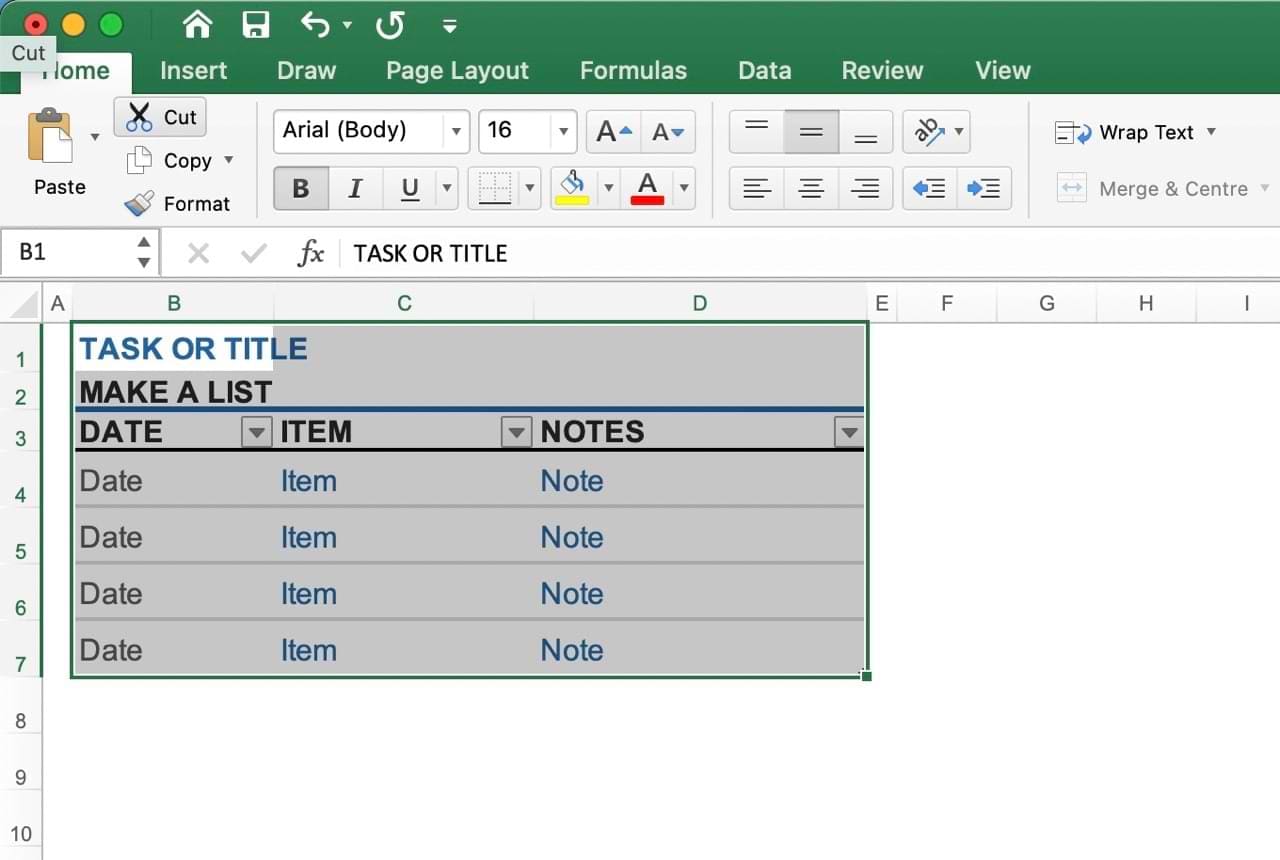
- Select the data in Excel.
- Press Ctrl + C or go to Home > Copy to copy the selection.
To link:
- Select the data in Excel.
- Right-click and choose Copy.
- In Word, go to the Paste Special option under Home > Paste and select Paste Link (or use Ctrl + Alt + V).
Step 3: Paste in Word

With your Excel data copied or linked, move to your Word document:
- Place the cursor where you want the Excel content.
- If copied, press Ctrl + V or click Paste.
- If linked, follow the steps in Step 2 to select Paste Link.
Step 4: Format the Data

Once inserted, you might want to adjust:
- Size: Click and drag the corners to resize.
- Appearance: Right-click to access Table Tools > Design for formatting options like borders and shading.
- Editing: Double-click on the inserted Excel object to open it for editing in Excel directly from Word.
Step 5: Save and Verify

After inserting and formatting:
- Save your Word document.
- If linked, ensure the link works by updating data in Excel and checking Word.
📝 Note: For linked data, ensure both files are in the same location when saving; otherwise, Word might lose the link to the Excel file.
In Summary:

Adding an Excel sheet to a Word document has never been easier. By following the steps above, you can effortlessly integrate Excel data into your documents, improving data presentation, document consolidation, and offering dynamic updates for real-time data changes. Remember to:
- Understand your need for linking or copying data.
- Use the “Paste Special” for dynamic links.
- Adjust the appearance and size for better integration.
- Save and verify the data link, if applicable, for a seamless experience.
How do I ensure my Excel data updates in Word?

+
To ensure dynamic updates, always use the “Paste Link” option when inserting the Excel data into Word. Keep both files in the same folder to maintain the link integrity.
Can I edit the Excel data after inserting it into Word?

+
Yes, you can edit the inserted data. Simply double-click on the Excel object to edit it directly from Word, or update the source Excel file to reflect changes if linked.
What if I move the Excel file after inserting it into Word?

+
If you move the Excel file, Word will lose the link. To fix this, update the link manually through Word’s “Edit Links to Files” option or reinsert the data.
How do I change the format of the inserted data in Word?

+
Right-click on the inserted Excel object and choose “Table Tools” to access formatting options. You can adjust the size, borders, and shading to suit your document’s style.