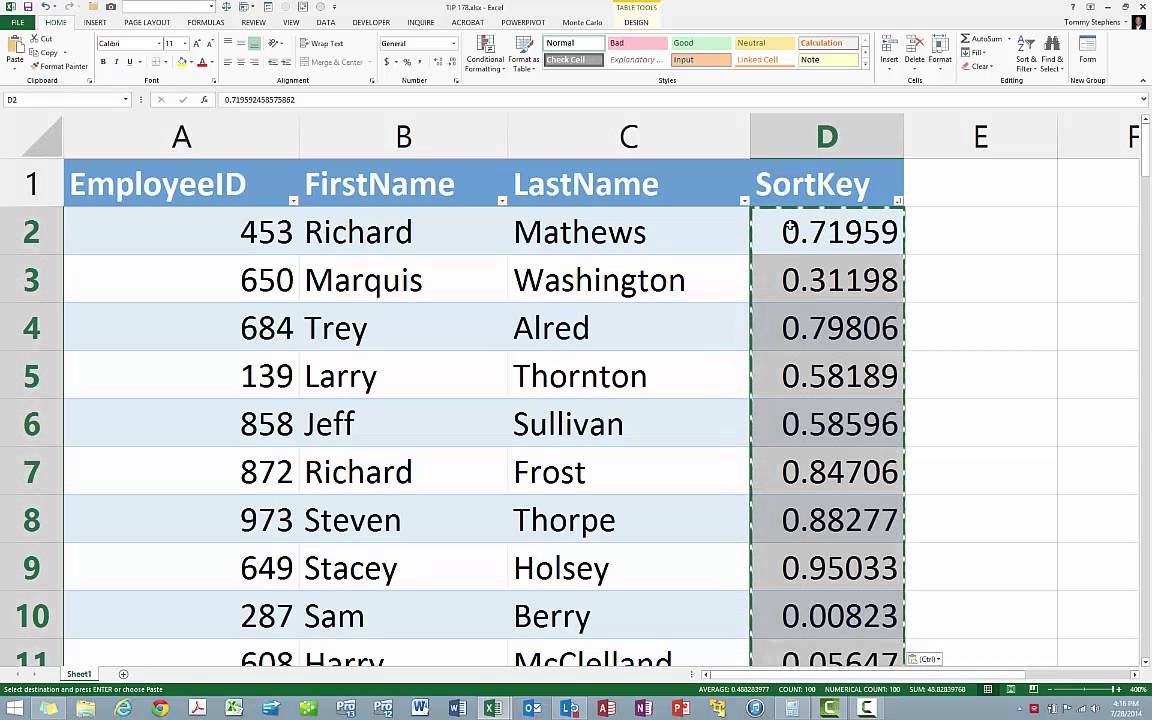
Master Excel: Sorting from High to Low Quickly

Excel is a versatile and powerful tool used by millions of professionals around the globe for data analysis, accounting, and more. One of the most frequently performed tasks in Excel is sorting data, particularly sorting from highest to lowest (descending order). This capability is essential for various reasons like understanding sales figures, tracking performance metrics, or analyzing any numerical data where a descending order provides clarity or aids decision-making. In this comprehensive guide, we'll explore how you can master sorting in Excel from high to low, enhancing your data analysis skills.
Understanding the Basics of Sorting in Excel

Before we dive into sorting data from high to low, it's crucial to understand some basic principles:
- Data Selection: Ensure you select all the relevant columns that you want to sort. Sorting without proper selection can lead to mismatched data or errors.
- Data Types: Excel can sort numbers, text, dates, and time. Knowing your data type helps in applying the correct sorting method.
- Headers: If your data includes headers, make sure they are recognized as such by Excel, or include them in your sort range to prevent them from being mixed with the data.
💡 Note: Always save your workbook before performing significant changes like sorting, to avoid data loss.
Quick Sort: The Simplest Way

The easiest way to sort data in Excel from high to low is using the Quick Sort feature:
- Select the range of cells you want to sort. If your data includes headers, make sure to include them.
- Go to the 'Data' tab on the Ribbon.
- In the 'Sort & Filter' group, click on 'Sort Largest to Smallest' or use the 'Sort Z to A' button for text data.
Excel will sort your data in descending order based on the first column of your selection.
💡 Note: Excel automatically detects headers if they are formatted differently, but it's safer to specify this in the Sort Options if you're unsure.
Using the Sort Dialog for Complex Sorting

For more complex sorting tasks where you might need to sort by multiple columns or have particular sorting conditions, Excel's Sort Dialog offers greater control:
- Select your data.
- On the 'Data' tab, click 'Sort'.
- In the 'Sort' dialog, choose the column you want to sort by from the 'Column' dropdown.
- Choose 'Descending' to sort from high to low.
- You can add more levels if sorting by multiple columns is required.
- Ensure 'My data has headers' is checked if applicable.
- Click 'OK' to apply the sort.
| Step | Description |
|---|---|
| 1 | Open the Sort Dialog |
| 2 | Select Sort Criteria |
| 3 | Set Sorting Direction |
| 4 | Handle Headers |
| 5 | Apply Sort |

💡 Note: If your data range expands or you add new rows, use the 'Sort Range' feature to include only the relevant cells in the sort operation.
Custom Sorts with Formulas

For users needing even more control over sorting, using formulas with sorting can be beneficial:
Using RANK for Sorting

- Create a rank column next to your data using the
RANK.EQfunction: - Sort your data using this rank column to achieve a high to low sorting by another column’s value.
=RANK.EQ(A2, A2:A100, 0)
💡 Note: This method allows sorting by a calculated metric not directly present in your dataset.
Using Array Formulas

With the introduction of dynamic arrays in Excel (Excel 365 and later), you can use formulas to sort data:
=SORT(A2:B10, 2, -1)
The above formula sorts a range A2:B10 based on the second column (2) in descending order (-1).
Learning to sort data from high to low in Excel is an essential skill for anyone dealing with numbers, reports, or any form of data analysis. This skill not only aids in quickly identifying top performers, highest values, or trends but also in making sense of data in a way that informs better decision-making. By mastering Excel's sorting capabilities through the quick sort feature, Sort Dialog, or even custom formulas, you ensure your data works for you, not the other way around. Remember, sorting can significantly change the structure of your data, so always back up your work and understand the implications of sorting on linked data or formulas.
Why is my data not sorting correctly?

+
Make sure you’ve selected all relevant columns and that your data doesn’t have mixed formats in the same column, like text with numbers. Also, ensure that headers are recognized as headers by Excel.
Can I undo a sort operation?

+
Yes, you can press Ctrl+Z (Cmd+Z on Mac) right after sorting to undo the operation. However, if you’ve made other changes or closed the workbook, you’d need a backup to revert the sort.
How do I sort by custom lists in Excel?

+
Create your custom list in Excel under File > Options > Advanced > General, then use the Sort Dialog to select your custom list for sorting.
What happens if I sort data with formulas?

+
Excel will maintain the formulas’ references during sorting, but if your data range expands, you might need to adjust formulas accordingly.
Is there a way to filter and sort simultaneously?

+
Yes, by applying a filter (Ctrl+Shift+L), you can sort filtered data. This allows you to focus on specific subsets of your data before sorting.


