Set Excel Sheet Borders with Text Wrap Easily

When working with data in Excel, presentation plays a vital role in ensuring clarity and readability. One of the ways to enhance the visual structure of your spreadsheets is by properly setting cell borders and enabling text wrap. This not only makes your data look more organized but also easier to navigate. In this post, we will guide you through the process of formatting cells with borders and enabling text wrap to improve the readability of your Excel sheets.
Understanding Cell Borders

Borders in Excel provide a visual cue separating data into distinct sections, which aids in data analysis. Here's how you can apply and customize borders:
- Select the cells: Click on the cell or range of cells where you want to apply the border.
- Open the Borders menu: Go to the Home tab, and in the Font group, click the dropdown arrow next to the Border icon.
- Choose Border Style: You can select from various border options like Outside Borders, Thick Box Border, or even draw custom borders with the Draw Border tool.
Adding Custom Borders

If you need a more specific border configuration:
- Use the Format Cells dialog by right-clicking the selected cells and choosing Format Cells.
- In the Border tab, customize your border:
- Select Outline for an outer border or Inside for internal grid lines.
- Choose from the Color and Line Style dropdowns.
- Click OK to apply.
💡 Note: You can use keyboard shortcuts like Ctrl+Shift+& to quickly apply an outline border.
Text Wrapping in Excel

Text wrapping is an essential feature when dealing with cells that contain more text than can fit in the standard cell size. Here's how you can enable text wrapping:
- Select the cells: Click on the cell or cells you want to wrap the text in.
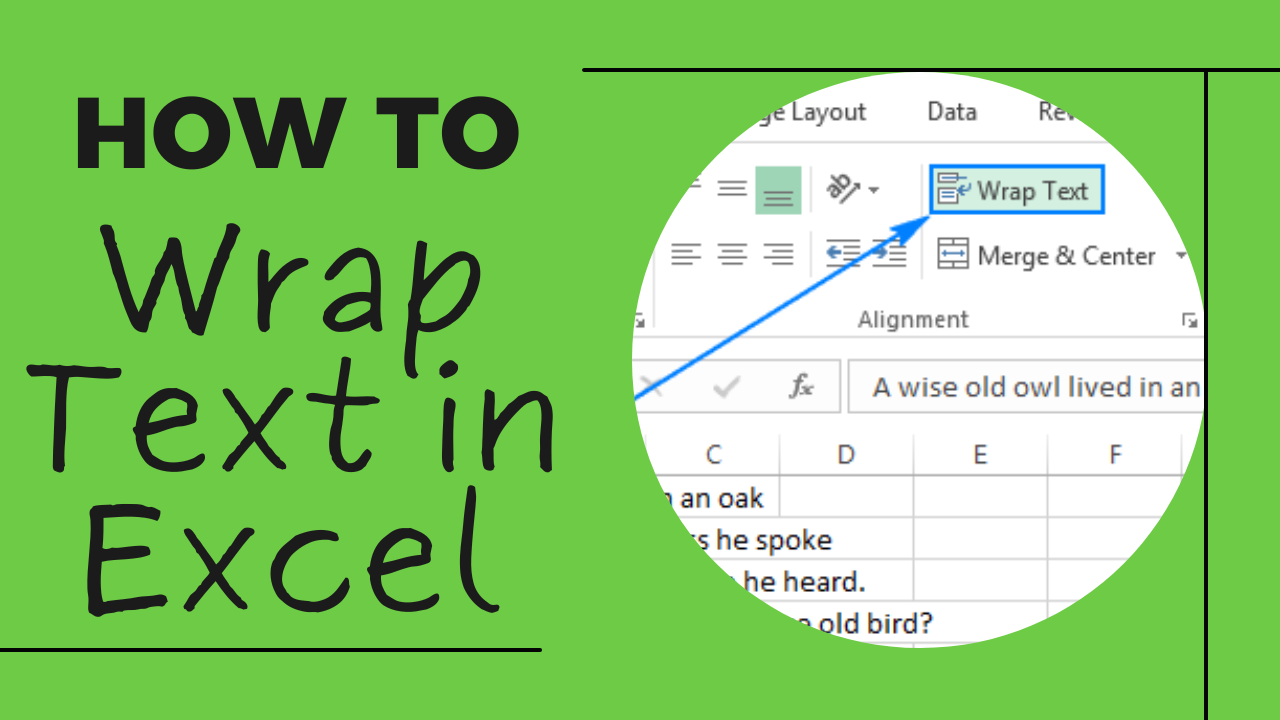
- Enable Text Wrap: On the Home tab, find the Alignment group and click on the Wrap Text button.
Adjusting Row Height Automatically

After wrapping text, you might need to adjust the row height to ensure all text is visible:
- Double-click the boundary below the row number to auto-fit the row height to the wrapped text.
- Or, manually adjust by dragging the row boundary or using the Format option in the Cells group to set a specific height.
🛑 Note: Be cautious with auto-fit as it might make rows too large if text spans multiple lines.
Combining Borders and Text Wrap

When you combine borders and text wrap, your Excel sheet becomes much more readable:
- Select cells: Choose the cells that require both features.
- Apply borders: Follow the steps above to apply borders.
- Enable text wrap: Then enable text wrapping for these cells.
Formatting Tips for Better Readability

Here are some tips for optimal use:
- Use borders to highlight important sections or to distinguish headers from data.
- Enable text wrap for titles or any cells with lengthy text.
- Consider using lighter line styles for inside borders to avoid overwhelming the spreadsheet.
Advanced Formatting Options

Excel provides additional formatting tools for more sophisticated presentations:
Conditional Formatting

Use conditional formatting to apply borders or text wrap based on specific conditions:
- Select the cells, go to Home tab, click Conditional Formatting, choose New Rule.
- Create a rule where you can format cells with borders or text wrapping based on cell values or formulas.
Table Styles

Excel Tables provide pre-defined styles that can include border settings:
- Select your data range and press Ctrl+T to create a table.
- Go to the Design tab and choose a style with borders or customize one.
| Feature | Description | Benefit |
|---|---|---|
| Borders | Separate data visually | Improves clarity and helps to navigate the spreadsheet. |
| Text Wrap | Displays long text within a cell | Allows for better readability without altering the cell size manually. |

The integration of borders and text wrap in Excel not only enhances the appearance of your data but also organizes it in a way that facilitates understanding. By setting appropriate borders, you create a structured view of your data, while text wrapping ensures that all information is visible and legible. Remember that these features are not just about aesthetics; they play a crucial role in making your spreadsheets user-friendly for analysis and data interpretation.
Can I apply borders to multiple cells at once?

+
Yes, you can select a range of cells or even entire columns or rows and apply borders to all selected cells at the same time using the Border options in the Home tab.
Does text wrapping automatically adjust row height?

+
Yes, after enabling text wrap, you can double-click the row boundary to auto-fit the row height to display all wrapped text.
Are there any shortcuts to apply borders in Excel?

+
Yes, there are several shortcuts: - Ctrl+Shift+& for an outside border. - Ctrl+Shift+_ (underscore) to remove all borders.