5 Ways to Manage Sheets in Excel Worksheets

In the world of data management and analysis, Microsoft Excel stands as a beacon of efficiency and versatility. Whether you're a business analyst, a student, or a hobbyist dealing with numbers, understanding how to manage sheets within Excel worksheets can significantly enhance your productivity. In this long-form blog post, we're going to explore five key methods to manage sheets in Excel effectively. From basic reorganization to advanced automation, these techniques will equip you with the skills to make the most out of Excel's powerful functionalities.
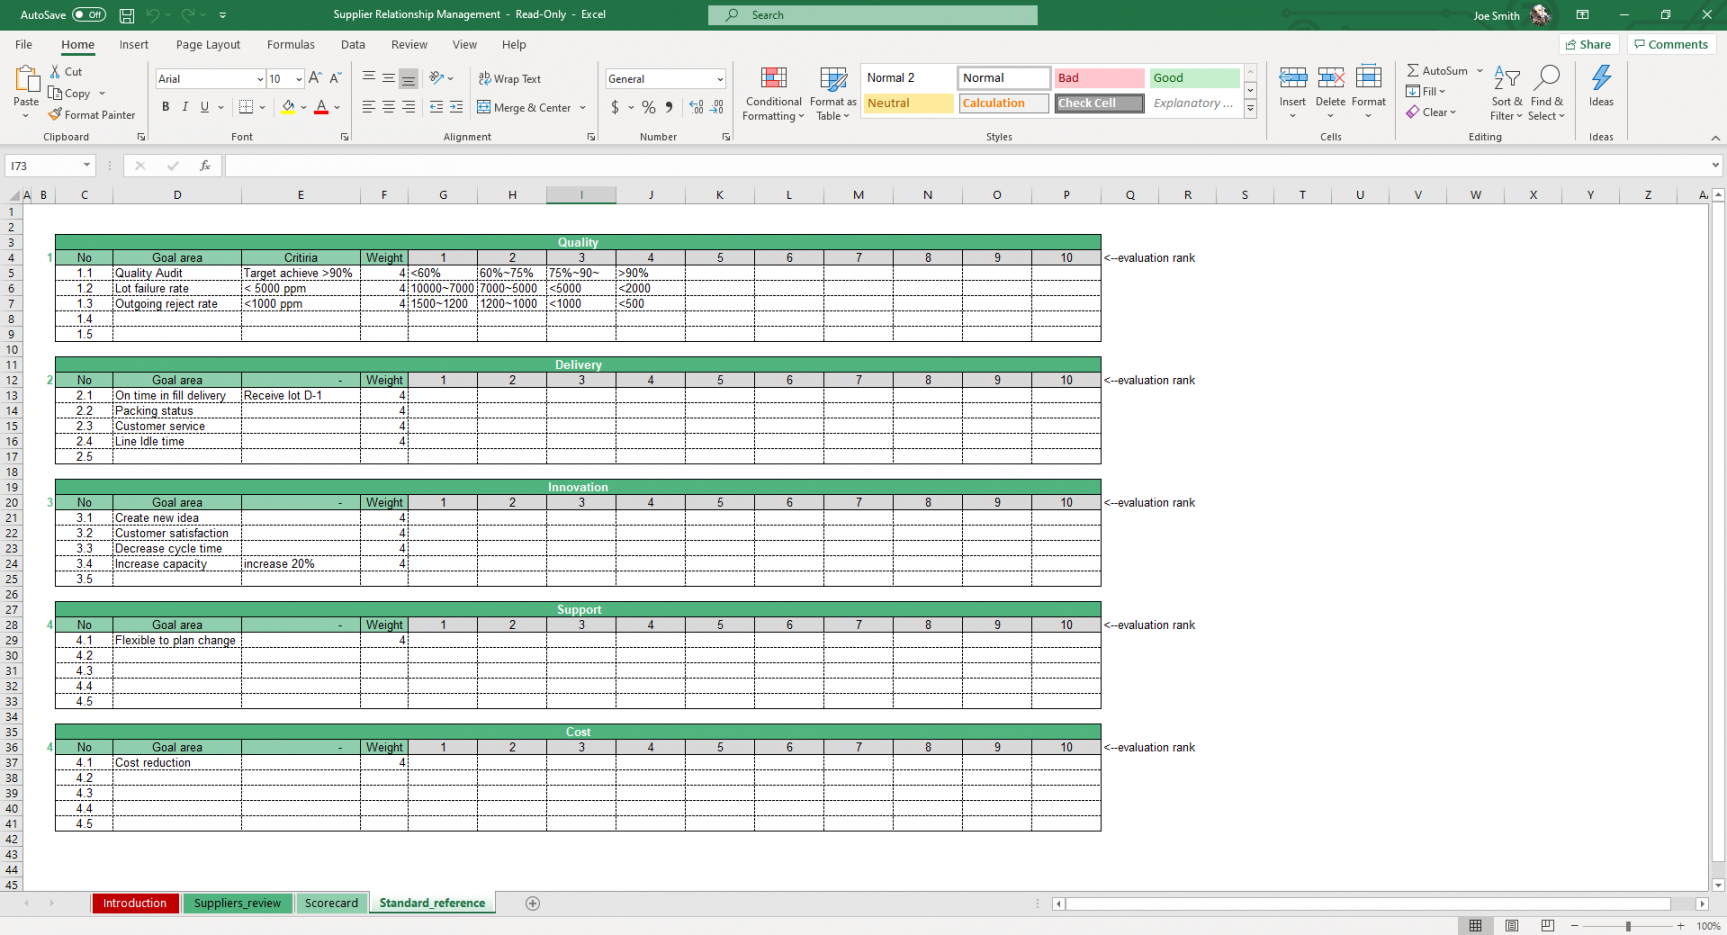
1. Rename and Color Code Sheets

Excel allows you to rename sheets to something more meaningful than the default "Sheet1," "Sheet2," etc. Here's how to do it:
- Double-click on the sheet tab you wish to rename. A text box will appear, allowing you to type in a new name.
- Right-click the sheet tab, choose "Rename" from the context menu, and then type the new name.
Additionally, you can color code your sheets for better visual management:
- Right-click on the sheet tab, select "Tab Color," and then pick a color from the palette.
- Use the color-coding option available in the "Home" tab under "Format" in the "Cells" group.
This simple practice not only makes navigation easier but also helps in quickly identifying the purpose or category of data within each sheet.
Notes on Sheet Renaming

💡 Note: Sheet names should not exceed 31 characters. Avoid using special characters that might be interpreted by Excel (like colon :, forward slash /, backslash \, question mark ?).
2. Group and Ungroup Sheets

When working with similar datasets across multiple sheets, Excel's grouping feature can streamline your workflow:
- To group sheets: Click the first sheet tab, hold down the SHIFT key, and click the last sheet tab. All sheets in between will also be selected.
- To ungroup sheets: Simply right-click any of the selected tabs and choose "Ungroup Sheets," or click on any unselected sheet to break the group.
Once grouped, any action you perform on one sheet will simultaneously affect all grouped sheets, from formatting cells to entering data. This is particularly useful when you need to apply the same changes across multiple sheets.
Notes on Sheet Grouping

💡 Note: Be cautious when editing grouped sheets; changes are applied to all selected sheets. Ensure you ungroup before making changes to individual sheets.
3. Reorder and Move Sheets

Keeping your workbook organized can be as simple as rearranging sheets:
- Click and drag the sheet tab to the desired position. A black triangle will show you where the sheet will be placed.
- Use the "Move or Copy" dialog box from the right-click context menu for more precise control or to move sheets between workbooks.
This functionality makes it easy to structure your data in a logical order, such as by date, by product, or by project phase.
4. Hide and Unhide Sheets

Sometimes, you might not want certain sheets visible all the time. Here's how to manage visibility:
- To hide a sheet: Right-click the sheet tab and select "Hide."
- To unhide a sheet: Right-click any sheet tab, choose "Unhide," and then select the sheet from the list to reveal it.
Hiding sheets can help declutter your workspace when presenting data or when working with sensitive information that doesn't need to be readily visible.
Notes on Hiding Sheets

💡 Note: While hiding sheets can simplify your workbook’s view, remember that hidden sheets can still be seen by someone knowledgeable about Excel, so it’s not a security feature.
5. Automate Sheet Management with Macros

For those who frequently manage large workbooks, automating tasks can save significant time. Here's how to create macros for sheet management:
- Open the Visual Basic for Applications (VBA) editor by pressing Alt+F11.
- Insert a new module by selecting "Insert" > "Module."
- Write VBA code to automate tasks like renaming, creating, or deleting sheets.
Here's an example of a simple VBA macro to rename sheets:
Sub RenameSheets()
    Dim ws As Worksheet
    Dim i As Integer
    i = 1
    For Each ws In ThisWorkbook.Worksheets
        ws.Name = "Sheet" & i
        i = i + 1
    Next ws
End Sub
After writing the macro, you can run it by pressing F5 or assigning it to a button or shortcut key.
Notes on Macros

💡 Note: Macros are powerful but can be dangerous if run on unfamiliar workbooks. Always ensure macros come from a trusted source.
As we wrap up our exploration of managing sheets in Excel, it’s clear that mastering these techniques can transform the way you work with data. Renaming and color-coding sheets provide a visual and logical organization, grouping and ungrouping streamline repetitive tasks, reordering and moving sheets helps keep your data in a meaningful sequence, and hiding sheets declutters your view while macros bring automation to otherwise manual processes. These methods, when used effectively, not only boost efficiency but also reduce the chances of errors, making your Excel experience smoother and more productive.
To enhance your Excel proficiency, here are answers to some common questions:
How many sheets can I have in an Excel workbook?

+
The maximum number of sheets in an Excel workbook depends on system resources, but Excel supports up to 255 sheets by default.
Can I sort my sheets?

+
Directly, Excel does not offer a sorting function for sheets. However, you can manually reorder them or write a VBA macro to automate sorting based on sheet names or tab colors.
What are the limitations when using macros for sheet management?

+
Macros can be limited by worksheet limits, security settings in Excel (which might block or warn about macro usage), and the complexity of the task you’re trying to automate. They’re also not always user-friendly for those unfamiliar with VBA.