Print Excel Sheets Easily: Step-by-Step Guide

Excel, a cornerstone tool in data management and analysis, is widely used for various purposes, from simple ledger sheets to complex financial models. Despite its user-friendly nature, one might find the process of printing sheets a bit intricate, especially if you're aiming for a specific layout or printing only selected data. In this comprehensive guide, we'll walk you through the steps to print Excel sheets easily, ensuring your printouts are precisely how you envisioned them.
Pre-Print Preparation

Before you dive into printing, ensuring your Excel sheet is set up for optimal printing will save you time and paper. Here are some preparatory steps:
- Verify Your Data: Make sure all the data you need is correctly entered, with no accidental duplications or errors.
- Adjust Formatting: Use Excel’s formatting options to make your data stand out. Adjust font size, color, and style to enhance readability.
- Freeze Panes: If your data spans multiple pages, freeze the header row or columns to ensure they appear on every printed page.
- Page Layout: Switch to the Page Layout view to see how your sheet will look when printed.

Setting Up the Print Area

Not all data in your Excel sheet might be needed for printing. Here’s how to define what you want to print:
- Select the cells you want to print. You can do this by clicking and dragging or by holding down the Ctrl key while clicking on individual cells.
- Go to the ‘Page Layout’ tab.
- Click on ‘Print Area’ in the ‘Page Setup’ group, then choose ‘Set Print Area’.
Page Setup Options

Excel provides numerous options to tailor your printout:
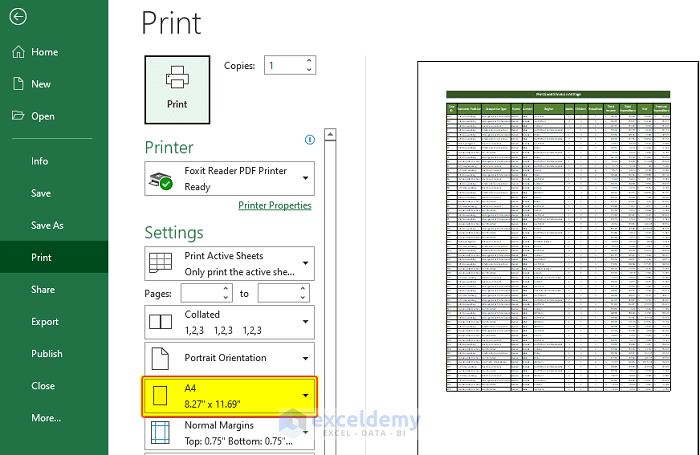
- Orientation: Choose portrait or landscape mode for your printout. Landscape is often better for wide spreadsheets.
- Page Size: Select A4, Letter, or any other size based on your requirements.
- Margins: Adjust the margins to fit more data on each page or to leave more white space.
- Scaling: Scale your printout to fit more or less data on the page. ‘Fit to Sheet’ is particularly useful for ensuring everything fits on one page.
| Option | Description |
|---|---|
| Orientation | Adjusts sheet layout for better data presentation |
| Page Size | Defines the physical size of the paper |
| Margins | Controls white space around data |
| Scaling | Adjusts the size of the printout |

Print Preview and Adjustments

Before hitting the print button, review your work in the Print Preview:
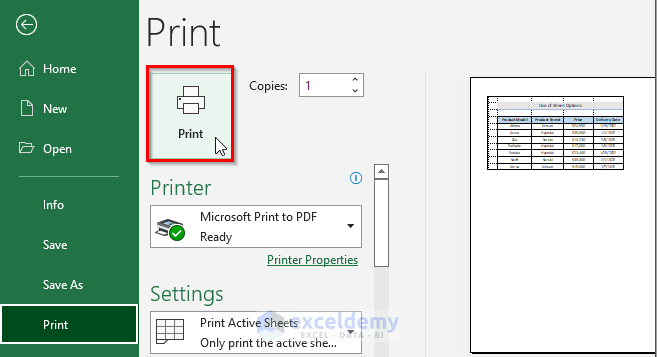
- Access the Print Preview through File > Print, or use the Quick Access Toolbar.
- Check if all data is visible, headers are on every page, and layout is as desired.
- Adjust any settings if necessary:
- Page Breaks: Ensure manual or automatic page breaks are set to avoid cutting off data.
- Header/Footer: Add or modify headers and footers to provide necessary information on each page.
- Gridlines/Headings: Decide whether to print these elements to clarify data structure.

💡 Note: Use 'Print Titles' to repeat row or column labels on each printed page for a cohesive look.
Final Steps to Printing

Once everything looks perfect:
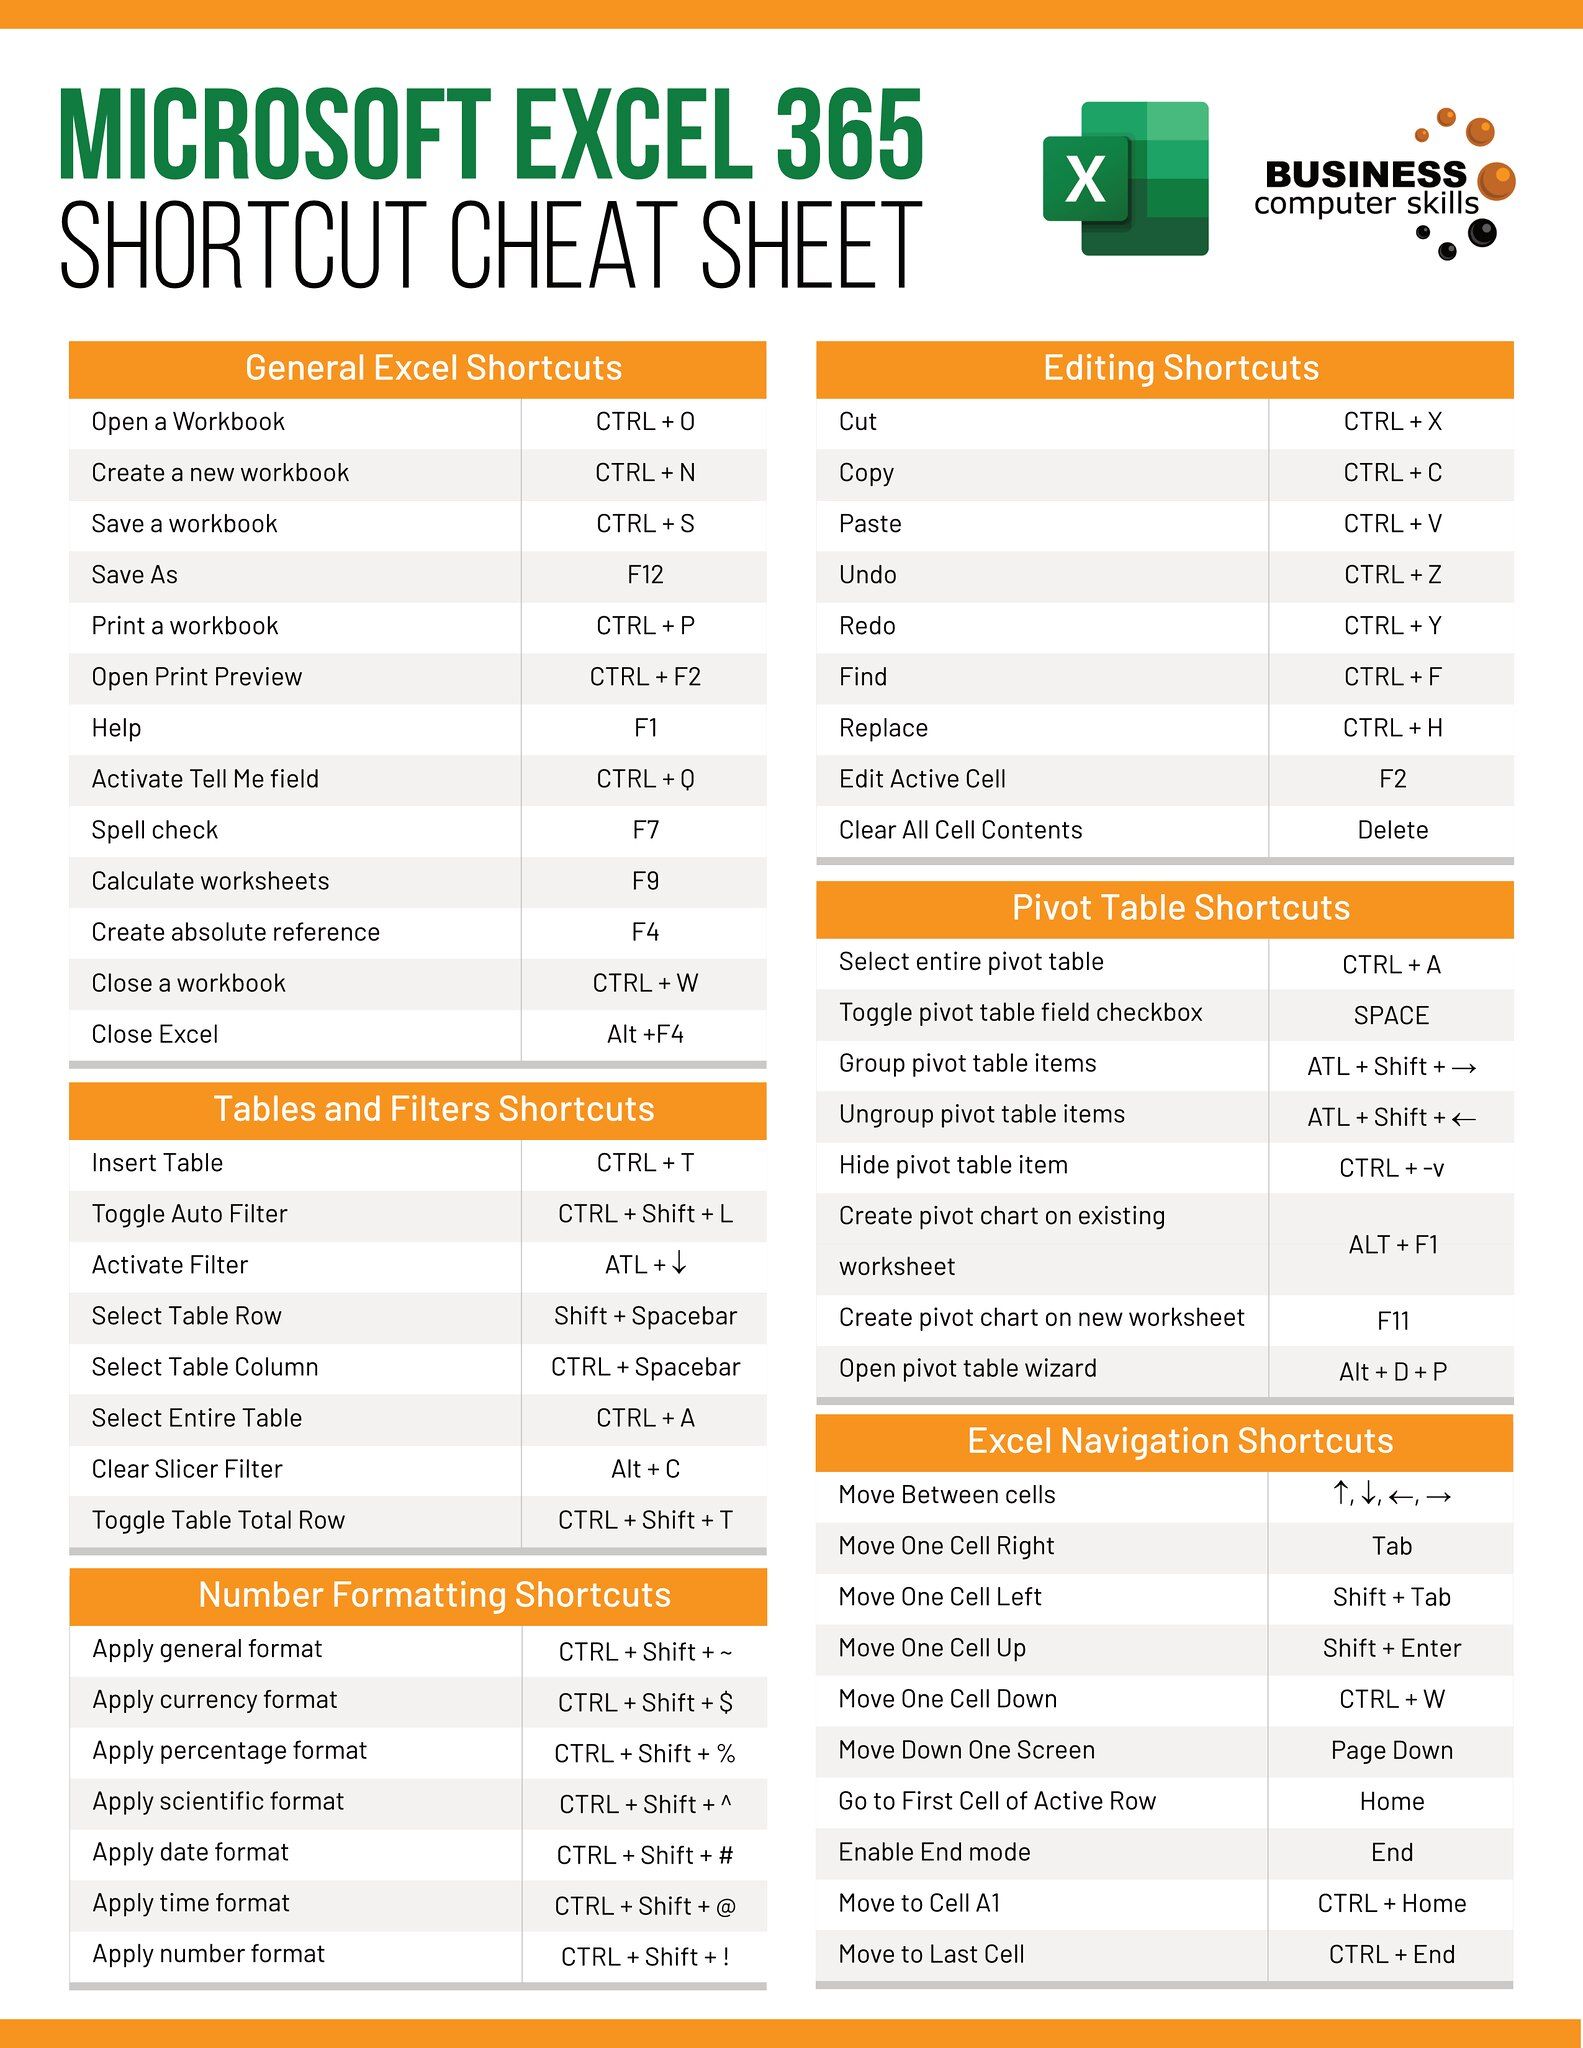
- Press ‘Print’ from the Print Preview window.
- Select your printer from the list provided.
- Adjust the number of copies and select printing preferences if necessary.
- Click ‘Print’ to send the document to the printer.
With your Excel sheets now prepared and formatted for printing, you've mastered a crucial aspect of Excel's functionality. Whether for business reports, financial analyses, or personal data tracking, the ability to print your sheets with precision is key. Remember to consider different print setups for different documents, as each use case might require unique settings. By following this step-by-step guide, you're now equipped to handle any printing task Excel might throw your way. Practice these techniques regularly to streamline your workflow, ensuring your spreadsheets always look polished when printed.
What should I do if I want to print specific cells in my Excel sheet?

+
Select the cells you want to print, then go to ‘Page Layout’, choose ‘Print Area’, and select ‘Set Print Area’.
How can I ensure my spreadsheet fits onto a single printed page?

+
Use the ‘Fit to Sheet’ option under ‘Page Setup’ in the ‘Scaling’ section to ensure all data fits onto one page.
Can I add headers and footers to my printed Excel sheets?

+
Yes, you can add headers and footers by going to the ‘Insert’ tab, selecting ‘Header & Footer’, and customizing as needed.