5 Ways to Print Excel Sheets with Lines

When you're managing data with Microsoft Excel, you'll often need to print your spreadsheets to share or present your findings. However, printing can sometimes come with its challenges, especially when you want to ensure that the gridlines are visible for better readability. Here are five ways to print your Excel sheets with lines, ensuring your data is presented clearly and professionally.
1. Turn On Gridlines for Printing

The most straightforward way to print gridlines in Excel is by activating this option in the settings:
- Open your Excel workbook.
- Go to the “Page Layout” tab.
- Under “Sheet Options”, check the box next to “Gridlines” in the “Print” section.
This method will ensure that the gridlines you see on your screen are printed.
🔹 Note: This setting is not active by default. Remember to enable it for each sheet you want to print with lines.
2. Use Borders Instead of Gridlines

If you need more control over which lines are printed, you might opt for borders:
- Select the area you want to add borders to.
- Go to the “Home” tab.
- Click on the “Borders” button and choose “All Borders”.
Borders give you the flexibility to highlight specific cells or sections of your data.
3. Modify Page Setup for Print Area

Sometimes, you might want to print only a specific part of your spreadsheet. Here’s how to set up and print with lines:
- Select the cells you want to print.
- Under “Page Layout”, click “Print Area” and then “Set Print Area”.
- Ensure gridlines are enabled in the “Print” section under “Sheet Options”.
This method ensures that only the selected area prints with gridlines.
🔹 Note: You can clear the print area by going back to “Page Layout”, clicking “Print Area”, and then “Clear Print Area”.
4. Print Preview and Adjustments

Before hitting that print button, make sure everything looks correct:
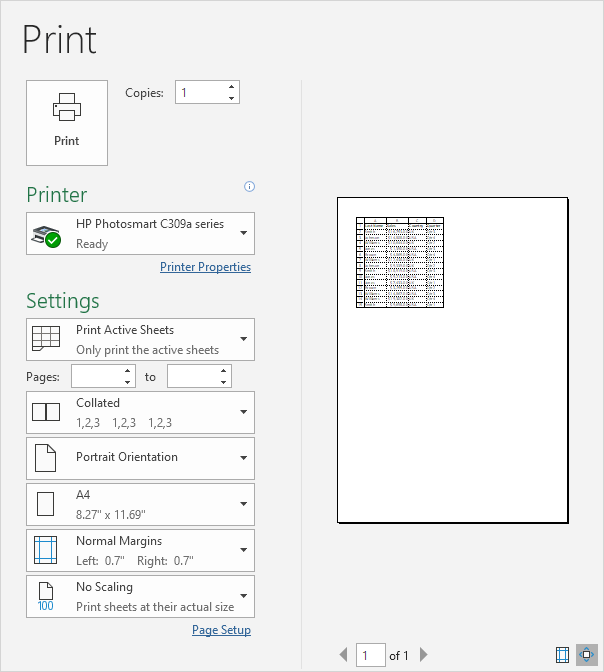
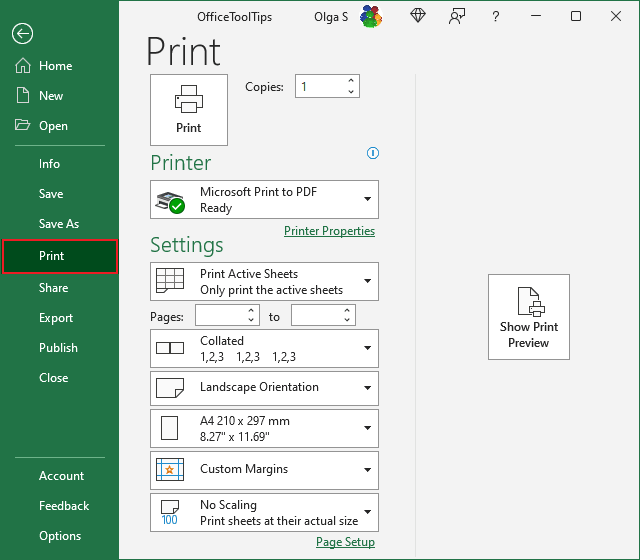
- Go to “File” > “Print” or use the print preview button.
- Check if gridlines are shown in the preview.
- If not, adjust the settings as described above.
Using print preview helps avoid wasted paper and time by ensuring settings are correct before printing.
5. Conditional Formatting for Advanced Line Control

If you need to highlight certain lines based on data conditions, use conditional formatting:
- Select your data range.
- Go to “Home” > “Conditional Formatting”.
- Choose “New Rule” and set up your conditions (e.g., apply borders to cells with specific values).
This approach allows for dynamic gridline printing, which can be particularly useful for data analysis.
In summary, whether you're a beginner or a seasoned Excel user, these five methods offer different approaches to ensure your spreadsheets are printed with lines, enhancing clarity and professionalism in your documents. Each method has its use case, from simple printing to more advanced data visualization. By mastering these techniques, you can present your data in a way that is both clear and visually appealing.
Can I print multiple sheets with lines?

+
Yes, you can print multiple sheets with lines by selecting the option “Print Entire Workbook” in the print settings. Make sure each sheet has gridlines enabled.
What if the lines are faint when printed?

+
Check your printer settings for color or line style options. Sometimes, adjusting these can make the lines clearer. Also, ensure your printer is in good working condition.
How do I print only certain lines?

+
Use borders instead of gridlines or use conditional formatting to apply borders based on specific conditions. This gives you control over which lines are printed.
Can I make gridlines thicker for printing?

+
Gridlines cannot be made thicker directly. Instead, use borders and customize their thickness from the “Format Cells” dialog.
Do these methods work for Excel for Mac?

+
Yes, the methods are largely similar for Excel for Mac, though some settings might be found under different tabs or have slightly different names.