5 Easy Steps to Create a Sign-In Sheet in Excel

Step 1: Start a New Workbook in Excel
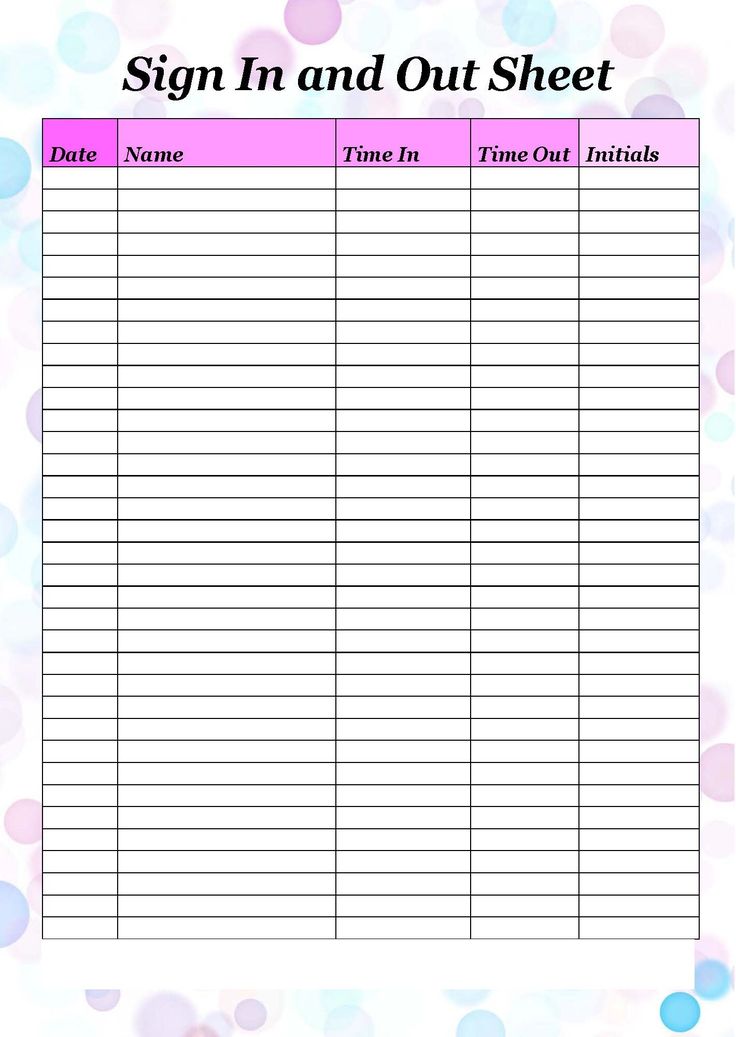
To create a sign-in sheet in Excel, the first step is to open Microsoft Excel and start with a new workbook. You can do this by:
- Opening Excel from your applications list or via a desktop shortcut.
- Selecting “Blank Workbook” from the options to start fresh.
This ensures you begin with a clean slate, giving you the freedom to design your sign-in sheet without any pre-existing data.
Step 2: Define the Layout of Your Sign-In Sheet
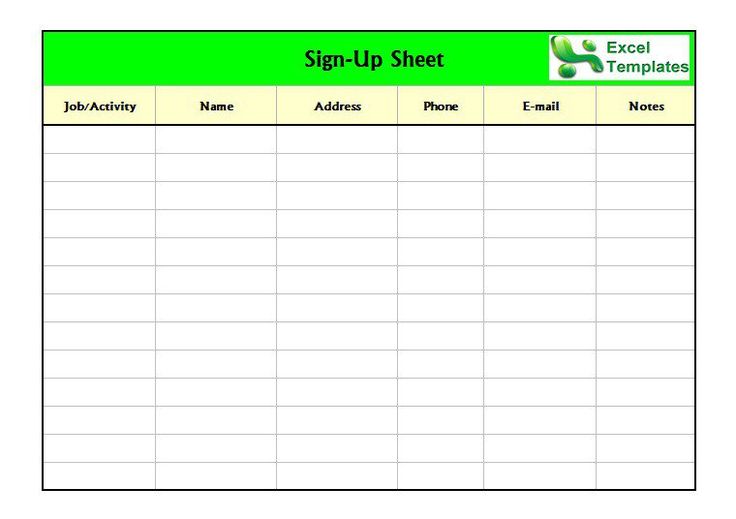
Once your workbook is open, it’s time to plan the layout:
- Column Titles: Decide what information you want to capture. Common headers include Date, Name, Time In, Time Out, Signature, etc.
- Formatting: Choose an appealing font and color scheme. Keep it professional but easy to read.
Here’s a basic layout you might consider:
| Date | Name | Time In | Time Out | Signature |
|---|---|---|---|---|
| [Date Input] | [Name Input] | [Time In Input] | [Time Out Input] | [Signature Input] |
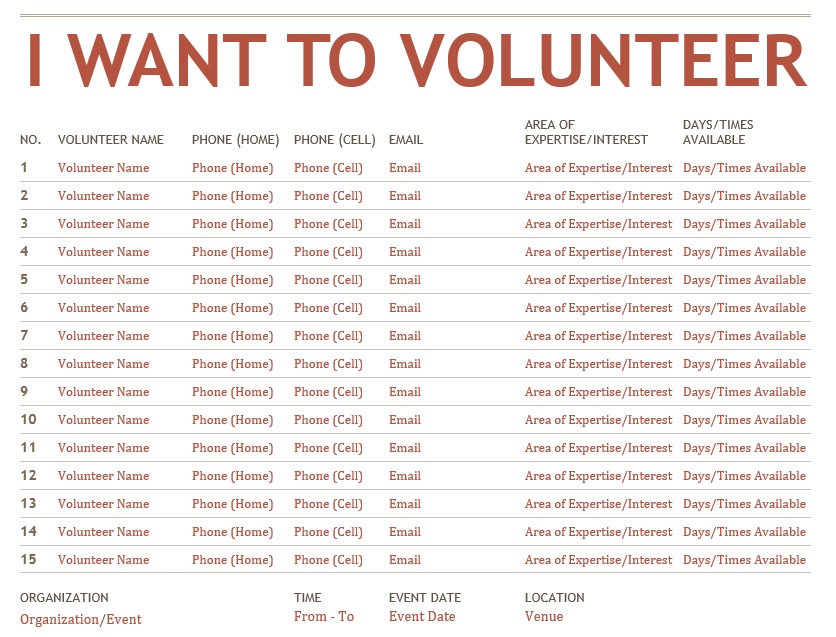
✅ Note: Merge cells for the title if you want to make it stand out more.
Step 3: Format Your Sheet for Usability

After defining your layout, enhance the functionality and appearance of your sign-in sheet:
- Borders: Use borders to clearly define each section or cell.
- Conditional Formatting: Set up conditional formatting rules to automatically highlight late arrivals or departures.
- Data Validation: Implement data validation rules for the Time In and Time Out columns to ensure correct input format (e.g., 08:00).
This not only makes the sheet more professional but also more user-friendly.
Step 4: Add Formulas and Calculations
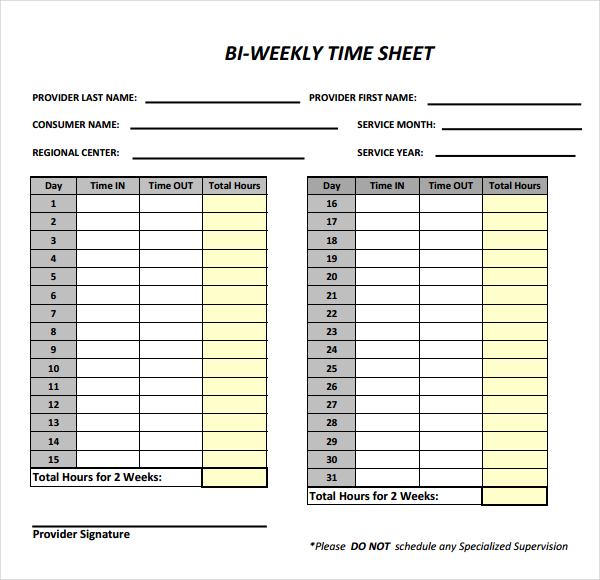
To make your sign-in sheet truly dynamic, incorporate some useful Excel functions:
- Date: Use the
=TODAY()function to auto-populate the date. - Time Difference: Calculate the duration of stay using
=C2-B2(assuming “Time In” is in B2 and “Time Out” in C2). - Auto-Fill: Use Excel’s drag-and-drop feature to auto-fill times for repetitive entries.
Adding these formulas can automate many aspects of the sign-in process, reducing manual input errors.
Step 5: Save and Share Your Sign-In Sheet

With your sign-in sheet completed, it’s crucial to save your work:
- Save the workbook in a location you’ll remember, with a descriptive name like “Office_Sign_In_Sheet_2023.xlsx”.
- Share the file by emailing or uploading it to a shared drive for others to access and use.
💡 Note: Consider using Excel Online or OneDrive for real-time collaboration.
The journey to create a functional sign-in sheet in Excel is straightforward yet flexible. From planning the layout to incorporating helpful formulas, Excel provides tools to make tracking attendance or sign-ins both simple and effective. This process not only streamlines your administrative tasks but also presents a professional interface for your organization or event. Whether for a small meeting or daily office use, customizing your sign-in sheet ensures you gather exactly the information you need, in a format that's both visually appealing and practical.
How do I ensure the sign-in sheet is tamper-proof?

+
To make the sign-in sheet tamper-proof, you can protect the worksheet with a password. Go to “Review” > “Protect Sheet” and set a password that only authorized individuals know. This will prevent unauthorized editing.
Can I add photos to the sign-in sheet for employee verification?

+
Yes, you can insert photos into Excel. Add a new column for photos, and you can either link to an image file or copy-paste the image directly into the cell.
What if I need to accommodate more than 15 people on the sign-in sheet?
+
Extend the number of rows in your table to accommodate more sign-ins. Consider creating a new worksheet for each day or week if you need to manage a large number of entries.