5 Easy Steps to Alphabetize Excel Sheets

Have you ever found yourself staring at an Excel spreadsheet, overwhelmed by the seemingly chaotic order of the data? Whether you're a small business owner managing inventory, a student compiling research data, or an office worker organizing your company's records, knowing how to efficiently alphabetize in Excel can save you both time and headache. Here, we'll walk through five straightforward steps to bring order to your Excel sheets, enhancing both functionality and readability of your data.
Step 1: Select Your Data Range

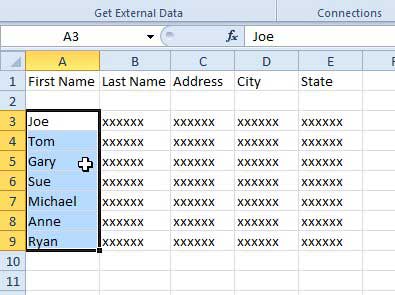
The first step in organizing your Excel sheet is to select the range of data you want to alphabetize. Here’s how:
- Click on the top-left cell of your data range.
- Drag or hold the Shift key while you click the bottom-right cell to include all data you want to sort.
If your data includes headers, make sure to include them in your selection, but keep in mind that Excel will sort them too unless you specify otherwise.
Step 2: Access the Sort Function

Now that your data is selected, access Excel’s sorting features:
- Navigate to the Home tab.
- Find and click the Sort & Filter button in the Editing group.
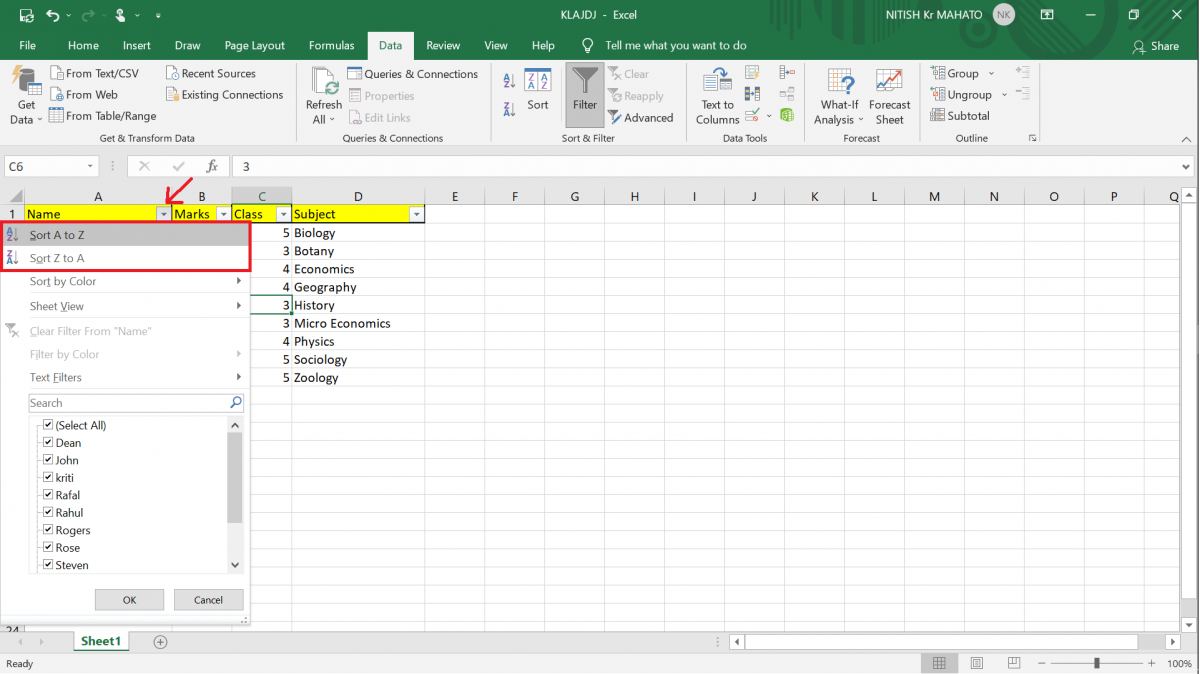
- Choose either Sort A to Z or Sort Z to A for a quick alphabetization, or click Custom Sort… for more options.
Step 3: Sort by Column

If you’ve selected the custom sort option, you’ll be prompted to specify which column to sort by:
- Choose the column containing the data you wish to sort from the Column dropdown menu.
- Select A to Z or Z to A to decide the sort order.
- If you want to sort by more than one column, add another level by clicking Add Level.
This step ensures that your entire dataset moves together, maintaining the integrity of each row’s data.
Step 4: Handle Headers

Headers can throw a wrench in the sorting process if not handled correctly:
- Check the My data has headers option in the Sort dialog box.
- Excel will then skip sorting the header row and use it as a label for your sorted columns.
🧠 Note: If your headers are automatically included in the data range, you might need to adjust your selection or specify headers in the custom sort dialog.
Step 5: Verify and Finalize

After sorting, verify your data to ensure everything is in its proper place:
- Review the first few and last few rows to confirm the alphabetical order.
- Check that all rows have moved together to maintain data relationships.
- If you spot any issues, you can undo the sort by pressing Ctrl+Z.
With these steps, your Excel sheet is now neatly alphabetized, making it easier to navigate, analyze, and understand your data. Whether for personal use, business management, or academic research, mastering data sorting in Excel is a fundamental skill that can streamline your data handling processes.
The organization of your data doesn't just end with alphabetical sorting; understanding how to manage and manipulate your Excel sheets effectively can transform the way you work with data, making every task more efficient.
What if I need to sort data across multiple sheets?

+
You would need to sort each sheet individually. Excel does not have a built-in feature to sort multiple sheets at once, but you can use macros or manually sort each sheet.
Can I sort by multiple columns at once?

+
Yes, when you use the Custom Sort option, you can add levels to sort by multiple columns sequentially.
Will sorting my Excel sheet affect formulas?

+
Sorts will not typically disrupt formulas directly, but if formulas reference cells by their absolute addresses (like A1), and those cells move due to sorting, you might encounter issues. Always use relative references or check formula functionality post-sort.
What if my data contains numbers and letters?

+
Excel sorts numbers before letters, unless specified otherwise. If you need numbers at the end, you can add a space before them or use a custom list for sorting.