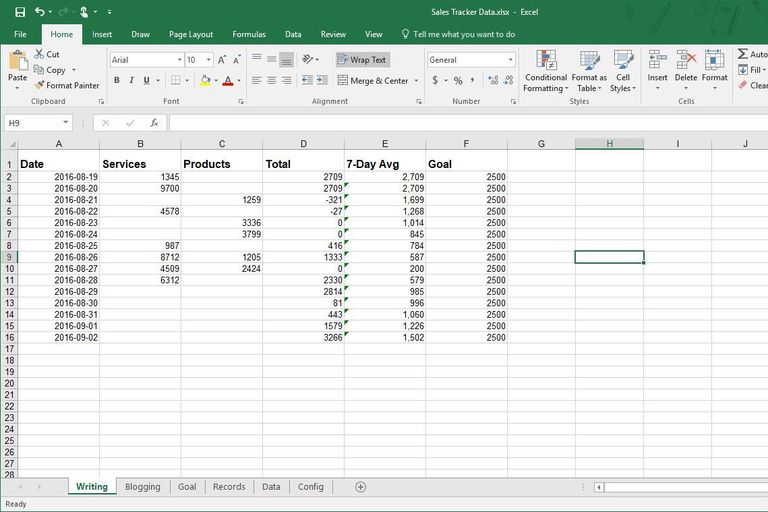
5 Easy Steps to Create a Documentation Sheet in Excel

Creating a documentation sheet in Excel is an invaluable skill for managing data effectively. Whether you're compiling data for a project, organizing your monthly budget, or managing a small business's inventory, Excel's robust features can help streamline these tasks. Here's how you can create a well-organized documentation sheet using Microsoft Excel:
Step 1: Open Excel and Set Up Your Workbook


- Open Microsoft Excel: Start by launching Excel from your computer.
- Create a New Workbook: If you’re starting fresh, click on ‘File’ then ‘New Workbook’.
- Name Your Sheet: Right-click the tab at the bottom of your workbook and rename it to reflect its purpose, like ‘Project_Doc’.
Step 2: Set Up Your Documentation Framework

- Column Headers: Decide what categories of data you’ll be documenting. Common headers might include ‘Date’, ‘Description’, ‘Category’, ‘Amount’, ‘Notes’.
- Format Headers: Make headers bold, use background colors, and adjust text alignment for clarity.
Step 3: Enter Your Data

- Data Entry: Begin entering your data under the respective headers. Use appropriate data formats for dates, numbers, and text.
- Validation: Use Excel’s data validation to ensure correct data entry. For example, set up dropdown lists for the ‘Category’ column.
Step 4: Enhance with Excel Features

- Formulas: Apply formulas to automatically calculate totals, averages, or other metrics. Use functions like SUM(), AVERAGE(), COUNT() as needed.
- Conditional Formatting: This feature allows cells to change appearance based on their values, helping to highlight important data points.
Step 5: Final Touches and Documentation

- Charts and Graphs: If applicable, add visual representations like charts or graphs to make data interpretation easier.
- Freeze Panes: Freezing rows and columns can keep headers or key columns visible as you scroll.
- Protection: Protect your worksheet or workbook to prevent unauthorized changes by going to the ‘Review’ tab and selecting ‘Protect Sheet’ or ‘Protect Workbook’.
👉 Note: Always save your Excel file periodically to avoid losing data due to unexpected software crashes or power outages.
To wrap things up, a well-structured documentation sheet in Excel not only organizes your data but also makes it easier for you or others to understand and analyze. By following these steps, you can leverage Excel's features to create a dynamic, user-friendly, and secure document that serves your specific needs. Effective documentation in Excel enhances productivity by reducing the time spent looking for information, ensures accuracy in data handling, and facilitates better decision-making.
What is the best way to protect my Excel documentation?

+
Protect your Excel sheets by using the ‘Protect Sheet’ or ‘Protect Workbook’ options under the ‘Review’ tab. Set a strong password to ensure data integrity.
Can I automate data entry in Excel?

+
Yes, you can use macros or VBA scripting to automate repetitive data entry tasks. Additionally, using data validation can help streamline manual input processes.
How often should I save my Excel document?

+
Save your document frequently, especially after major changes or additions. Consider enabling auto-recovery and setting a short interval for automatic saves in Excel’s options.