Effortlessly Convert Excel Sheets into Mailing Labels Guide
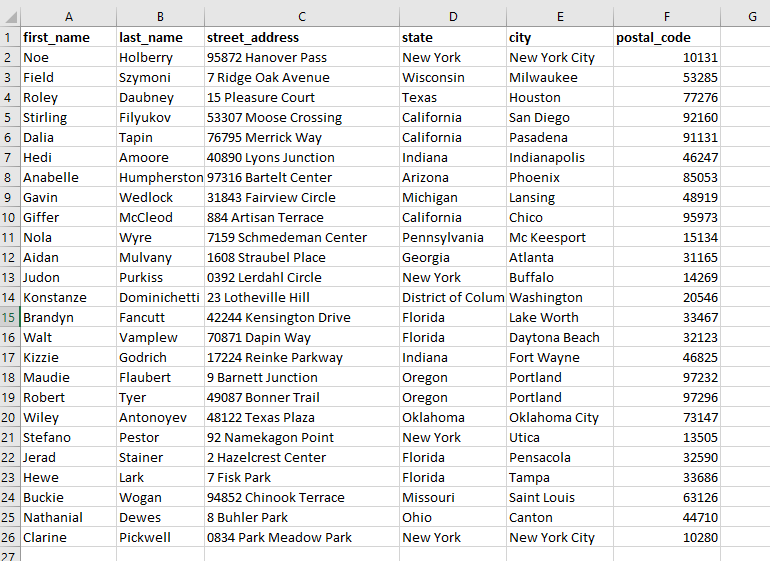
In the age of digital transformation, the ability to convert Excel spreadsheets into mailing labels remains an essential task for many professionals. Whether you're managing customer addresses, employee contact details, or inventory labels, the process should be as seamless and efficient as possible. In this comprehensive guide, we will walk you through the steps to transform your Excel data into neatly formatted mailing labels, ensuring accuracy and saving you precious time.
The Importance of Excel for Mailing Labels

Before we dive into the specifics of converting Excel data into labels, let’s explore why Excel is such a pivotal tool for this task:
- Data Management: Excel allows for easy sorting, filtering, and organization of data, making it an ideal platform for storing label information.
- Flexibility: The spreadsheet format is highly flexible, enabling you to tailor the data to fit any label size or format required.
- Automation: With Excel, you can automate repetitive tasks, reducing the chance of errors and speeding up your workflow.

Setting Up Your Excel Spreadsheet

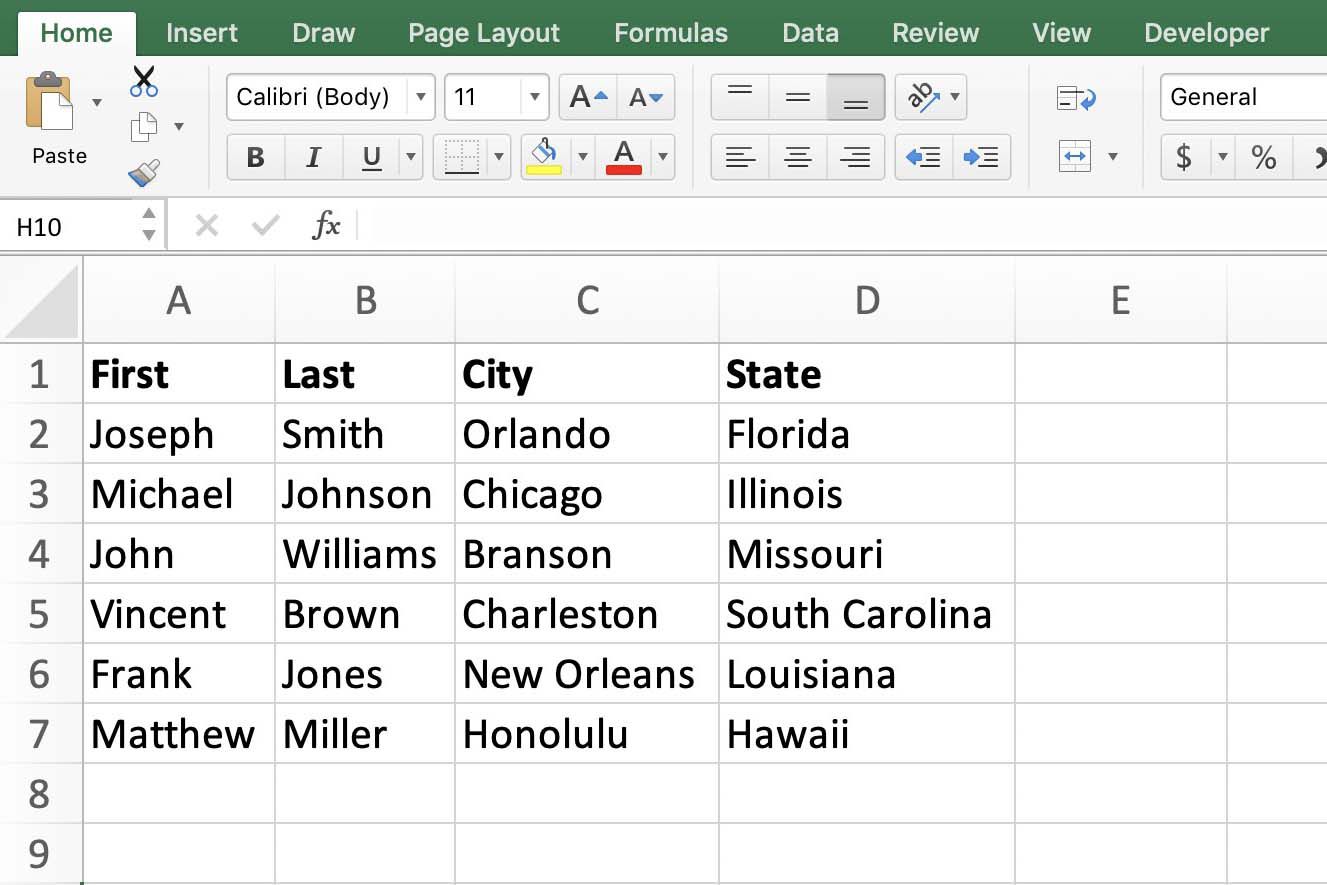
To ensure a smooth conversion process, your Excel spreadsheet must be formatted correctly. Here’s what you need to do:
- Ensure consistency in column headers. Each column should represent a field like First Name, Last Name, Address, City, etc.
- Remove any duplicate or blank rows that might interfere with the label generation process.
- Check for data accuracy, as errors in the Excel sheet will transfer to your labels.
Keep in mind that mail-merge friendly software like Microsoft Word or Avery Design & Print works best with well-organized Excel data.
Converting Excel Data to Labels
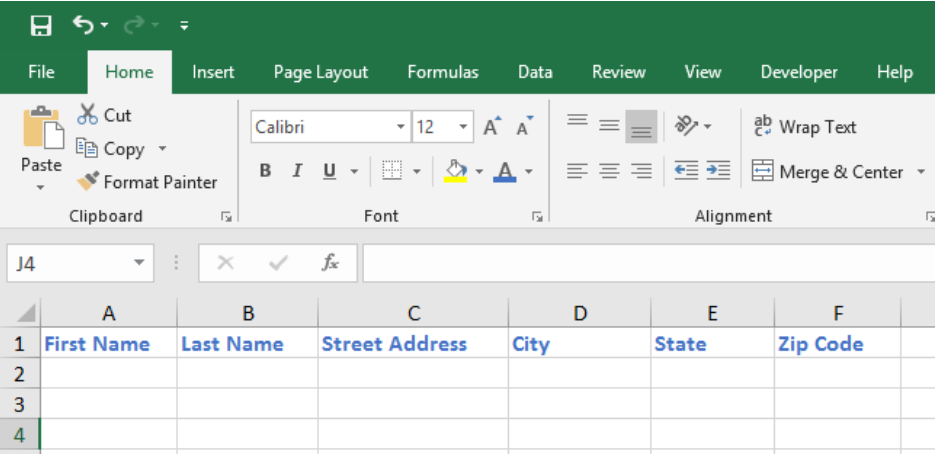
Now that your data is ready, here are the steps to convert it into labels:
Using Microsoft Word

- Open Microsoft Word: Start a new document or open an existing one where you want the labels to appear.
- Go to the Mailings tab: Click on ‘Start Mail Merge’ then choose ‘Labels’. Select the label vendor (like Avery) and label type, and then ‘OK’.
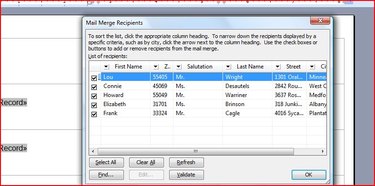
- Choose Your Excel File: Click ‘Select Recipients’ and browse to find your Excel file. Confirm the Excel sheet or range you want to use.
- Insert Merge Fields: From the ‘Write & Insert Fields’ section, select ‘Insert Merge Field’ to add placeholders where you want the data to appear on the labels.
- Preview Your Labels: Use ‘Preview Results’ to ensure your labels look correct before printing or saving.
- Complete the Merge: Click on ‘Finish & Merge’ to print or save your labels in a new Word document.

🔍 Note: Ensure your computer has the latest version of Microsoft Office for the best compatibility with the latest Excel files.
Using Avery Design & Print

Avery Design & Print offers a straightforward process for Excel users:
- Open Avery Design & Print: Start the program either from the website or the app.
- Choose Label Type: Select your specific Avery label product number or label size.
- Import Your Data: Click on ‘Import Data’ and choose your Excel file. Ensure you’ve selected the correct worksheet or range.
- Map Your Fields: Match the columns from your Excel file with the label fields provided in the software.
- Customize Your Design: Apply any templates or customize the labels further with the available design tools.
- Save or Print: Once satisfied with the preview, save or print directly from the software.
🌟 Note: While Avery Design & Print offers a lot of design flexibility, complex Excel formulas or special formatting may not be fully supported.
Advanced Tips for Enhanced Excel Label Conversion
Automate the Process

Consider using VBA (Visual Basic for Applications) macros if you frequently need to perform label conversions. A simple VBA script can automate much of the process, saving you time:
Sub GenerateLabels()
    Dim wdApp As Object, wdDoc As Object
    Set wdApp = CreateObject(“Word.Application”)
    wdApp.Visible = True
    Set wdDoc = wdApp.Documents.Add
    wdApp.MailMerge.MainDocumentType = wdLabels
    With wdDoc.MailMerge
        .OpenDataSource Name:=ThisWorkbook.FullName, _
            LinkToSource:=True, AddToRecentFiles:=False, _
            Revert:=False, Format:=wdOpenFormatAuto, _
            Connection:=“Provider=Microsoft.ACE.OLEDB.12.0;User ID=Admin;Data Source=” & ThisWorkbook.FullName & _
            “;Mode=Read;Extended Properties=”“Excel 12.0 Xml;HDR=Yes;IMEX=1”“;”
        .Destination = wdSendToNewDocument
        .Execute
    End With
    wdApp.Activate
    Set wdDoc = Nothing
    Set wdApp = Nothing
End Sub
💡 Note: This macro assumes that your data starts in cell A1 and uses default label settings. You may need to adjust it to match your specific setup.
Handling Formatting Challenges
Sometimes, Excel data might have formatting issues like:
- Dates in Excel that don’t display correctly on labels.
- Number formats like ZIP codes or phone numbers that lose leading zeros.
- Blank spaces or extra characters that affect readability.
To address these:
- Use the ‘TEXT’ function in Excel to format numbers and dates correctly before exporting.
- Implement data validation rules to ensure consistent input.
- Check for and remove any extra spaces or unwanted characters using Excel’s built-in functions.
Printing Considerations
When it’s time to print your labels:
- Printer Alignment: Test print on a plain sheet first to ensure your labels are correctly aligned with your printer.
- Paper Type: Use the correct paper type setting on your printer for label sheets, as different settings can affect print quality.
- Quality Settings: Set your printer to a higher quality for labels, which often have intricate details or fine print.
By following these steps, you've not only optimized your Excel sheet for label conversion but also streamlined the printing process to ensure your labels come out perfect every time. The careful preparation of your data, the choice of efficient software, and the implementation of automation where possible can significantly reduce your workload while improving accuracy. This guide should serve as a robust resource for converting your Excel data into well-formatted, professional labels, making your mailing tasks more manageable and less time-consuming.
How do I ensure my Excel data is correctly formatted for labels?

+
Ensure your Excel sheet has consistent column headers, no duplicate or blank rows, and accurate data. Remove any formatting issues that might interfere with mail merge or label generation software.
Can I use online tools to create labels from Excel?

+
Yes, online tools like Avery Design & Print allow you to import Excel data directly and convert it into labels, offering a range of design options and templates.
What if my Excel data has special characters or formatting?

+
Use Excel functions like TRIM, CLEAN, or TEXT to remove or correctly format special characters or values. This ensures your data prints correctly on labels.
How do I automate the label creation process?

+
You can use VBA macros in Excel to automate the entire label creation process from data preparation to mail merge. Custom scripts can significantly reduce manual steps.
What should I do if my labels are not printing correctly?

+
First, ensure your printer settings are correct for the label sheet. Run a test print on plain paper to check alignment, and adjust margins or label size in the print settings if necessary.