Split Excel Sheet Easily: A Step-by-Step Guide

Dealing with large datasets in Microsoft Excel can often become overwhelming, particularly when you need to split a single worksheet into several for better organization or sharing. Whether you're a data analyst, business manager, or just someone who loves to keep their data tidy, this guide will walk you through splitting an Excel sheet into manageable segments effortlessly.
Why Split Your Excel Sheet?

Before we dive into the steps, it’s useful to consider why you might want to split your worksheet:
- Improved Organization: Splitting helps in categorizing and sorting data for easier access and analysis.
- Collaboration: Sharing specific parts of a large dataset with team members or stakeholders without overwhelming them with unnecessary information.
- Performance: Large files can slow down Excel, so dividing them can enhance the software’s performance.
- Privacy: You can protect sensitive data by distributing only relevant sections.
How to Split Excel Sheets: Step-by-Step

Let’s delve into the process of splitting an Excel sheet:
Step 1: Open Your Excel File

Start by opening the workbook where you want to split the data. Make sure you have a backup of your original file to prevent data loss.
Step 2: Organize Your Data


Ensure your data is in a structured format with headers at the top. This will simplify the filtering and copying process.
Step 3: Sort Your Data

Sort your data based on the column you want to split by. For example, if you’re splitting by region, sort by the “Region” column:
- Select any cell in the data set you wish to sort.
- Go to the “Data” tab.
- Click “Sort & Filter” and choose “Sort A to Z” or “Sort Z to A.”
Step 4: Filter Your Data

Now, filter the data:
- Select the header row of your data.
- Under the “Data” tab, click “Filter.”
- From the dropdown arrow in the column header, select the criteria you want to split by.
Step 5: Copy and Paste Filtered Data

With your data filtered, you can now start splitting:
- Select all filtered data including headers.
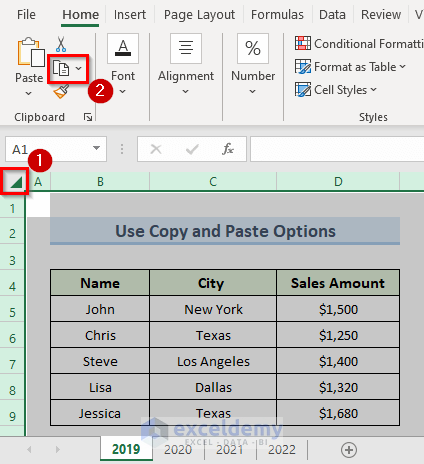
- Copy this data (Ctrl+C or right-click and select “Copy”).
- Create a new Excel file or worksheet for this split data.
- Paste the data into this new sheet (Ctrl+V or right-click and select “Paste”).
- Repeat this process for each filter condition you wish to split your data by.
Step 6: Name Your New Sheets

Give each new sheet a clear, descriptive name reflecting the data it contains:
- Right-click on the sheet tab.
- Select “Rename.”
- Input a name that reflects the content or purpose of the data.
Notes on Splitting Excel Sheets

⚠️ Note: Make sure all data in your original sheet is backed up before you start splitting to avoid any data loss.
💡 Note: Keep your header row consistent across all new sheets for uniformity and ease of reference.
After successfully splitting your Excel sheet, you should have multiple workbooks or sheets, each containing relevant subsets of your original data. This method not only keeps your data organized but also makes sharing or analyzing specific parts of the data more straightforward.
Remember, splitting a large dataset can significantly boost productivity and data management efficiency, allowing for more focused analysis, easier collaboration, and better data protection. It’s a small effort with considerable long-term benefits, streamlining your workflow in Excel.
Can I automate the splitting process in Excel?

+
Yes, advanced users can use VBA scripts or macros to automate data splitting. These scripts can automate sorting, filtering, and copying based on your criteria, saving time and reducing human error.
What should I do if my data spans multiple worksheets?

+
If your data is spread across multiple sheets, you’ll first need to consolidate it into one sheet before splitting. Use Excel’s ‘Consolidate’ feature or write a VBA script to combine the data efficiently.
How do I ensure data integrity when splitting sheets?

+
To maintain data integrity:
- Verify that formulas and references work in each split sheet.
- Check for duplicate or missing rows.
- Consider using Power Query for complex data transformations while keeping data integrity.